TL;DR
- Moira’s healing resource depletes quickly and must be replenished through damage dealing
- Her primary fire and secondary fire bypass projectile-blocking abilities unlike her Biotic Orb
- Prioritize healing over damage despite her high damage potential as a support hero
- Use Fade strategically for positioning and survival rather than aggressive engagements
- Coalescence provides both healing and damage simultaneously with excellent range and penetration
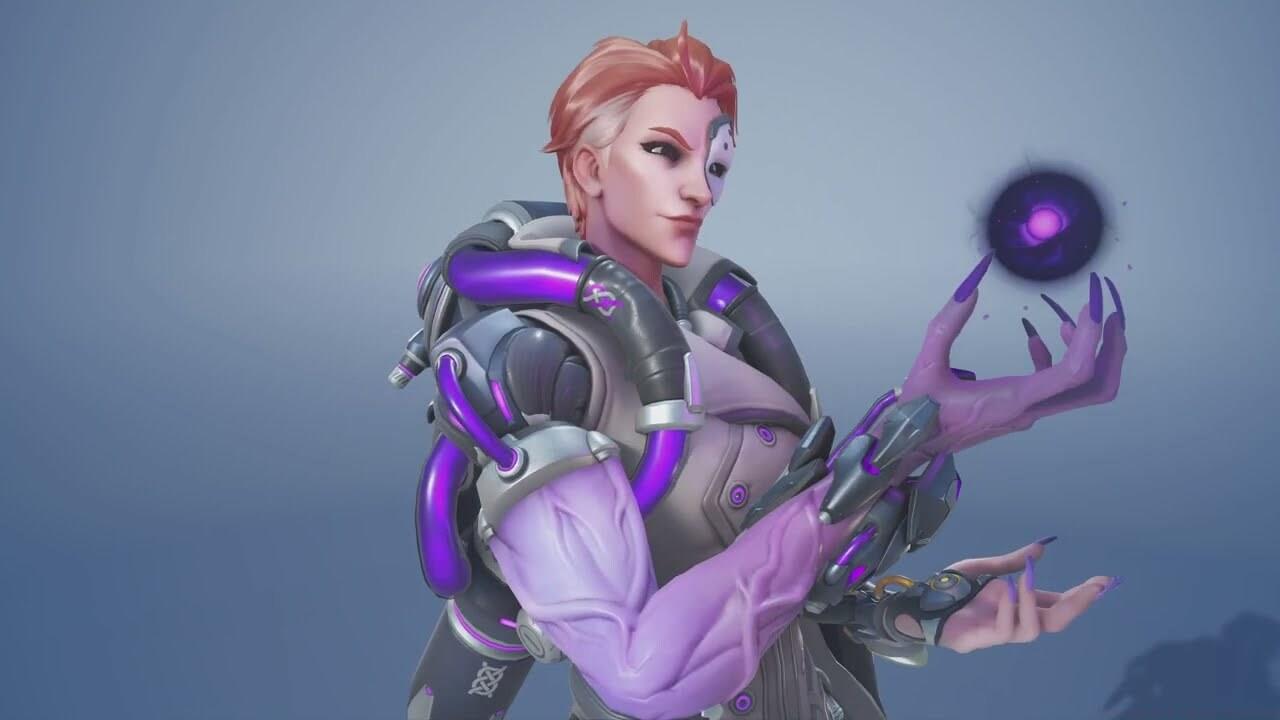
Mastering Moira requires understanding her unique dual-threat capabilities as one of Overwatch 2’s most versatile support heroes. Her kit allows for significant impact through both healing output and strategic damage application.
With Overwatch 2’s transition to 5v5 combat, Moira’s role has evolved to emphasize efficient resource management and tactical positioning. The reduced team size means each support hero carries more responsibility for both sustaining teammates and creating offensive opportunities.
Moira’s versatile kit allows her to adapt to various combat situations through careful resource management.
Biotic Grasp: Primary fire emits a healing spray that affects multiple allies simultaneously, consuming biotic energy from your resource meter. Secondary fire launches a draining beam that damages enemies while replenishing your healing resource. Effective players maintain approximately 40-60% resource capacity at all times.
Biotic Orb: Deploys a bouncing sphere that travels through the environment, either restoring health to allies or dealing damage to enemies based on your selection.
Fade: Provides immediate invulnerability and increased movement speed, allowing escape from dangerous situations or repositioning during team fights. Advanced technique: Use Fade to bypass enemy barriers and reach critical positioning.
Coalescence: Channels a long-range beam that penetrates through barriers, simultaneously healing allies and damaging enemies in its path. Optimal usage combines both functions for maximum impact.
Many players misunderstand Moira’s primary function, focusing excessively on her damage potential. While her damage output is substantial, your healing responsibilities should dictate your positioning and target selection. The most successful Moira players maintain a 2:1 healing-to-damage ratio while ensuring their resource meter never depletes completely.
Understanding projectile interactions separates competent Moira players from exceptional ones. Several heroes possess abilities that can neutralize projectiles, making target selection crucial against specific compositions.
Moira’s Biotic Grasp abilities (both healing and damage) function as beam attacks rather than projectiles. This means they bypass defensive abilities like D.Va’s Defense Matrix, Sigma’s Kinetic Grasp, and Genji’s Deflect. However, her Biotic Orb behaves as a standard projectile and can be absorbed or reflected.
When facing projectile-denial heroes, prioritize your beam attacks for consistent value. Use Biotic Orb strategically when these abilities are on cooldown or when you can bank it off geometry to avoid direct interception.
Coalescence operates as a unique channeled beam that penetrates through enemy barriers and defensive matrices. This makes it exceptionally valuable for breaking stalemates or sustaining through choke points where other supports might struggle.
Advanced targeting: Your healing spray has slight auto-aim properties but requires precise positioning to maximize multi-hero efficiency. The damage beam has limited range (20 meters) but provides consistent pressure against mobile targets.
Common mistake: Players often waste Coalescence for solo kills rather than team fight impact. The ultimate’s true power lies in its simultaneous healing and damage application during crucial engagements.
Resource management represents Moira’s most critical skill differentiator. Novice players frequently exhaust their healing resource within the first team fight, leaving their team vulnerable during critical moments.
Optimal resource cycling: Deal damage during downtime to maintain at least 30% resource, but disengage to heal when allies drop below 50% health. Monitor your resource meter constantly—it’s more important than your health bar in many situations.
Positioning philosophy: Maintain mid-range distance where you can access both allies and enemies. Avoid the temptation to chase kills deep into enemy territory, as Moira lacks the burst damage to secure eliminations quickly without support.
Target priority should follow this hierarchy: Critical allies > Self-preservation > Enemy supports > Low-health enemies > Tank pressure.
Fade usage mistakes: Using Fade aggressively to engage rather than defensively to reposition remains the most common error among developing Moira players. Treat it primarily as a survival tool.
Orb efficiency: Healing orb typically provides more value than damage orb, except when finishing low-health targets or building ultimate charge safely.
Against dive compositions, conserve Fade specifically for escaping enemy engagements rather than positional adjustments. Time your orbs to coincide with enemy ability cooldowns for maximum impact.
Action Checklist
- Practice resource management in training mode – maintain 40-60% biotic energy during sustained combat
- Master orb banking angles on various maps to bypass projectile denial abilities
- Track enemy defensive cooldowns to optimize ability usage timing
- Implement the 2:1 healing-to-damage ratio in competitive matches
- Analyze replay data to identify positioning errors and resource waste patterns
No reproduction without permission:SeeYouSoon Game Club » Overwatch 2 – Moira Hero Guide Master Moira's dual-threat capabilities with advanced strategies for healing optimization and damage management in Overwatch 2