TL;DR
- Junker Queen excels as an aggressive tank-DPS hybrid using wound mechanics for sustain
- Master ability combos like Jagged Blade pulls into Carnage for maximum burst damage
- Position aggressively but maintain escape routes to counter her limited range vulnerability
- Coordinate Commanding Shout with team engagements for optimal tempo control
- Use strategic retreats and ranged pressure when health drops below critical thresholds
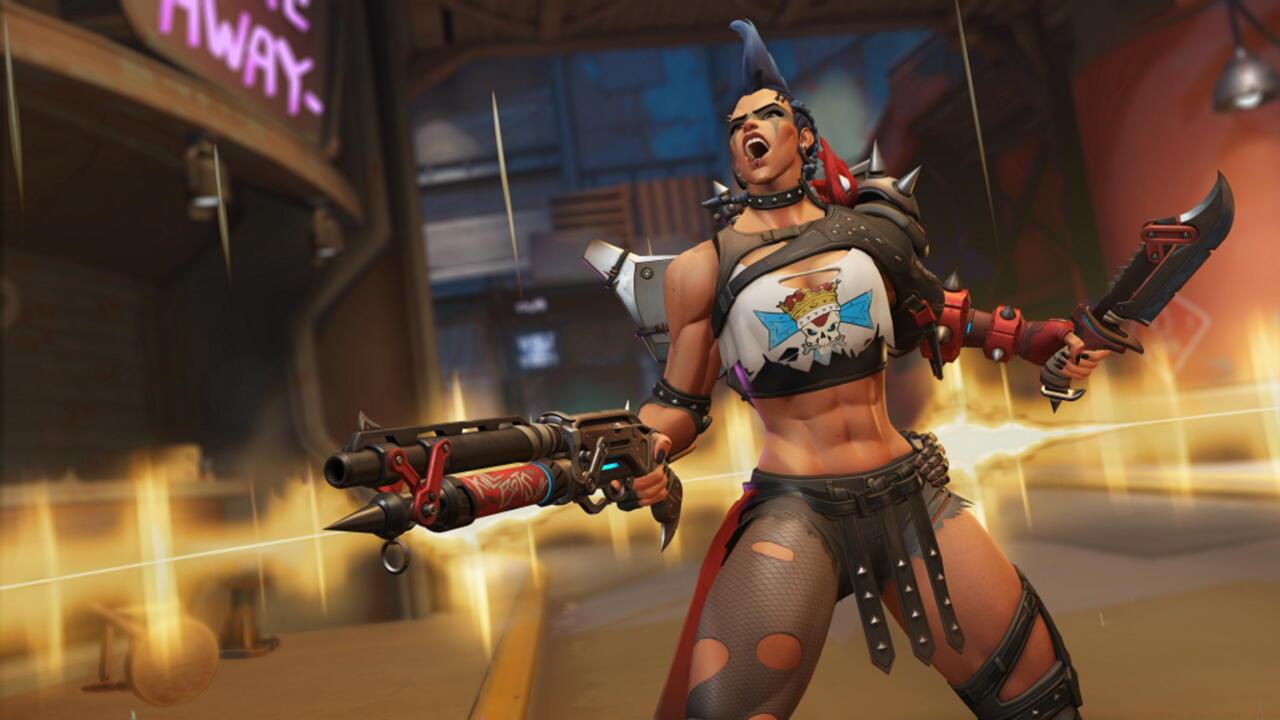
Junker Queen represents a revolutionary approach to tank design in Overwatch 2, blending traditional frontline duties with devastating damage output capabilities. Unlike shield-dependent tanks, she thrives through aggressive positioning and sustained combat pressure.
As one of Overwatch 2’s immediately accessible heroes, Junker Queen breaks conventional tank archetypes by emphasizing offensive presence over defensive protection. Her kit revolves around the innovative wound mechanic – a damage-over-time effect that simultaneously drains enemy health while restoring her own sustainability. This creates a unique risk-reward dynamic where successful aggression directly fuels survivability.
Common mistake: Many players treat Junker Queen as a traditional anchor tank. Instead, she functions more like a brawler-disruptor hybrid, creating space through threat rather than protection. Her effectiveness depends heavily on landing consistent ability combinations to maintain the wound sustain cycle.
For broader strategic context, our Class Guide explores similar hybrid role concepts in other tactical shooters.
What separates elite Junker Queen players is understanding her tempo-based gameplay. She operates in aggressive bursts followed by brief recovery periods, requiring precise cooldown management and situational awareness.
She may seem fierce, but Junker Queen needs a supporting team to avoid getting overwhelmed.
- Scattergun: Six-shot pump-action shotgun firing one round every 0.8 seconds. Advanced tip: Use at melee range for maximum pellet connection and combine with melee attacks for burst damage.
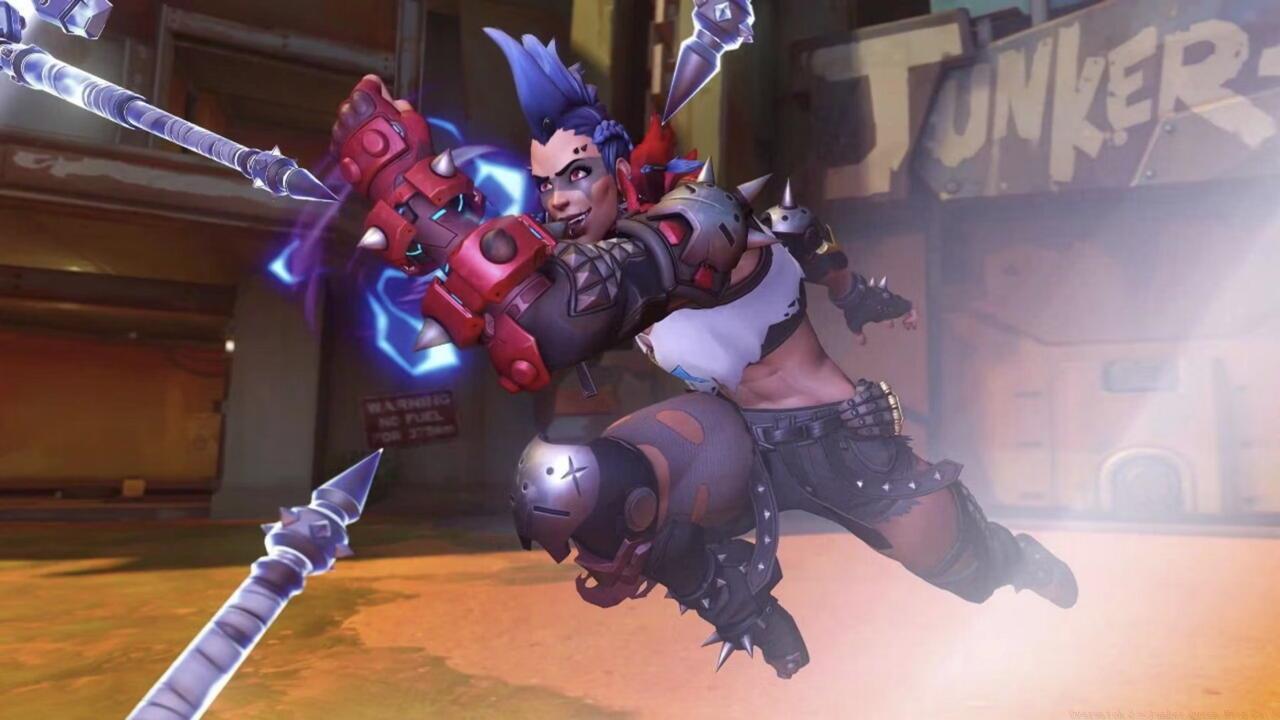
- Jagged Blade: Projectile throw and recall ability. Deals impact damage both ways and applies wounds for ongoing damage. Pro technique: Use environmental geometry to curve recalls for unexpected angles.
- Commanding Shout: Provides 30% movement speed increase to self and nearby allies. Restores 200 HP personally plus 50 HP to teammates, with temporary overhealth capabilities. Strategic use: Time with team engagements or to escape dangerous situations.
- Carnage: Wide arcing melee axe swing attacking forward enemies and inflicting wound status. Optimization: Follow Jagged Blade pulls with immediate Carnage for guaranteed hits.
Critical mistake: Wasting Commanding Shout when not critically needed. This ability serves as your primary survival tool and engagement enabler – poor timing leaves you vulnerable during crucial moments.
For weapon mastery techniques applicable across different games, check our Weapons Unlock guide for complementary strategies.
Ability synergy is paramount. The ideal sequence involves landing Jagged Blade, pulling enemies into Carnage range, then finishing with Scattergun bursts while wounded targets feed your health pool.
Junker Queen dominates through calculated aggression rather than reckless charging. Her combat effectiveness peaks in close-to-medium range engagements where she can leverage her complete kit simultaneously.
Optimal engagement sequence: Begin with Jagged Blade at medium range to apply initial wounds and test enemy positioning. If successful, use the pull effect to bring targets into optimal Carnage and Scattergun range. Activate Commanding Shout either to initiate the engagement or as a disengagement tool if the situation turns unfavorable.
Positioning philosophy: Maintain angles that allow quick access to cover while threatening key enemy positions. Avoid open areas where her limited range becomes a significant liability against heroes like Soldier: 76 or Ashe.
Junker Queen’s ultimate is a mad, deadly dash forward, wounding all enemies in her path.
Rampage (Ultimate) execution: This devastating forward dash applies wounds to all enemies hit and prevents them from receiving healing. Pro timing: Use when enemies are grouped and have committed key abilities, maximizing the anti-heal effect’s impact.
Team coordination: Junker Queen excels when supported by heroes who can capitalize on her disruptive presence. Pair with burst damage dealers who can eliminate wounded targets quickly.
For comprehensive gameplay frameworks, our Complete Guide offers additional strategic principles applicable to Junker Queen’s playstyle.
Junker Queen’s offensive dominance comes with distinct vulnerabilities that skilled opponents will exploit. Understanding these limitations is crucial for consistent performance.
Primary weakness: Limited effective range makes her exceptionally vulnerable to heroes who can operate outside her engagement zone. Snipers, long-range damage dealers, and aerial opponents present significant challenges.
Counter strategies against ranged foes: Use environmental cover aggressively, employ Jagged Blade for poke damage while waiting for engagement opportunities, and coordinate with mobile teammates to close distance.
Matchup knowledge: Heroes with crowd control abilities can severely disrupt Junker Queen’s aggressive playstyle. Ana’s Sleep Dart, Brigitte’s Whip Shot, and Orisa’s Javelin can neutralize her momentum when timed correctly.
Health management critical threshold: When your health drops below 300, consider disengagement unless Commanding Shout is available. The temporary health boost can create unexpected turnaround opportunities.
Advanced technique: Against unfavorable matchups, adopt a more conservative playstyle focusing on Jagged Blade pressure and protecting your team’s space rather than aggressively taking new territory.
Knowing when and how to disengage separates competent Junker Queen players from exceptional ones. Her kit provides multiple tools for controlled retreats and tempo resets.
Disengagement protocol: When overwhelmed or at health critical levels, use Commanding Shout for the movement speed boost while retreating to covered positions. Continue applying Jagged Blade pressure during withdrawal to maintain some threat presence.
Recovery positioning: Use corners and environmental geometry to create temporary safe zones where you can regenerate health through wound effects while remaining partially threatening.
Tempo control: Recognize that Junker Queen operates in cycles of aggression and recovery. Forcing engagements during recovery phases typically leads to unfavorable outcomes.
Advanced reset technique: If forced into extended recovery, use Jagged Blade to farm ultimate charge safely while your abilities come off cooldown.
Final pro tip: Master the art of threatening space without committing fully. Sometimes the mere presence of a ready Junker Queen can zone enemies more effectively than actual engagement.
Action Checklist
- Practice Jagged Blade accuracy and recall timing in practice range
- Master the pull-into-Carnage combo against moving bots
- Learn Commanding Shout timing for both engagement and disengagement
- Identify and practice disengagement routes on 3 main maps
- Study matchup specific strategies against common counters
No reproduction without permission:SeeYouSoon Game Club » Overwatch 2 – Junker Queen Hero Guide Master Junker Queen's aggressive tank playstyle with advanced strategies, common pitfalls, and optimization techniques