TL;DR
- Three ingredients require accessing multiple locations including Moogle Emporium and Aerith’s church
- Behemoth Type 0 requires strategic body part targeting and magic timing
- Complete Subterranean Menace quest to obtain final ingredient
- Use Barret for safe distance attacks while managing spell counters
- Approximately 25-35 minutes completion time with proper preparation
Successfully completing the “Secret Medicine” side-quest in Final Fantasy 7 Remake’s Chapter 14 demands strategic navigation and combat proficiency. This multi-stage assignment provides valuable rewards that enhance your party’s capabilities before the final story segments.
Chapter 14 introduces significantly more complex side-quests compared to earlier chapters, with less obvious NPC interactions and location requirements. The Secret Medicine quest specifically requires initiating a secondary mission to gather all necessary components, creating a layered challenge that tests both exploration and combat skills.
Our comprehensive breakdown streamlines your ingredient collection process while providing advanced tactics for the demanding Behemoth Type 0 encounter. Following this guide ensures efficient completion and optimal reward acquisition.
For broader gameplay assistance, consult our Complete Guide covering fundamental mechanics and progression systems.
Begin by speaking with the medical practitioner situated opposite the community center, who will delegate the herbal medicine preparation task. The initial ingredient acquisition is straightforward: visit the Moogle Emporium within the Kids’ Hideout to obtain the essential Moogle Mortar key item through purchase.
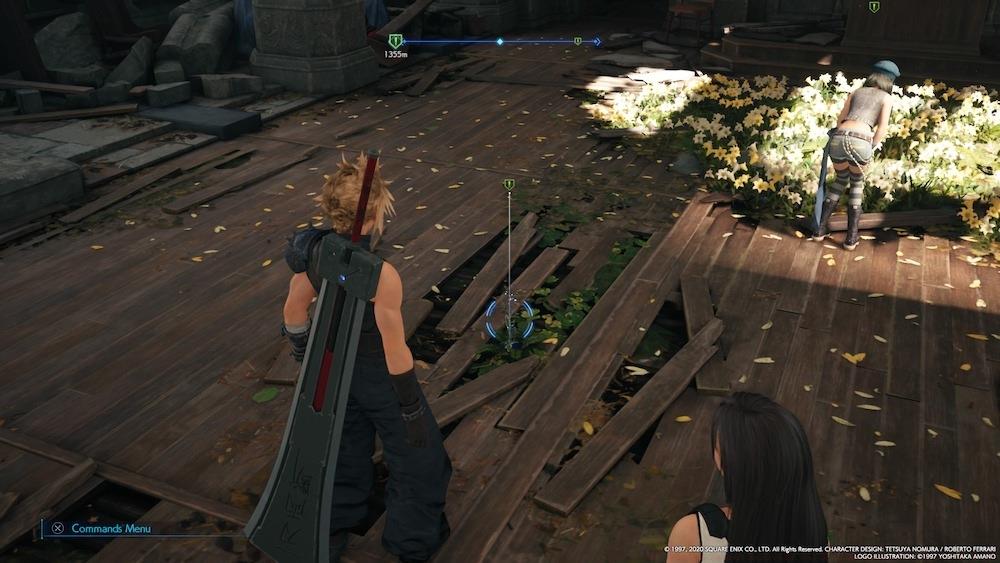
The secondary component resides at Aerith’s church, the location of Cloud’s initial encounter with her. Navigate to the railway station positioned northwest of the Sector 5 Central District, then proceed northward along the path leading to the chapel. Collect the Medicinal Flower key item from the ground vegetation.
For the final component, travel to Evergreen Park and converse with Wymer to activate the Subterranean Menace quest, which guides you to the underground laboratory facility. This segment culminates in confronting the formidable Behemoth Type 0 mini-boss.
Descend through the subterranean passageway in Evergreen Park to access the laboratory complex. Combat progression through this area is necessary to reach the Behemoth Type 0 boss encounter at the furthest extremity. The pathway presents challenging engagements, including a Wrath Hound enemy similar to those encountered during Episode 3’s sidequest, though manageable with proper preparation.
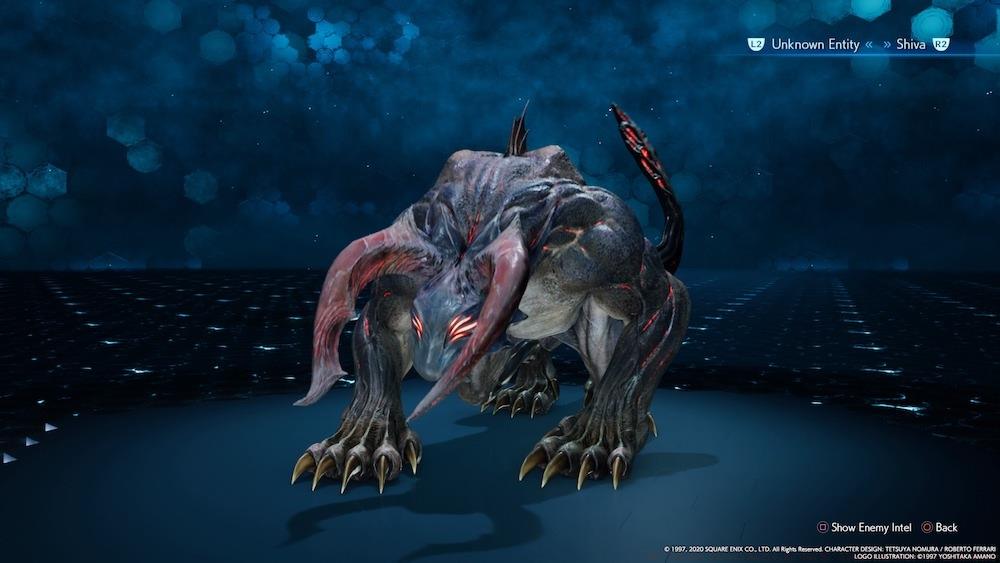
The Behemoth confrontation presents substantially greater difficulty. This massive creature possesses formidable strength, lethal capabilities, and surprising agility. Ensure your party members are at maximum health before traversing the doorway identified by Shinra warning markers to initiate combat.
Primary defensive strategy involves maintaining distance from the monster’s cranial region; it executes claw swipes, ground impact attacks that disrupt character stability, and horn thrusts inflicting significant damage. Additionally, create space after executing close-range assaults, as the Behemoth periodically performs rotational maneuvers striking all adjacent combatants.
Victory against the Behemoth necessitates systematically disabling its bodily sections sequentially. An effective approach involves assuming control of Barret, enabling concentrated offensive actions targeting either its Upper Body or Lower Body with diverse attack types, while remaining outside dangerous proximity. Most offensive actions prove effective, though magical attacks should be avoided until sufficient damage has been inflicted on the Behemoth’s horns, as spells activate retaliation maneuvers until horn destruction is achieved.
Mastering the Behemoth Type 0 encounter requires understanding several nuanced combat mechanics. The creature’s counterattack system specifically responds to magical energy usage, making spell timing critically important. Experienced players should coordinate character switching to maximize pressure window opportunities.
Strategic character assignment proves crucial for success. Barret’s long-range capabilities allow consistent damage application while avoiding melee retaliation. Cloud should focus on creating stagger opportunities through precise attacks on vulnerable body sections once magical counters are neutralized.
Common execution errors include premature magical ability deployment, inadequate health preparation, and failure to recognize the Behemoth’s rotational attack telegraphing. Advanced tactics involve synchronizing Limit Breaks with staggered states for maximum damage output.
For comprehensive weapon and ability guidance, explore our detailed Weapons Unlock resource covering damage optimization and equipment progression.
Optimal completion time ranges between 25-35 minutes depending on player skill level and preparation. The quest reward justifies the investment, providing valuable items that significantly enhance late-game performance. Understanding Class Guide principles enhances party composition effectiveness throughout this challenging segment.
Action Checklist
- Speak with community center doctor to initiate quest
- Purchase Moogle Mortar from Kids’ Hideout vendor
- Collect Medicinal Flower from Aerith’s church grounds
- Activate Subterranean Menace quest with Wymer at Evergreen Park
- Defeat Behemoth Type 0 using body part targeting strategy
No reproduction without permission:SeeYouSoon Game Club » FF7 Remake Secret Medicine Guide: Locations For The Side-Quest Complete guide to finding all three ingredients and defeating the Behemoth Type 0 boss efficiently