TL;DR
- D.Va excels at disrupting backlines and creating space through aggressive positioning
- Master Defense Matrix timing to neutralize key enemy abilities and ultimates
- Coordinate Self-Destruct with team CC abilities for guaranteed eliminations
- Use Boosters for both engagement and disengagement to maintain survivability
- Understand when to play aggressively versus peeling for your supports
Mastering D.Va requires understanding her unique dual-form mechanics and how to leverage them for maximum impact in Overwatch 2’s 5v5 format.
As Overwatch 2 transitions to free-to-play accessibility, the hero shooter landscape has evolved with new strategic demands. While experiencing typical launch period adjustments, the game introduces fresh content like Push mode while retaining veteran heroes. D.Va stands out as a versatile tank operating an advanced mech suit, offering distinctive gameplay that blends aggression with tactical defense.
Compare hero effectiveness across roles using our comprehensive Class Guide methodology to understand team composition synergies.
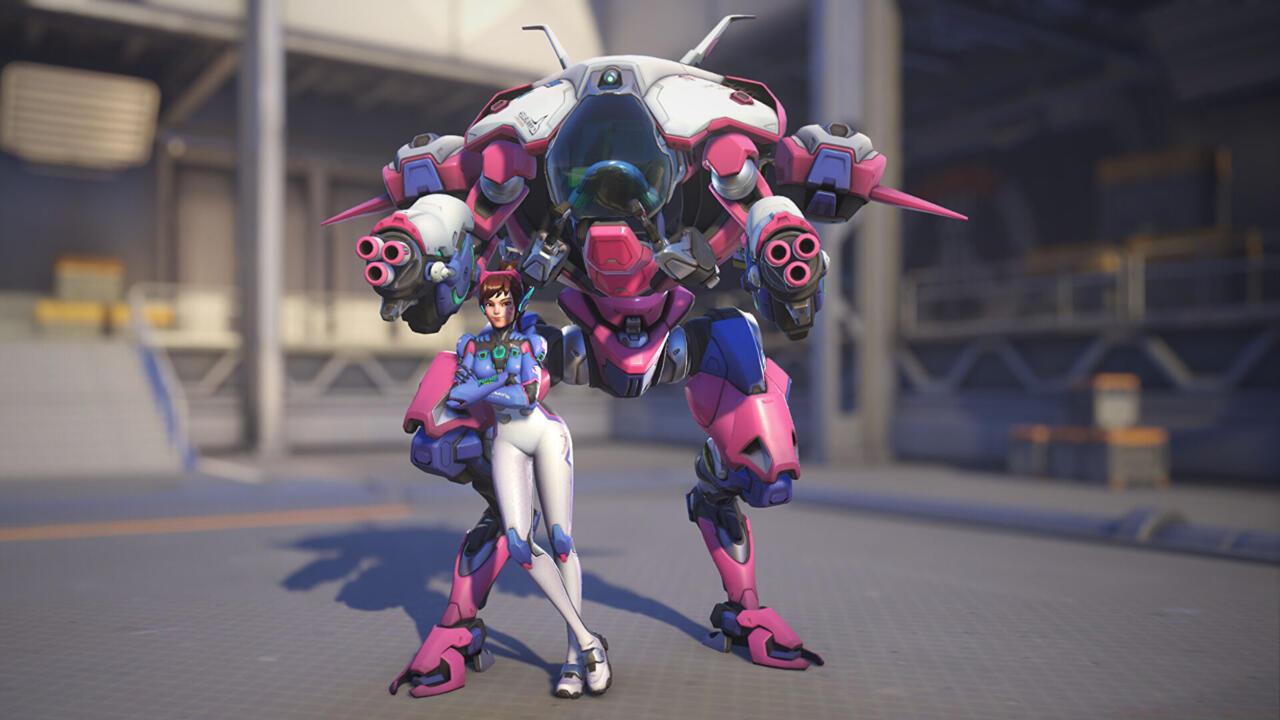
D.Va’s core mechanic involves piloting a mech that ejects its operator when destroyed. This ejection system provides a second chance to contribute damage and potentially recall your mech faster than standard respawn timers allow. Her arsenal includes unlimited-ammo fusion cannons, micro-missile volleys, and a crucial Defense Matrix that consumes incoming projectiles. The mech’s booster systems enable limited flight capability. While delivering substantial damage output for a tank role, D.Va trades traditional tank durability for exceptional mobility and disruption potential.
Fusion Cannons (mech): Automatic short-range spread weapons with significant falloff beyond 10 meters. Ideal for pressuring shields and controlling tight spaces.
Light Gun (pilot): Precision automatic pistol with unlimited ammunition, effective for building ultimate charge while out of mech.
Boosters (mech): Directional flight system with 2-second duration and 5-second cooldown. Use for engagement, disengagement, and environmental kills.
Defense Matrix (mech): Projectile negation field lasting up to 3 seconds with resource-based cooldown. Crucial for eating key abilities like Ana’s Biotic Grenade or Moira’s Damage Orb.
Micro Missiles (mech): Explosive rocket barrage dealing 126 total damage if all missiles connect. Perfect for bursting down targets during booster engagements.
Self-Destruct ultimate (mech): Mech overload detonation dealing 1000 damage at center with falloff. Combine with booster mobility for surprise attacks.

D.Va’s mobility makes her exceptionally strong in dynamic, objective-focused engagements where repositioning constantly creates new angles of attack.
D.Va dominates at close ranges where her fusion cannons deliver maximum damage without spread penalty. Position within 5-10 meters of priority targets to maximize your impact while minimizing exposure to long-range threats.
Effective D.Va players understand the rhythm of engagement: boost in, unload missiles and cannons, then matrix while disengaging. This hit-and-run approach pressures enemies while preserving your mech’s integrity. Remember that while you can aggressively dive backline supports, you must also peel for your own team’s vulnerable members.
Common positioning mistakes include overextending without escape routes, wasting Defense Matrix on inconsequential damage, and failing to create space for your damage dealers. Advanced players use map geometry to limit sightlines from enemy snipers while maintaining pressure on objectives.
Similar to mastering engagement ranges in our Weapons Unlock guide, understanding D.Va’s optimal distances dramatically increases her effectiveness.
D.Va’s Self-Destruct ultimate requires precise timing and strategic placement rather than simple desperation usage. The detonation takes 3 seconds to explode, giving enemies time to seek cover unless properly positioned.
Advanced techniques include booster-launching the mech over barriers, combining with Zarya’s Graviton Surge for guaranteed kills, or using it as an area denial tool to clear objectives during overtime situations.
Poor ultimate usage typically involves detonating in open spaces with ample cover, using it when your team isn’t positioned to capitalize, or wasting it when you already have mech advantage. Instead, consider using Self-Destruct to force enemy repositioning, secure second mech during prolonged fights, or combo with other crowd control abilities.
Like strategic objective play in Complete Guide resources, mastering ultimate timing separates competent D.Vas from game-changers.
D.Va excels at neutralizing sniper heroes like Widowmaker and Ashe through coordinated dives. Use boosters to quickly close distance while activating Defense Matrix to block critical shots, then unload missiles and cannons at close range.
When diving snipers, approach from unexpected angles and use the environment to minimize your exposure. Time your engagement when the sniper is distracted or when your team is applying pressure elsewhere.
Beyond simple eliminations, effective D.Va play involves constant pressure application against backline threats. Even if you don’t secure kills, forcing snipers to reposition creates space for your team to advance.
Common diving errors include announcing your approach with obvious booster paths, failing to coordinate with your team, and overcommitting when the enemy has peel support.
Mastering D.Va’s resource management separates elite players from beginners. Track Defense Matrix energy like a second health pool and use boosters strategically rather than constantly.
Advanced optimization includes managing mech health to strategically eject for stall situations, using micro-missiles during booster cooldown to maintain pressure, and understanding when to sacrifice mech for strategic advantage.
Common pitfalls to avoid: wasting Defense Matrix on trivial damage, overextending without escape plans, ignoring peel responsibilities, and poor ultimate timing that gives enemies free mech kills.
Team synergy considerations include pairing with Winston for dive compositions, coordinating with Zarya for ultimate combinations, and protecting supports from flankers.
Action Checklist
- Practice Defense Matrix timing against projectile heroes in custom games
- Master the boosters + missiles + cannons engagement combo in training range
- Study map layouts for optimal Self-Destruct placement and booster routes
- Coordinate dive timing with your team’s damage dealers
- Analyze replay footage to identify wasted resources and positioning errors
No reproduction without permission:SeeYouSoon Game Club » Overwatch 2 – D.Va Hero Guide Master D.Va's mech combat with advanced tactics, ability strategies, and positioning techniques for Overwatch 2 dominance
