TL;DR
- Ashe excels at mid-to-long range combat with devastating headshot potential using her scoped rifle
- Strategic positioning on high ground maximizes damage output while minimizing vulnerability to close-range threats
- Master the dynamite-coach gun combo for area denial and emergency escape situations
- B.O.B. deployment timing can single-handedly capture objectives or disrupt enemy formations
- Proper reload management and target prioritization separate average from exceptional Ashe players
Ashe represents one of Overwatch 2’s most formidable damage heroes, specializing in delivering consistent pressure from safe distances. Her kit rewards mechanical skill and tactical awareness, making her a valuable asset in coordinated team compositions.
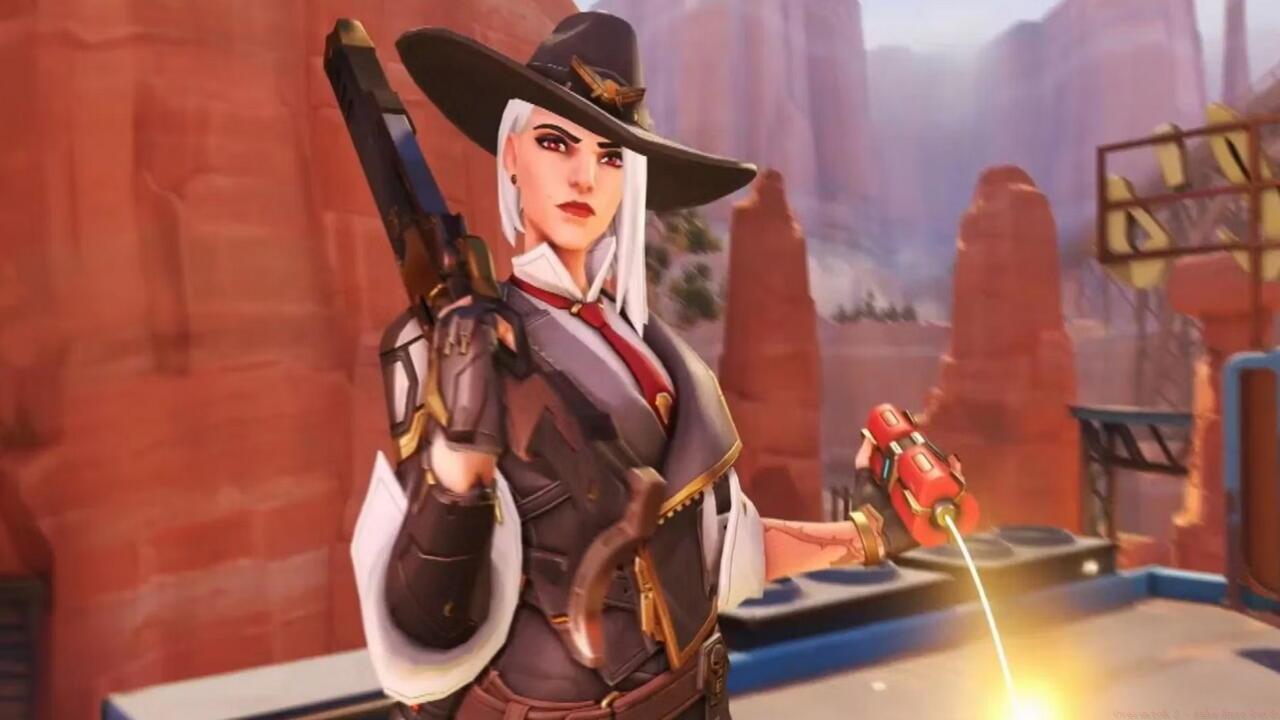
The gunslinger returns virtually unchanged from the original Overwatch, maintaining her signature playstyle that emphasizes precision over spam. This continuity benefits experienced players while presenting a steep learning curve for newcomers. Ashe dominates sightlines with her high-damage rifle and creates space through explosive utility, though her robotic companion B.O.B. remains her most impactful teamfight tool.
Ashe functions optimally as a backline damage dealer who capitalizes on mid-range engagements. Her scoped rifle shots deliver substantial burst damage, particularly when landing critical hits. The dynamite ability provides area denial and can combo with her primary fire for rapid damage stacking. However, her limited mobility and extended reload times demand careful resource management during extended fights.
Mobility limitations combined with methodical firing rhythm make Ashe vulnerable to flankers and close-quarters specialists. Position her slightly behind your team’s frontline where she can apply pressure safely while having escape routes available. This placement allows effective support for your primary damage dealers and tanks without overexposing her to immediate threats.
- The Viper: Ashe’s lever-action rifle discharges 12 rounds before requiring reload, with each shot dealing significant damage at any range
- The Viper (ADS): Aiming down sights enhances damage output and accuracy while allowing limited movement and jumping capabilities
- Dynamite: Ashe hurls explosive bundles that detonate after a brief delay or when shot, causing area damage and burn effects that can unfortunately affect allies
- Coach Gun: This close-range defensive tool blasts enemies backward while propelling Ashe in the opposite direction, creating immediate separation
- B.O.B.: Ashe’s ultimate summons her robotic butler who charges forward, knocking enemies airborne before establishing a fixed position and unleashing suppressing fire

Ashe’s dynamite ability sets foes on fire and deals continuous damage over a short period of time.
The Viper rifle’s 12-round capacity demands strategic shooting rather than reckless spraying. The extended reload animation punishes missed opportunities, making target prioritization essential. Activating the aim-down-sights mode significantly increases per-shot damage while improving projectile consistency, though it reduces your field of view.
Mastering Ashe requires developing muscle memory for her unique firing rhythm and understanding optimal ability sequences. Her kit contains several powerful combinations that can quickly eliminate opponents when executed properly.
The Viper’s ammunition economy separates skilled Ashes from mediocre ones. Since reloading consumes valuable time during critical engagements, develop the habit of reloading during natural downtime between fights. The scoped mode delivers approximately double the damage of hip-fire shots, making it your primary damage source against most targets.
Advanced players utilize the “dynamite shot” technique – throwing dynamite and immediately shooting it mid-air to detonate it instantly. This eliminates the delay that allows enemies to escape the blast radius while surprising opponents with rapid damage application.
Target selection proves crucial for maximizing Ashe’s impact. Prioritize eliminating enemy supports and damage dealers who lack mobility, as these targets typically present the easiest shots for your scoped rifle. Against tanks, focus on building ultimate charge through consistent damage rather than securing eliminations, unless they’re already critically low.
Ashe’s effectiveness directly correlates with her positioning on the battlefield. She thrives in locations that provide clear sightlines while offering protection from flanking routes.
Elevated positions dramatically improve Ashe’s sightlines and damage potential. High ground not only expands your field of view but also provides natural cover against many ground-based threats. Maps like Gibraltar, Dorado, and Eichenwalde contain numerous perfect perches for Ashe to dominate.
Always maintain an escape route when selecting your position. The Coach Gun provides a quick disengagement tool, but only if you have space to retreat. Positioning near health packs or support heroes ensures sustainability during prolonged engagements.
Coordinate with your tank to establish sightlines that complement their space creation. When your tank advances, reposition to cover their push while remaining safe from enemy counter-attacks. This symbiotic relationship maximizes both heroes’ effectiveness throughout the match.
B.O.B. represents one of Overwatch’s most impactful ultimate abilities when deployed strategically. This robotic ally charges forward, knocking enemies aside before establishing a turret position that fires automatically at visible targets.
Timing B.O.B.’s deployment correctly often determines fight outcomes. Avoid using him as a mere distraction – instead, time his charge to coincide with team engagements or objective contests. His suppressing fire can single-handedly capture points or prevent enemy progress during overtime situations.
Map geometry significantly influences B.O.B.’s effectiveness. Deploy him along long sightlines where his turret mode can maximize damage output. Avoid areas with numerous obstacles that might block his charge or limit his firing angles once deployed.
Combine B.O.B. with other ultimate abilities for devastating effects. His knockup effect sets up perfect targets for abilities like D.Va’s Self-Destruct or Cassidy’s Deadeye. Alternatively, use B.O.B. to break enemy formations and create opportunities for your team to secure eliminations.
Action Checklist
- Practice scoped headshots against moving bots in training range for 15 minutes daily
- Master the instant dynamite detonation by shooting explosives mid-air in custom games
- Identify and memorize 3 high-ground positions on each competitive map
- Learn Coach Gun angles that provide both escape and environmental kill opportunities
- Practice B.O.B. deployments in different scenarios to understand optimal timing
No reproduction without permission:SeeYouSoon Game Club » Overwatch 2 – Ashe Hero Guide Master Ashe's long-range dominance in Overwatch 2 with expert positioning, ability combos, and tactical B.O.B. deployment strategies
