TL;DR
- Use Precision Bolt headshots against armored Makyr Drones for ammo and health drops
- Prioritize destroying Buff Totems immediately to reduce enemy spawn intensity
- The Ballista requires exactly five shots to deplete each of Khan Makyr’s six health bars
- Master launch pad timing and pole swinging for efficient Urdak navigation
- Always eliminate Archviles first in mixed demon encounters to prevent reinforcements
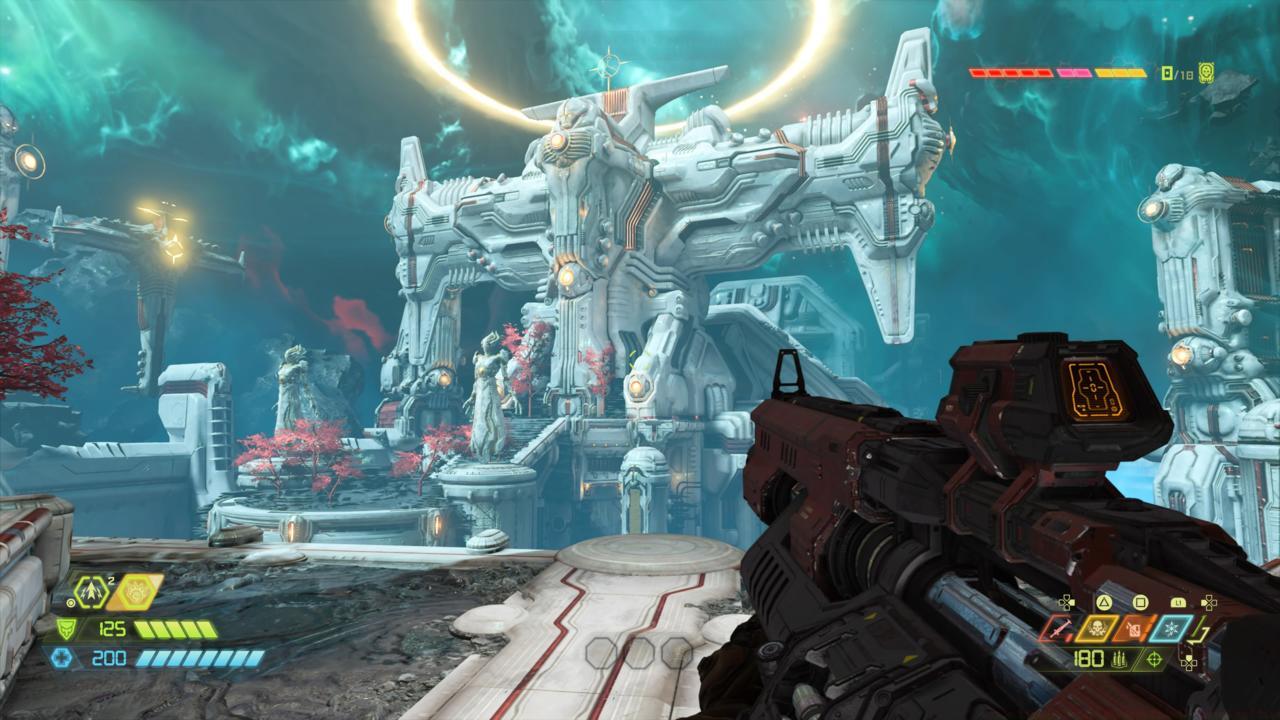
Welcome to Urdak, Doom Eternal’s penultimate challenge that tests your mastery of movement, combat, and puzzle-solving mechanics. This celestial realm presents unique environmental challenges that demand precise execution and strategic thinking.
Before diving into Urdak’s intricate pathways, ensure you’re familiar with advanced movement techniques. The platforming sequences here are more demanding than previous missions, requiring flawless dash timing and launch pad utilization. Many players struggle with the verticality of these sections, so practice air control and quick directional changes.
For comprehensive coverage of Doom Eternal’s complete campaign, our Complete Guide offers detailed strategies for every mission. Understanding weapon synergies and upgrade priorities from our Weapons Unlock guide will significantly improve your combat effectiveness in Urdak’s demanding encounters.
Begin by advancing forward and immediately turning right when you reach the exterior section. Position yourself on the illuminated green pressure plate to activate the teleportation glyph mechanism. This celestial technology propels you to adjacent platforms with precise momentum control.

The subsequent platforming sequence introduces pole swinging mechanics combined with wall-climbing maneuvers. Time your swings to maintain momentum and use dash abilities mid-air to correct trajectory. Many players fail these sections by rushing – instead, observe the pattern of platforms and plan your route before executing movements.
After navigating this challenging terrain, proceed indoors and locate the laser control interface. A well-placed shot deactivates the energy barrier, allowing safe passage. Continue through the architectural marvels of Urdak until encountering the narrative cutscene.
The cutscene introduces the Makyr Drone, an armored fodder enemy type that appears surprisingly late in the campaign. Their durable exoskeletons make them resistant to conventional fire, requiring specialized tactics for efficient elimination.
Employ the Heavy Cannon’s Precision Bolt mod for guaranteed one-shot kills via headshots. Successfully executing this technique triggers a resource explosion, scattering ammunition and health pickups throughout the immediate area. This mechanic becomes crucial for resource management in extended combat scenarios.
Clear the initial arena of all hostiles, then utilize the scalable wall surfaces to reach the level exit. Proceed through ventilation systems to the next combat zone, where you’ll encounter standard demonic forces alongside environmental puzzles.
Melee the obstructive block concealed behind one doorway, then ascend to access the statue interaction point. Execute a precise dash into the monument to trigger the platform manifestation sequence.
Use the newly formed structure to swing toward adjacent poles, eventually reaching another ventilation shaft. Upon emergence, immediately locate and destroy the Buff Totem to the right, accessible via staircase ascent and left turn. Eliminating this enhancement source immediately reduces enemy aggression and capabilities.
After neutralizing remaining threats, utilize the pole closest to the exit area to swing upward toward the elevated platform. Activate the switch here to disable the laser barrier system.
Navigate through the facility’s interior until returning to exterior sections. Launch toward the next platform and engage the waiting demonic forces, which include another challenging Marauder encounter. These elite enemies demand precise timing and weapon switching to overcome efficiently.
Once the area is secured, follow your objective marker to initiate the portal activation sequence and align the first teleporter ring. Return outside and utilize the launch mechanism to reach subsequent platforms housing additional demonic reinforcements.
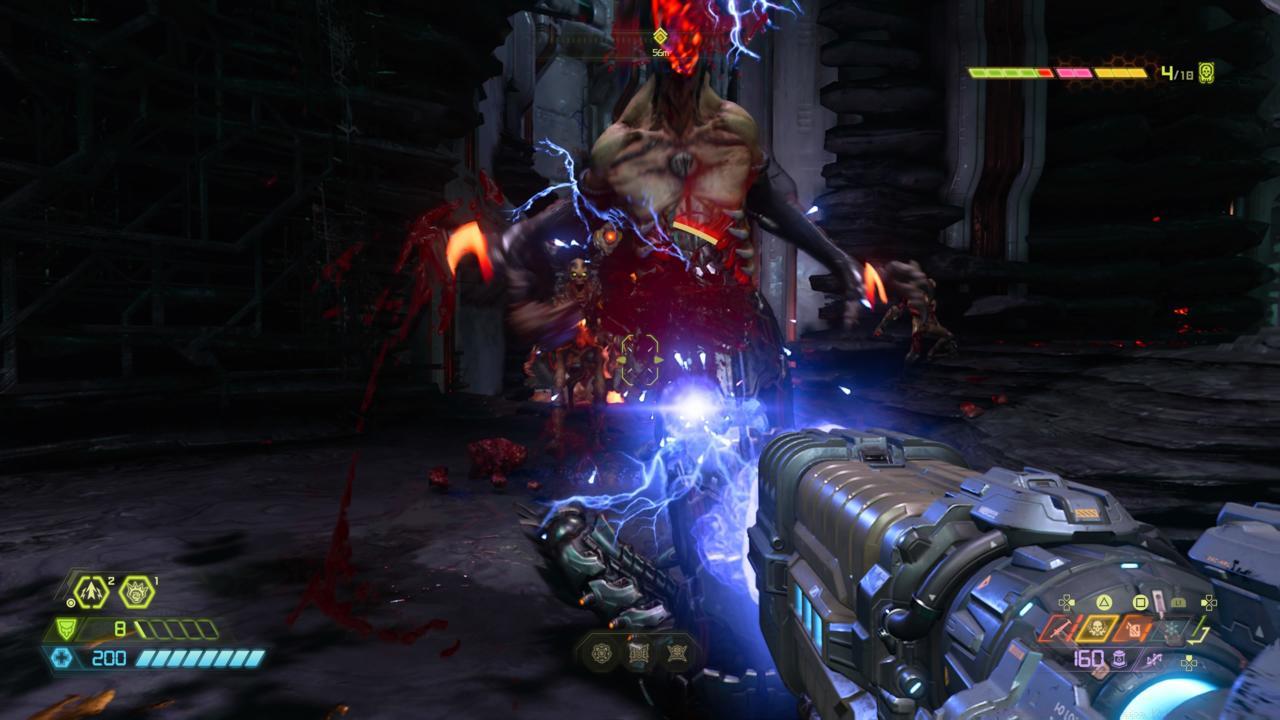
An Archvile appears in this combat zone, requiring immediate prioritization. These summoners can rapidly overwhelm you with additional enemies if not eliminated quickly. Our Class Guide provides additional strategic frameworks for handling elite enemy types in high-pressure situations.
Utilize the forward-positioned launchpad to access the next structural interior. Neutralize interior hostiles, activate the door control switch, then proceed to eliminate remaining threats in the following combat arena.
Follow your waypoint through the exit and employ the levitating wall structures to reach the next zone. Activate the control interface to align the second teleporter ring configuration.
Exit the control chamber and ascend via elevator, then return to exterior areas and launch back to your previous position. Now utilize the alternative launchpad system, which deposits you into a combat zone containing another Buff Totem. Immediately turn left and advance to locate the Totem beneath an overpass structure.
After destroying the enhancement source, eliminate all remaining demonic forces. Enter the now-accessible doorway and ride the elevator upward to discover the third and final alignment control for the teleporter network.
Exit the alignment chamber and journey back to the central platform hub. Track your waypoint through the doorway and navigate the path until encountering laser barriers and violet-hued liquid.
Submerge into the colored water and demolish the submerged wall structure directly beneath your position. This strategic destruction lowers the liquid level, enabling ascent to the control switch that deactivates the laser systems. Board the elevator and prepare for the culminating boss engagement.
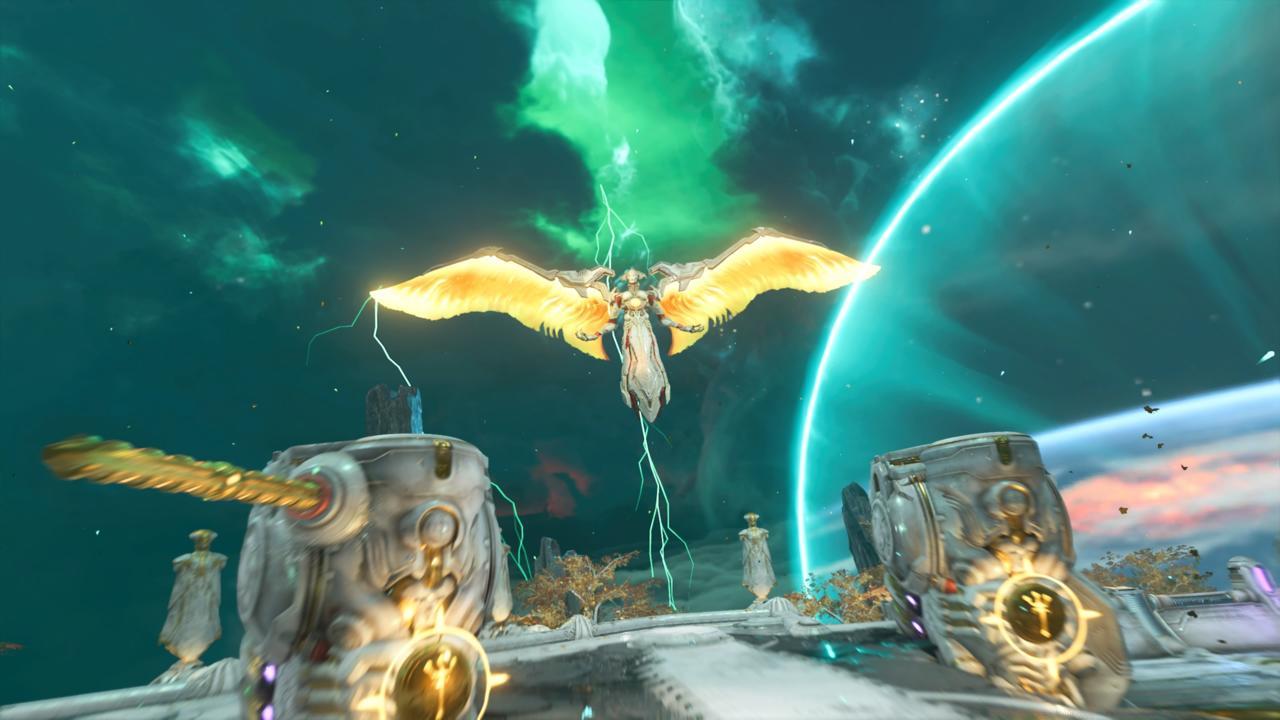
The confrontation with Khan Makyr represents a war of endurance, characterized by her six separate health bars that must be depleted sequentially. This extended health pool demands consistent damage output and resource conservation throughout the engagement.
The Ballista emerges as your primary weapon for this encounter due to its exceptional accuracy and damage profile. Crucially, this weapon requires exactly five direct hits to eliminate one complete health bar segment from the celestial ruler.
When a health bar becomes depleted, Khan Makyr undergoes a visual transformation, emitting a distinctive green glow indicating her vulnerable state. This critical window enables strategic positioning using the Super Shotgun’s Meat Hook attachment, propelling you toward the boss for close-range Blood Punch executions.
Advanced strategy note: Time your Ballista shots to coincide with her attack animations for safer engagement. Many players waste ammunition during her invulnerability phases – learn her pattern tells to maximize damage efficiency. The entire battle typically lasts 8-12 minutes for experienced players, but can extend significantly if resource management falters.
Action Checklist
- Practice launch pad timing and pole swinging in less demanding areas first
- Always prioritize Makyr Drone headshots with Precision Bolt for resource generation
- Destroy Buff Totems immediately upon entering new areas to reduce difficulty
- Eliminate Archviles within 15 seconds of appearance
- Count Ballista shots against Khan Makyr – exactly five per health bar
No reproduction without permission:SeeYouSoon Game Club » Doom Eternal Urdak: Mission 12 Walkthrough And Tips Master Doom Eternal's penultimate Urdak mission with expert navigation tips and boss strategies