TL;DR
- Master urban traversal with wall climbing and strategic weapon usage
- Prioritize Buff Totem destruction to prevent enemy empowerment
- Utilize BFG-9000 and Crucible for crowd control during boss phases
- Focus on specific armor and body part targeting for efficient boss takedown
- Manage movement patterns to avoid Icon of Sin’s devastating area attacks
You’ve reached the ultimate test in Doom Eternal – the climactic confrontation that will push your combat skills to their absolute limits. This final challenge demands perfect execution of all techniques you’ve mastered throughout the campaign. Our comprehensive guide provides the strategic edge you need to emerge victorious.
Congratulations on making it to Doom Eternal’s concluding mission! Prepare for an intense trial that will thoroughly examine every ability you’ve developed. This isn’t a simple cinematic conclusion – expect demanding combat scenarios requiring precise movement and weapon management. With proper strategy and persistence, you’ll successfully complete this epic finale.
For detailed walkthroughs covering Doom Eternal’s earlier chapters, explore our complete guide collection featuring all available content. Having journeyed this far together, we’d appreciate your feedback on this guide’s effectiveness. Share your thoughts in the comments section, or check out our comprehensive Doom Eternal review for additional insights.
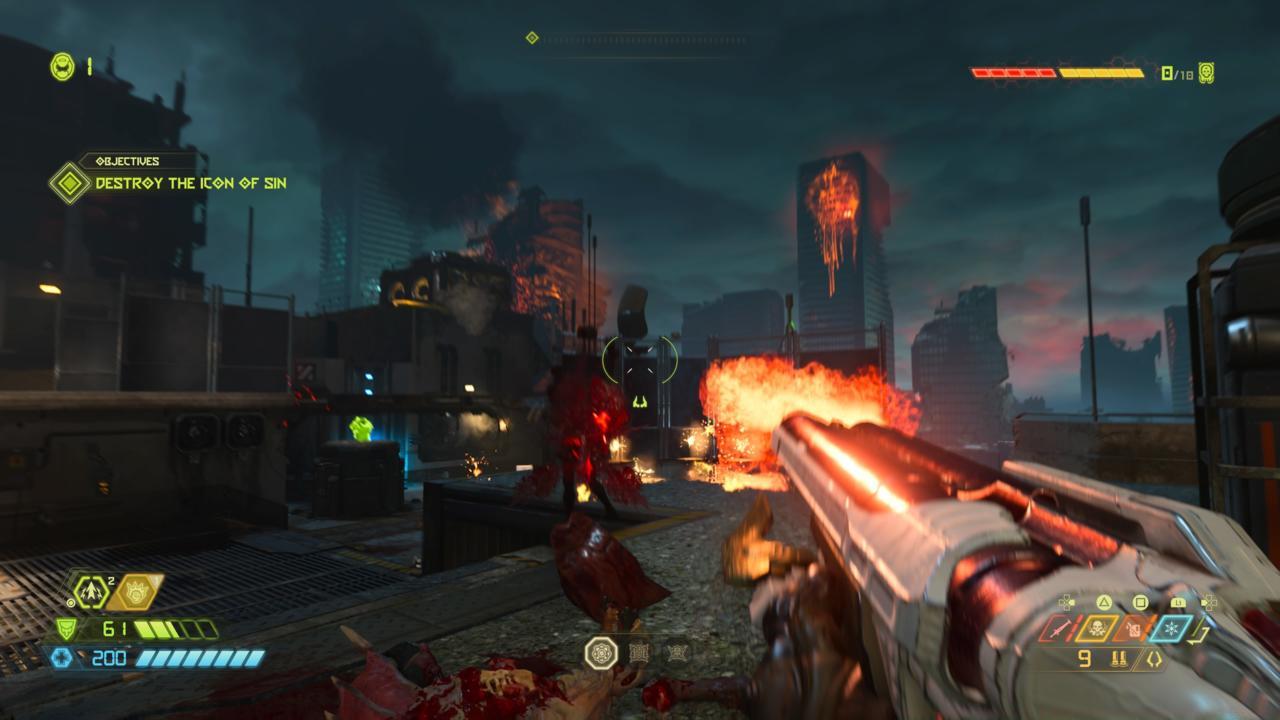
Begin by advancing through the demolished structure and making a precision jump to the adjacent rooftop when encountering the gap. You’ll face an extensive combat zone here, requiring complete demon eradication before proceeding through the wall breach. Ascend the staircase and leap to the next building, employing the Super Shotgun’s Meat Hook for both mobility and to deliver a devastating greeting to the awaiting Revenant. Utilize climbable surfaces to gain elevation, then carefully navigate across until you can access the subsequent structure.
Eliminate all hostile forces within the interior and employ the scalable surface inside the elevator shaft to reach higher levels. Dispatch the demons that appear following the short cinematic sequence, then execute a calculated jump toward the window maintenance platforms on the opposite building. Follow this pathway to enter the building interior, where you’ll encounter—predictably—additional demonic forces. A Buff Totem will materialize shortly after entry, so rapidly ascend to locate it within one of the upper chambers. Employ your complete weapon arsenal to eliminate remaining adversaries, then pursue the navigation marker to the next climbable surface and advance to the subsequent level.
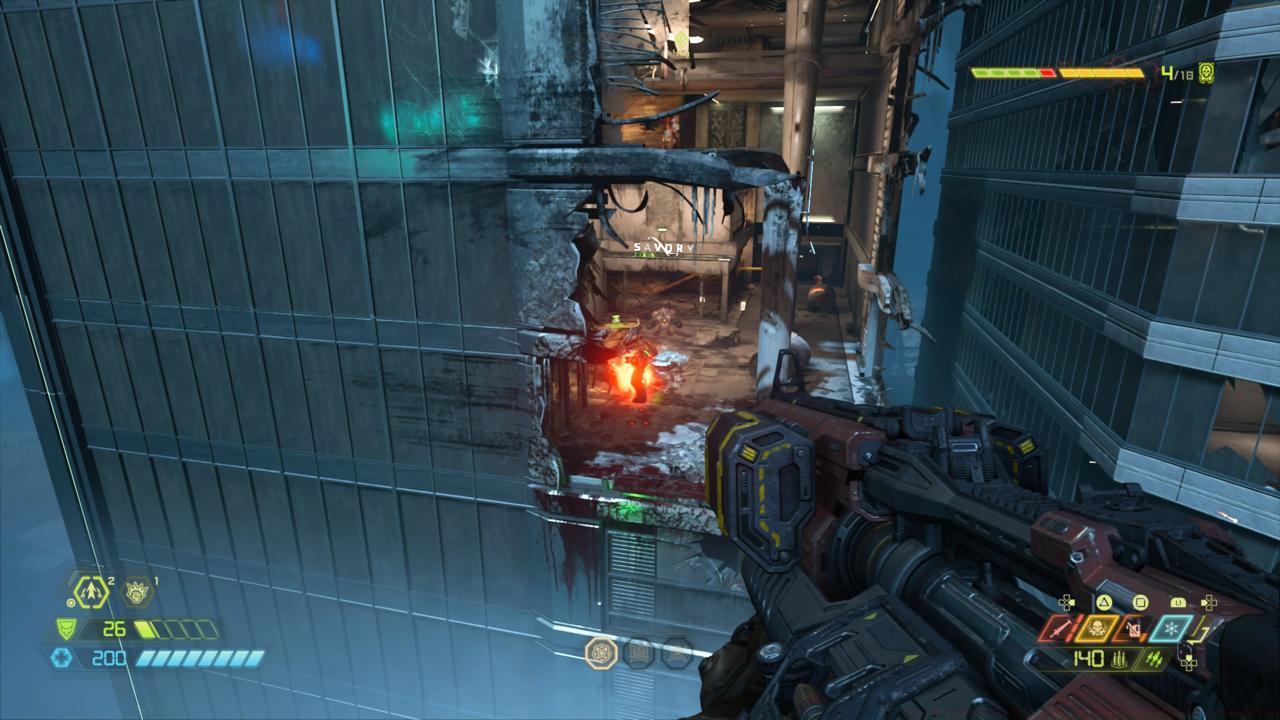
From this position, scale the debris to reach the roof and neutralize the waiting enemy contingent. After achieving complete elimination, activate the jump pad and leap to the neighboring building, then utilize the swing pole to ascend to another rooftop. Before entering the next structure, you can employ rocket attacks against the Tyrant from a relatively secure position. The interior contains multiple Tyrants, and another Buff Totem will emerge after a brief period. Ascend to the upper level and follow the hallway to its terminus, locating the Totem in a chamber to your right. Following total enemy clearance, scale the wall in the entrance area and progress up the stairway.
Upon reaching the top-floor establishment, you’ll face a massive demon assault. Eliminate sufficient numbers and an Archvile will ultimately appear, requiring rapid elimination to reduce the demonic influx. After surviving this intense engagement, traverse to the adjacent building and use wall surfaces for continued navigation. Activate the Dash Refill capability to cross the substantial gap between structures, then land on the underlying bridge. Proceed along this route until encountering several poles. Employ these to access the train compartment, then ascend to its roof to reach the next building. Breach the compromised wall and prepare for Doom Eternal’s ultimate boss confrontation.
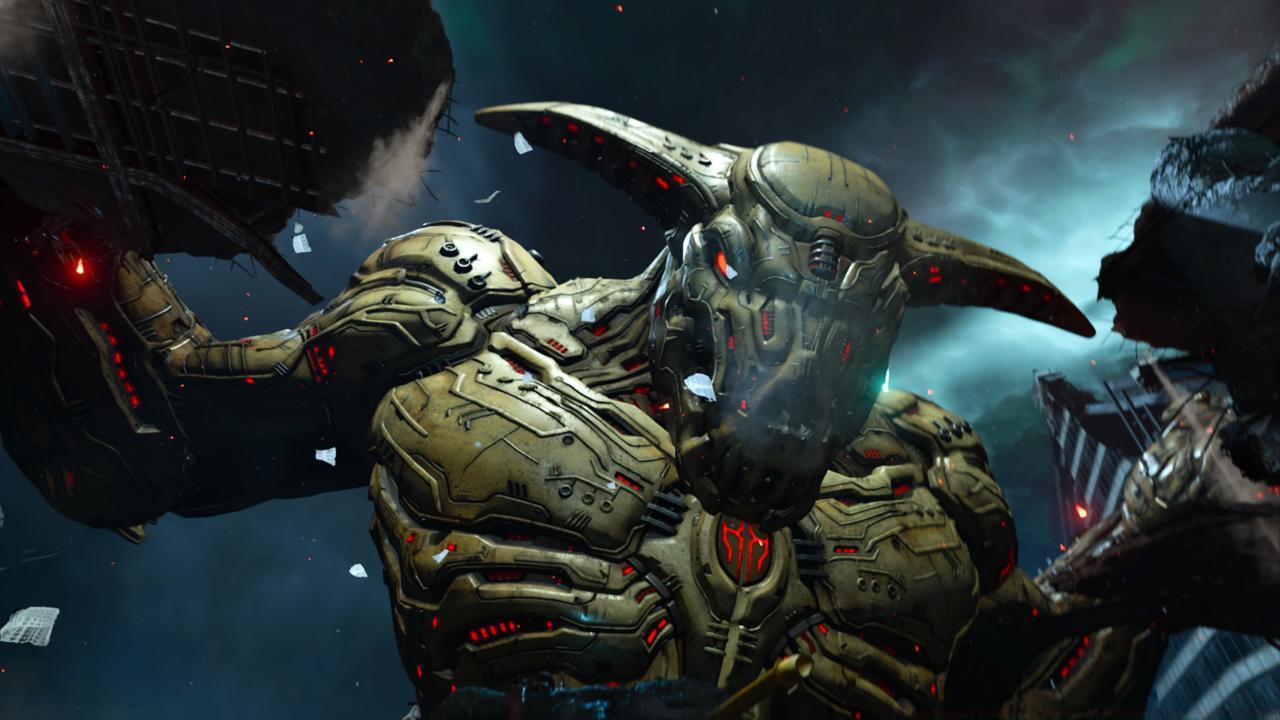
The culminating boss engagement against the massive Icon of Sin consists of two distinct stages. Both phases concentrate on eliminating specific anatomical components while evading the creature’s offensive maneuvers and managing simultaneous enemy threats.
Throughout the initial phase, concentrate your attacks on the Icon of Sin’s protective armor. Eight armor segments exist total, with sustained damage to each eventually resulting in destruction. Regarding attack patterns, the entity launches projectiles from its cranial region, emits fiery bursts from its extremities, and executes ground impacts with its fists. Evasive dashing and avoiding conflagration zones when they consume the battlefield represent optimal damage avoidance methods, though you must also handle the continuous enemy waves. Thankfully, substantial BFG-9000 and Crucible ammunition distributes throughout the arena, enabling effective deployment against formidable adversaries like the appearing Barons of Hell.
After demolishing all eight armor components, the Icon of Sin will relocate to another zone to commence phase two. The offensive patterns encountered resemble the first phase, except you must now eliminate eight bodily components rather than armor. The tactical approach remains consistent, so maintain concentrated fire on the primary target while utilizing the BFG-9000 and Crucible to address spawning enemies. Destroy all eight anatomical segments to complete Doom Eternal’s narrative and initiate the credit sequence.
Advanced Boss Strategy: The Icon of Sin’s attack patterns follow predictable cycles. Projectile volleys from its head occur every 12-15 seconds, while ground slams happen approximately every 20 seconds. Position yourself near ammunition respawn points to maintain weapon availability. For optimal efficiency, target armor segments systematically rather than randomly – begin with shoulder plates, then progress to chest armor. During phase two, prioritize the creature’s weapon-bearing limbs first to reduce its offensive capabilities.
Action Checklist
- Master urban traversal with wall climbing and precision jumping
- Prioritize Buff Totem destruction immediately upon appearance
- Utilize Super Shotgun Meat Hook for mobility and quick Revenant elimination
- Deploy BFG-9000 strategically for crowd control during boss phases
- Systematically target Icon of Sin armor and body parts in optimal sequence
No reproduction without permission:SeeYouSoon Game Club » Doom Eternal Final Sin: Mission 13 Walkthrough And Final Boss Tips Complete Doom Eternal Final Sin mission guide with advanced strategies and boss tactics