TL;DR
- Prioritize Archvile elimination using BFG-9000 ammo found under the altar
- Utilize Overdrive power-up against Baron of Hell and Doom Hunter combinations
- Master spinning platform navigation by targeting green-lit safe zones
- Employ hit-and-run tactics against Tyrants while clearing supporting enemies
- Use environmental mobility options like jump pads and climbable walls for tactical positioning
Nekravol Part II represents the eleventh main campaign mission in Doom Eternal, positioning players directly before the final confrontations. This hellish segment demands refined combat execution and precise environmental navigation to overcome increasingly challenging demonic opposition.
Before diving into the fiery depths, ensure your arsenal includes versatile weaponry capable of handling diverse enemy types. The Super Shotgun with Meat Hook attachment proves invaluable for mobility, while the Ballista offers superior single-target damage against elite foes. Understanding enemy weak points and ammo conservation becomes crucial as resources grow scarcer in later stages.
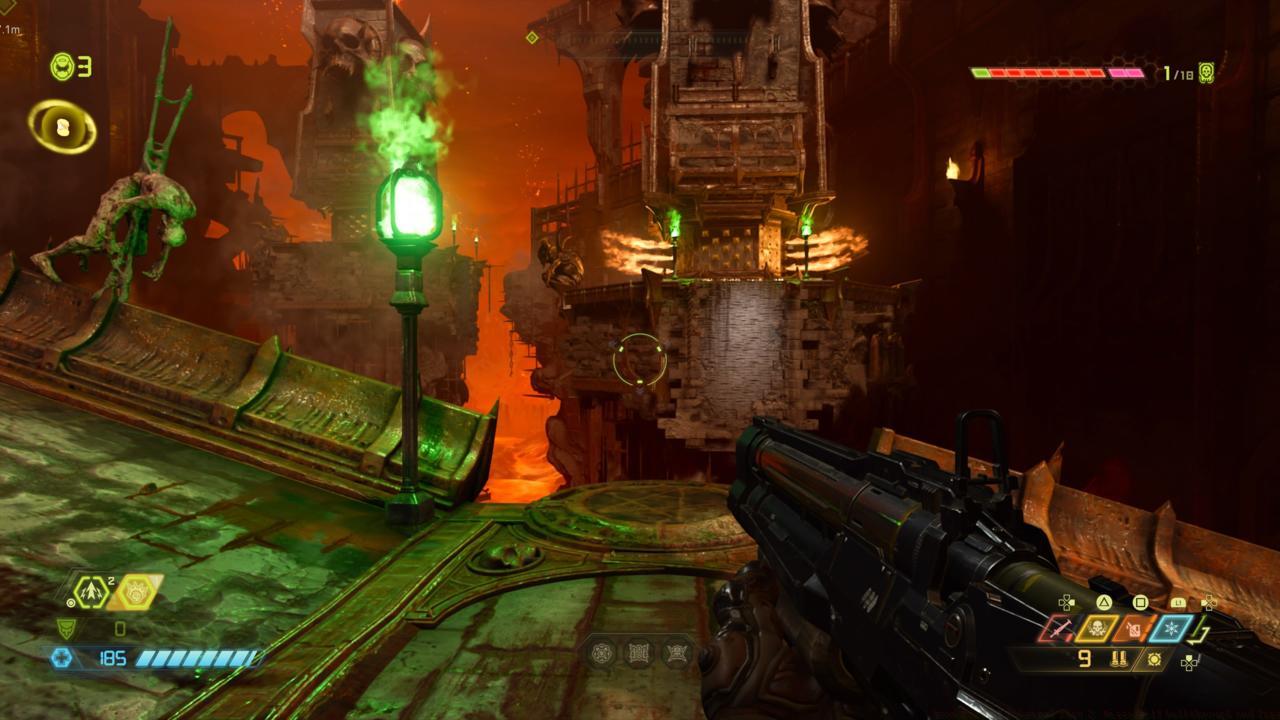
Begin by advancing along the main pathway, systematically eliminating demonic resistance encountered on the bridge structure. After neutralizing all hostiles, locate the distinctive lantern emitting green flames that serves as your navigation landmark.
From this reference point, execute a calculated jump toward the scalable wall surface on the opposite platform. Ascend carefully while evading intermittent flame hazards, then propel yourself to the adjacent platform to repeat the climbing process. Utilize the strategically placed Dash Refill to bridge the gap toward the building entrance.
Advanced Tactics: Chain glory kills during bridge combat to maintain health and ammunition reserves. The narrow bridge confines work to your advantage when using explosive weapons, but remain mindful of environmental hazards.
The subsequent area contains minimal initial resistance, allowing quick clearance before advancing toward the waypoint-triggered cinematic sequence. Upon scene completion, prepare for intensified combat as numerous enemies materialize simultaneously.
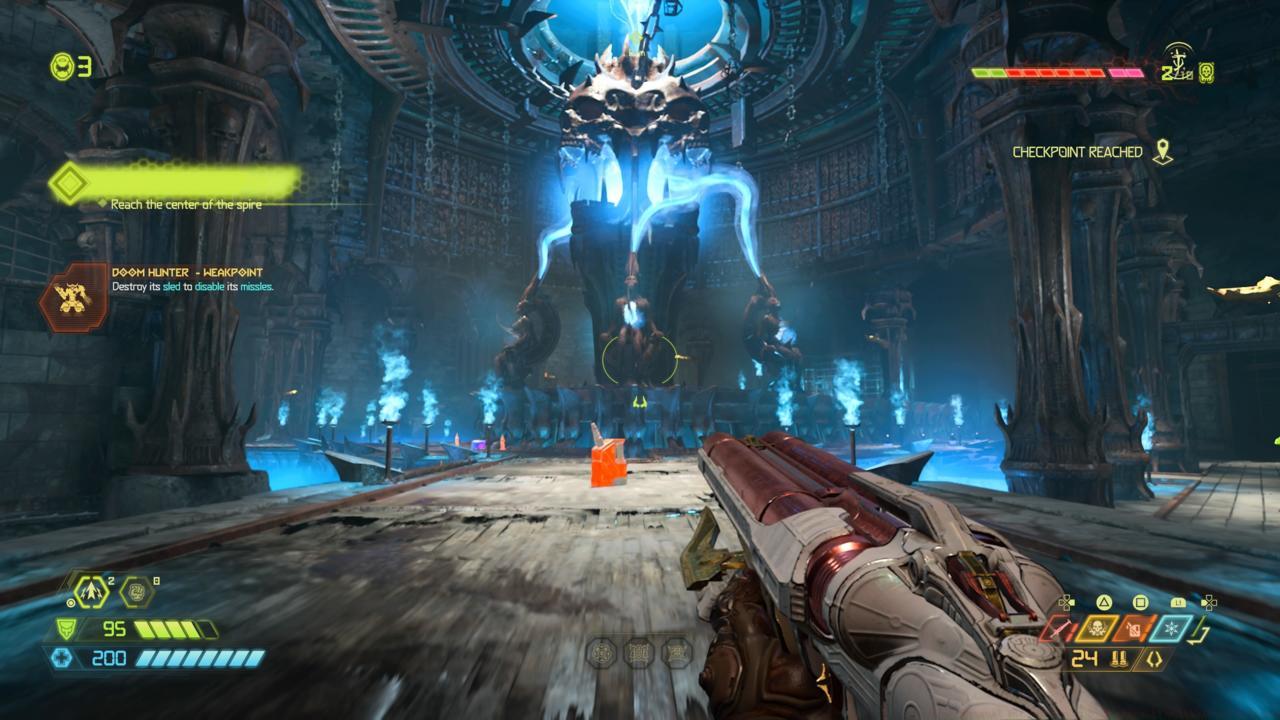
This engagement introduces a formidable Baron of Hell alongside a dangerous Doom Hunter, creating a high-threat scenario. Strategically positioned on elevated platforms rests a yellow Overdrive power-up that temporarily amplifies movement velocity and firing rate dramatically.
Elite Enemy Breakdown: The Baron of Hell possesses devastating melee attacks but limited ranged capabilities, making kiting strategies effective. The Doom Hunter requires disabling its sled unit first to expose its vulnerable core.
After achieving total enemy eradication, proceed through the designated exit, descend into the opening, and trigger the subsequent narrative sequence.
Multiple adversaries spawn within this combat zone, with BFG-9000 ammunition concealed beneath the central altar structure. Reserve this devastating ordnance for the Archvile that manifests later in the encounter, ensuring you circumvent its protective barrier to deliver maximum damage.
Concentrate all offensive capabilities exclusively on the Archvile until neutralization, as its summoning ability can quickly overwhelm the battlefield. Subsequently address remaining hostile entities before the inevitable Marauder reappearance.
Archvile Countermeasures: These powerful spellcasters project damage-resistant shields and continuously summon reinforcements. Immediate elimination prevents exponential difficulty escalation.
When confronting the Marauder, employ previously established tactics: maintain medium distance, bait its axe throws, and capitalize on brief vulnerability windows after its green-eye flash attack.
Following Marauder defeat, navigate toward the waypoint marker and depart the chamber to progress.
Proceed upward by traversing rotating platforms, deliberately targeting sections illuminated by green indicators to evade deadly spike obstructions. Upon reaching the summit, activate the elevator mechanism, then vault across the substantial chasm and scale the wall to access the next tier.
Employ the jump propulsion device, ascend the subsequent wall, and repeat the chasm-crossing maneuver. Next, board the oscillating platform within the adjoining chamber and demolish one of the destructible walls using melee attacks.
This confined space hosts considerable enemy presence, including multiple Cyber Mancubus units. Utilize jump pads flanking the corridor to establish tactical spacing and avoid their toxic area-denial attacks.
Cyber Mancubus Strategy: These heavily armored foes discharge corrosive sludge that persists on surfaces. Target their arm-mounted cannons first to disable their most dangerous attacks while maintaining elevated positions.
After area clearance, activate a jump pad to reach overhead platforms and breach the wall exposing swing poles for additional vertical progression.
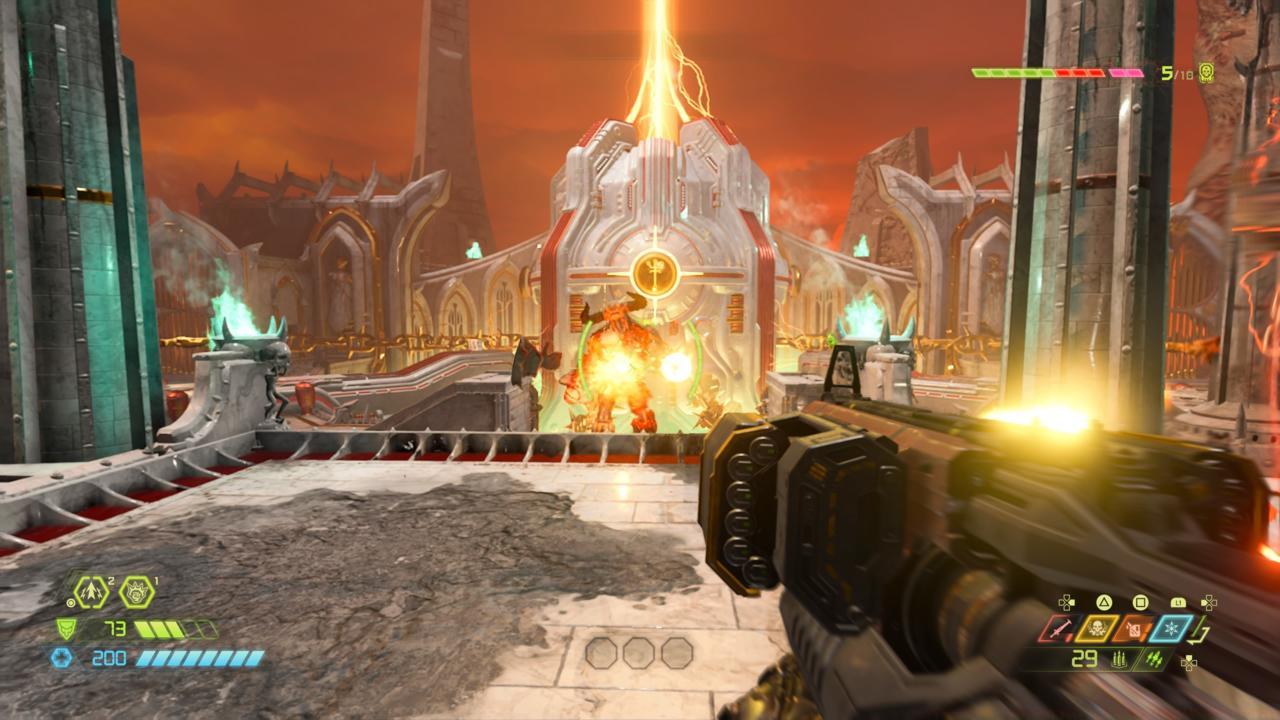
The concluding combat zone in this mission spans an extensive area. Immediately upon emergence, you’ll confront a massive Tyrant positioned directly ahead. Despite its imposing stature, the Tyrant’s mobility limitations permit lateral movement to address secondary threats while minimizing direct confrontation.
Engage the Tyrant during opportunistic moments, as sustained damage will eventually overcome its substantial health pool. Once the arena achieves full clearance, position yourself on the activation panel and demolish both restraining chains.
Tyrant Engagement Protocol: These towering brutes employ powerful ranged and melee attacks but possess slow turn rates. Circling maneuvers combined with precision weak point strikes to the chest cannon yield optimal results.
Finalize the mission by plunging into the Argent Energy Stream, concluding this chapter of your demon-slaying campaign.
Action Checklist
- Clear bridge enemies using glory kill chains for resource maintenance
- Acquire Overdrive power-up before engaging Baron and Doom Hunter
- Use BFG-9000 on Archvile immediately upon appearance
- Navigate spinning platforms by targeting green-lit safe zones exclusively
- Eliminate Tyrant using hit-and-run tactics while clearing support enemies
No reproduction without permission:SeeYouSoon Game Club » Doom Eternal Nekravol Part 2: Mission 11 Walkthrough And Tips Master Nekravol Part II with advanced combat strategies and navigation techniques for Doom Eternal's eleventh mission