TL;DR
- Master Pinky Demon weak points by targeting their exposed tails during charge attacks
- Utilize jump pads and environmental cover to manage multiple heavy demon encounters simultaneously
- Perfect timing on floating climbable walls and moving platforms is essential for progression
- Employ specific weapon combinations for maximum effectiveness against different enemy types
- Navigate timed spike traps and laser hazards with precision movement techniques
This comprehensive walkthrough provides detailed strategies for conquering Doom Eternal’s fourth mission, Doom Hunter Base. You’ll discover advanced combat techniques, navigation shortcuts, and enemy-specific tactics to dominate this challenging level.
Doom Eternal’s fourth mission tasks you with assaulting the Doom Hunter’s fortified stronghold. This guide delivers step-by-step navigation through the mission’s most dangerous demonic encounters. For additional mission assistance, explore our Complete Guide covering advanced gaming strategies across multiple titles. The mission presents escalating challenges that test both combat proficiency and environmental awareness.
Your assault commences aboard an armored train carriage. Immediately engage the Soldier and Imp forces while deploying the Rocket Launcher to efficiently eliminate the heavy Mancubus threat. After securing the initial area, follow navigation markers to disconnect the carriage and advance to the station platform.
Scale the left-side structures to reach the elevated platform, eliminating all hostile forces awaiting your arrival. Proceed according to waypoint guidance, utilizing wall climbing mechanics to traverse to the opposite sector. Passing through the security door introduces your first Pinky Demon encounter.
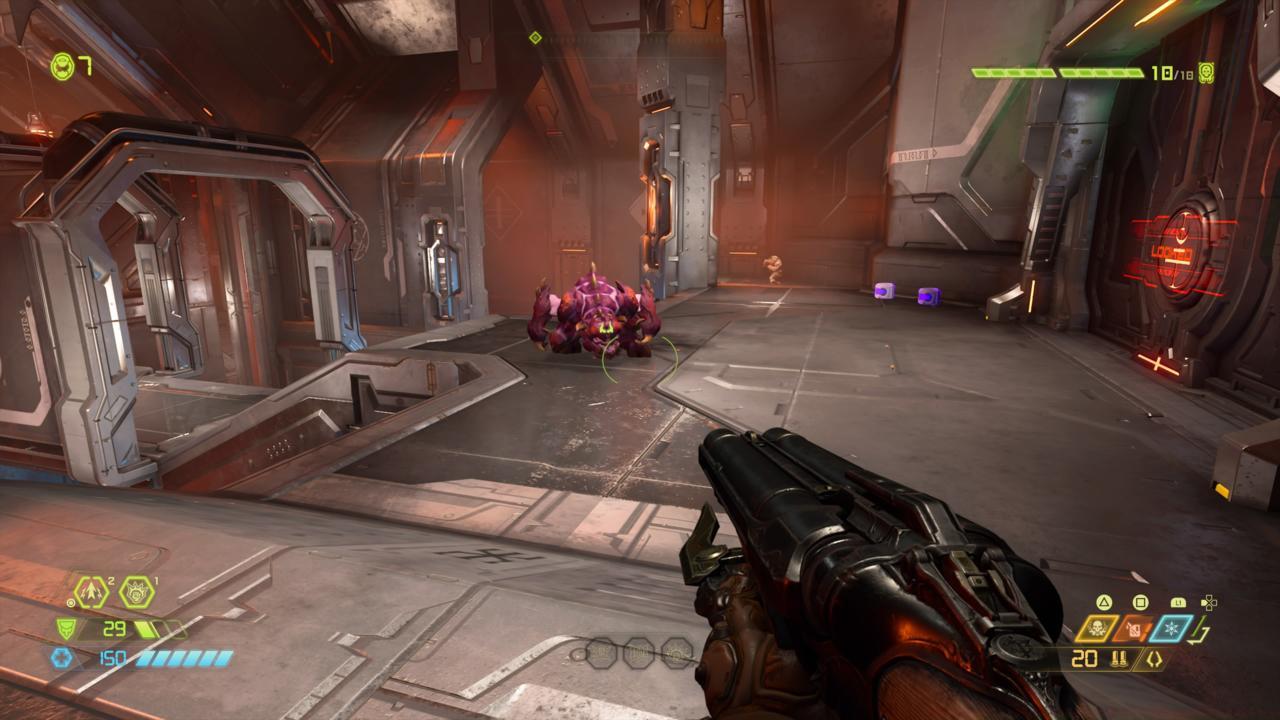
Pinky Demons employ aggressive charging tactics rather than projectile weapons. Time your evasion precisely as they initiate their rush, executing double jumps or tactical dashes to create firing angles on their vulnerable tail sections. The Ice Bomb provides excellent crowd control, immobilizing them for concentrated Super Shotgun barrages. Typically, 2-3 close-range blasts will neutralize this threat.
The combat arena quickly escalates with additional demon reinforcements including duplicate Pinkies, Hell Knights, Revenants, Mancubi, and Arachnotrons. Maximize survival by leveraging jump pad mobility and strategic cover placement throughout the engagement zone.
Pro Tip: Prioritize Arachnotrons first as their plasma turrets create overwhelming crossfire situations. Use the environment’s verticality to gain tactical advantages against ground-based heavy demons.
After clearing the combat zone, proceed through the exit portal and activate the green teleporter. Navigate the industrial complex until encountering timed floating climbing surfaces. Attach to the initial wall and rapidly traverse rightward to the secondary platform. Continue to stable terrain while eliminating Cacodemon aerial threats. Re-entering the interior spaces triggers another Pinky engagement—apply previously established countermeasures.
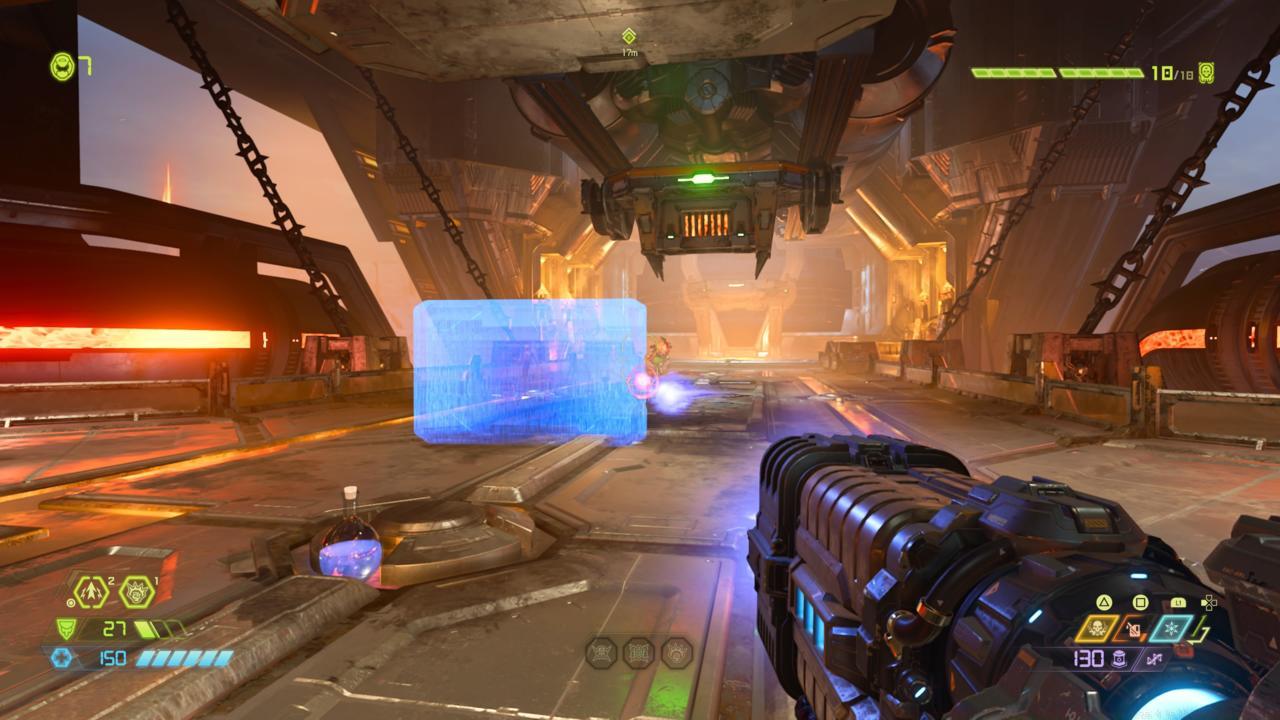
Continue your advance to discover additional floating wall sequences. From the primary platform, execute a rightward jump followed by descent to the lower staging area. From this position, ascend through the access shaft into a corridor populated with Zombie troops and the newly introduced Carcass enemy variant.
Carcass units deploy energy barrier projections and discharge circular energy projectiles. The Plasma Rifle proves exceptionally effective for penetrating their defensive shields and achieving rapid eliminations.
Common Mistake: Many players underestimate the Carcass’s shield regeneration speed. Maintain constant pressure to prevent them from establishing defensive positions.
A mechanized platform operates at the corridor’s terminus—await its descent cycle before boarding. From this transport, navigate toward your objective marker and access the subsequent chamber. Deploy firepower to lower the climbable barrier while synchronizing your ascent with the spike trap activation patterns. Combat hostile forces through the following passageway while evading laser grid emitters, repeating this cautious approach when reaching the next wall section.
Ascend to the control platform and neutralize all opposition to activate the progression mechanism. This unlocks the security door, permitting advancement through the subsequent sector until reaching exterior environments. Eliminate outdoor threats and employ climbable surfaces to access the next operational platform.

Weapon Efficiency Guide: Different demon types have specific weapon vulnerabilities. The Super Shotgun devastates Pinkies at close range, while the Rocket Launcher efficiently handles Mancubi and Revenants. For Arachnotrons, the Precision Bolt mod on the Heavy Cannon can one-shot their turrets, significantly reducing their threat level.
Movement Mastery: Perfecting the “dash-jump-dash” technique allows you to maintain momentum while evading attacks. This is particularly crucial during the multi-enemy encounters where positioning determines survival.
Resource Management: Conserve Ice Bombs for emergency crowd control situations, especially when facing multiple heavy demons simultaneously. Always prioritize armor pickups over health when given the choice, as the damage reduction provides greater survivability in intense firefights.
For additional weapon optimization strategies applicable across different gaming titles, consult our comprehensive Weapons Unlock guide for advanced loadout configurations.
Understanding enemy behavior patterns is crucial for success. Each demon type has specific attack animations and tells that signal their next move. Learning these patterns will dramatically improve your combat effectiveness throughout the entire mission.
Action Checklist
- Clear train carriage of Soldiers, Imps, and Mancubus using Rocket Launcher for heavy targets
- Master Pinky Demon counters: evade charges and target tail weak points with Super Shotgun
- Navigate floating walls with precise timing, eliminating Cacodemons during ascent
- Counter Carcass enemies with Plasma Rifle to break energy shields quickly
- Time jumps through spike traps and laser corridors with careful movement planning
No reproduction without permission:SeeYouSoon Game Club » Doom Eternal Doom Hunter Base: Mission 4 Walkthrough And Tips Complete Doom Hunter Base mission guide with advanced strategies, enemy tactics, and navigation tips