TL;DR
- Master Gargoyle aerial combat with strafing and Heavy Cannon precision targeting
- Utilize Blood Punch effectively against grouped enemies while avoiding electrical hazards
- Employ strategic positioning on outer platforms to counter Hell Knight charges and Arachnotron turrets
- Optimize Dash ability for platform navigation and chasm crossing efficiency
- Access Secret Encounter using Dash and double jump combination for bonus content
This comprehensive walkthrough provides detailed strategies for conquering Doom Eternal’s second mission, where you’ll acquire fundamental abilities and encounter recurring enemy types. Exultia introduces core combat mechanics that will define your approach throughout the entire campaign.
During Mission 2, you’ll obtain essential movement and combat capabilities while facing adversaries that will become familiar opponents. The walkthrough below delivers step-by-step guidance for each combat scenario and environmental challenge. For additional mission assistance, explore our Complete Guide for comprehensive gaming strategies. We continuously update our content with advanced tactical insights.
Employ your wall climbing capability to traverse the fractured bridge, then detonate the crimson explosive barrels to efficiently eliminate the Zombies concealed in the subsequent chamber. After propelling yourself using the swing pole to access the following platform, breach the barrier and proceed rightward to initiate your initial combat engagement in this mission.
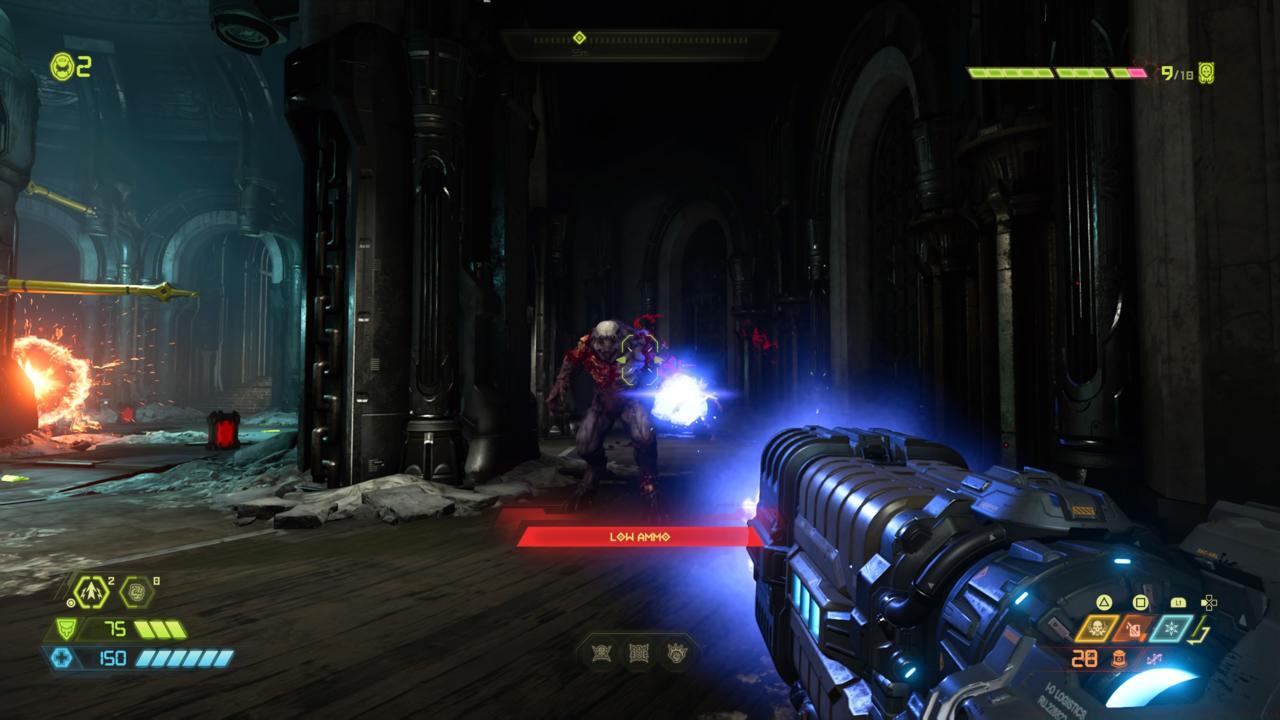
This engagement marks your inaugural confrontation with Doom Eternal’s Gargoyles. These airborne adversaries share behavioral patterns with Imps but possess aerial mobility, requiring lateral movement to evade their projectile attacks while employing the Heavy Cannon for aerial interception. A common mistake is underestimating their movement speed – maintain constant strafing and prioritize eliminating them before they can surround you.
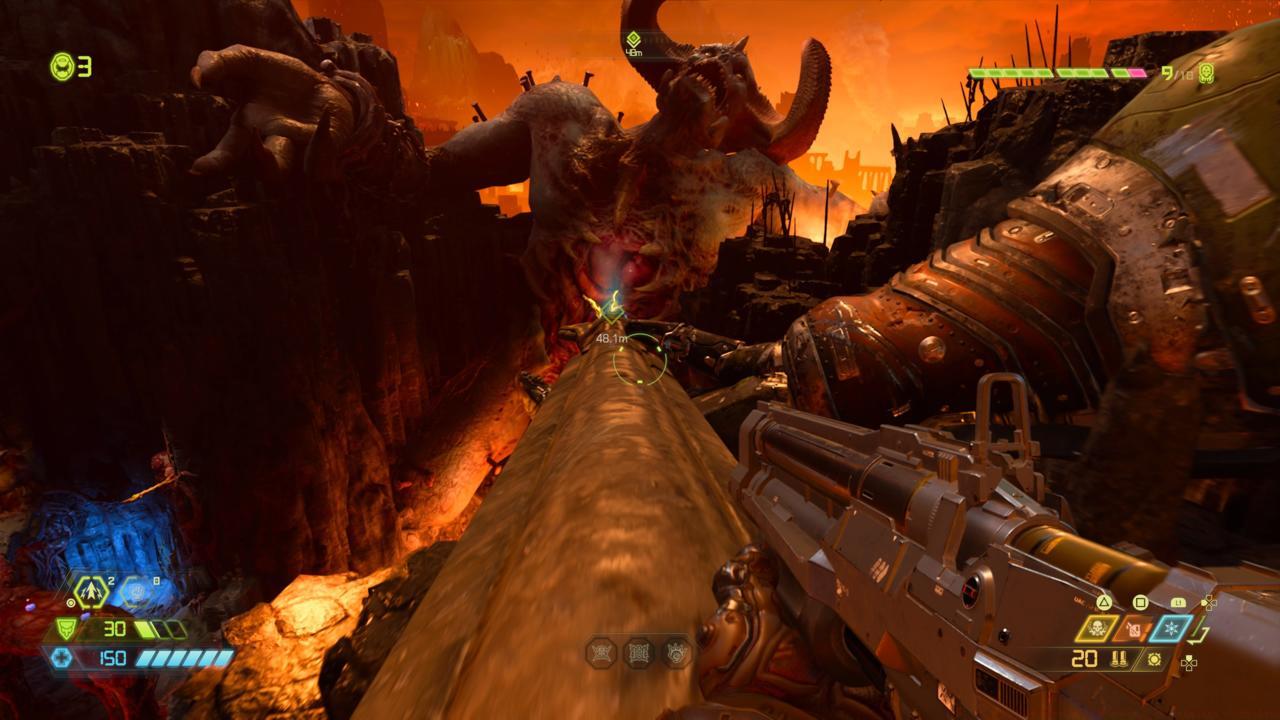
A Cacodemon will eventually enter the battlefield, though a well-placed grenade into its oral cavity will rapidly neutralize the threat. Upon clearing all hostiles from this zone, the gateway will unlock, revealing an enraged Hell Knight. These massive creatures deliver devastating strikes but exhibit predictable behavioral patterns. They predominantly charge directly toward you while occasionally incorporating leaping slam assaults. The crucial tactic involves maintaining reverse movement while sustaining firearm pressure, evading their ground impact attacks when they approach too closely.
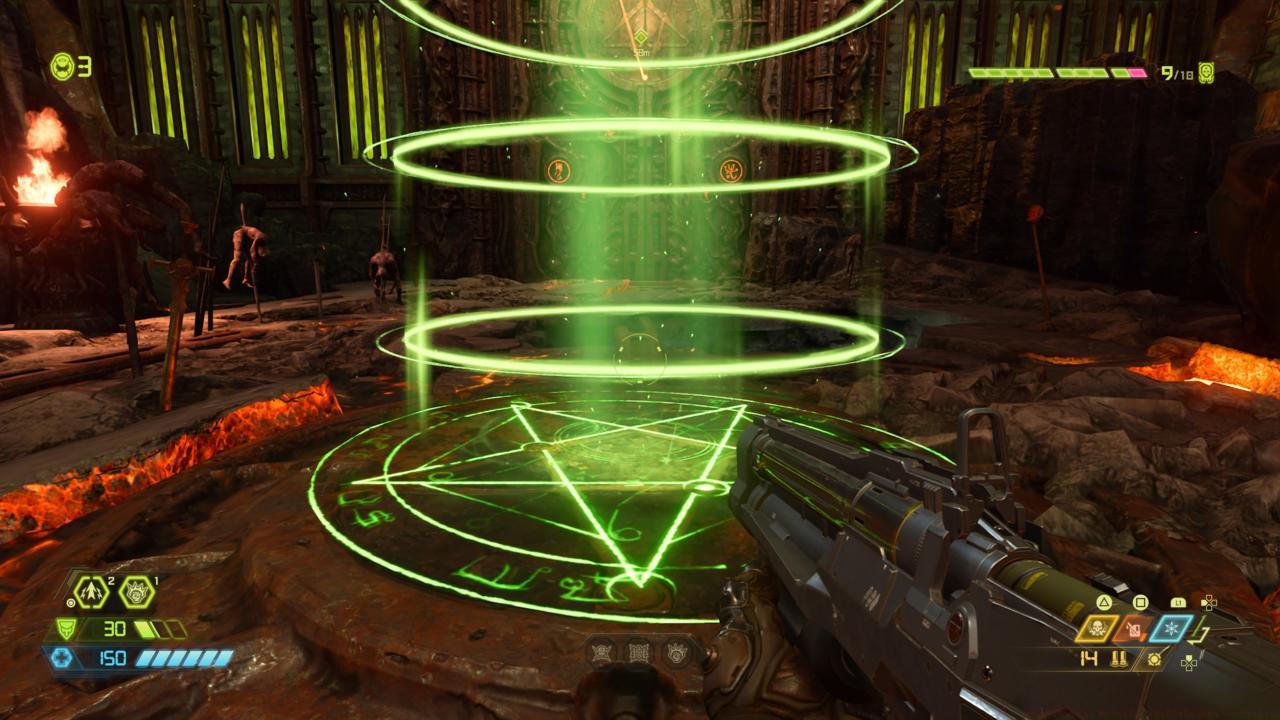
After neutralizing the Hell Knight, proceed through the doorway to obtain your new capability: Blood Punch. Descend into the cylindrical chamber while carefully avoiding the electrical discharges, and deploy Blood Punch when multiple foes cluster together. This ability proves particularly effective against shielded enemies and can clear groups rapidly when timed correctly.
Collect the armament enhancement and descend into the subsequent circular environment. Several Soldiers and Zombies occupy this area, accompanied by another Hell Knight confrontation. The most straightforward elimination method involves adhering to the perimeter circuit of the room to minimize exposure to cannon projectile fire. Remain within this circular path while maintaining retrograde motion and engaging the Hell Knight until its defeat, then address the remaining isolated enemies.
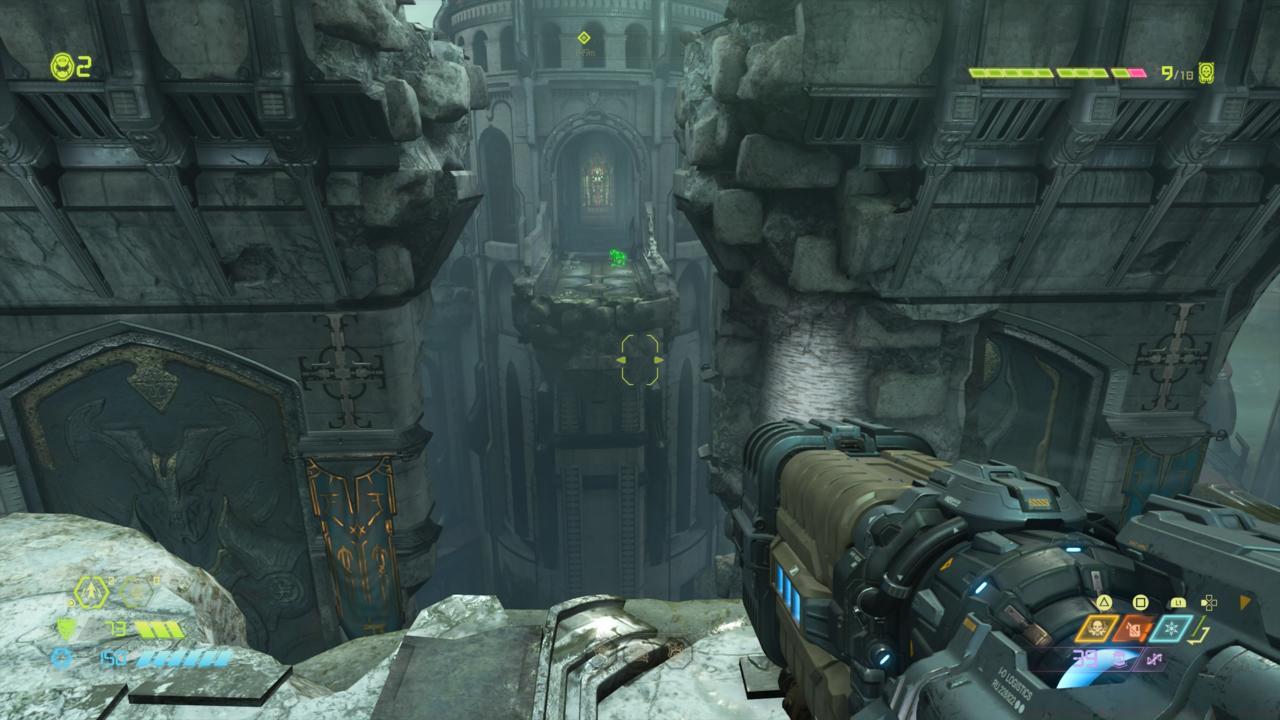
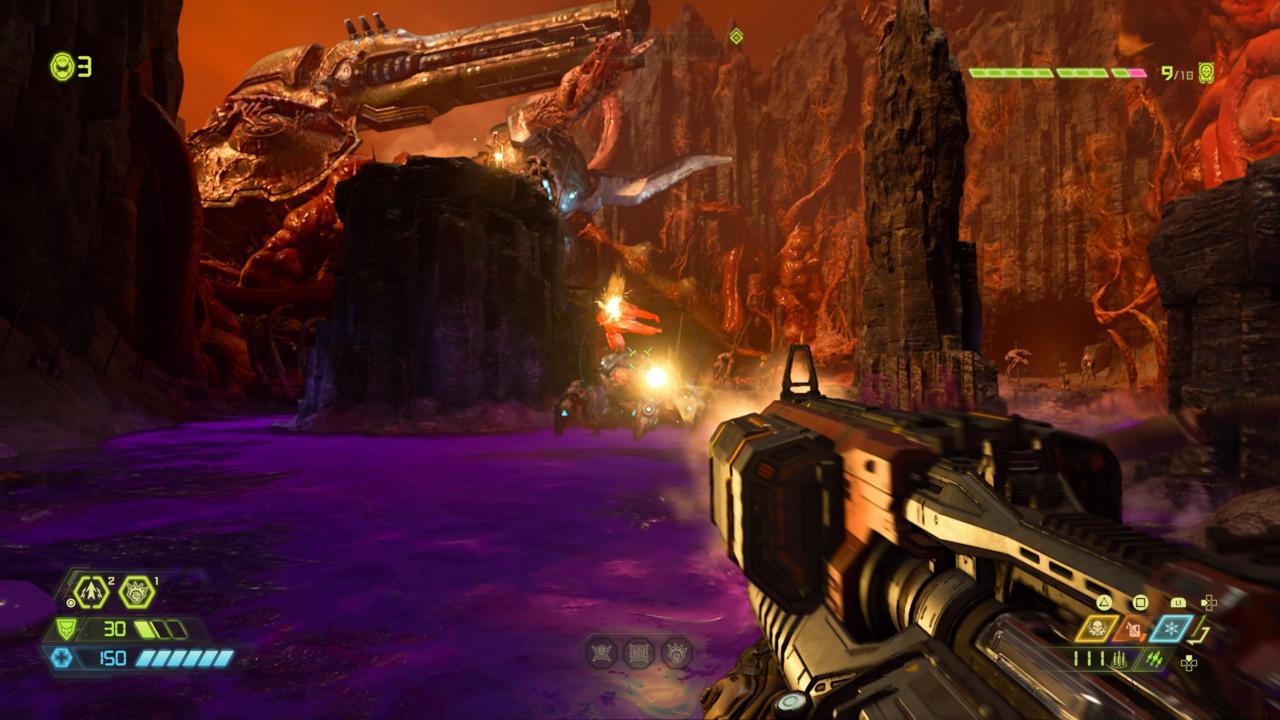
Advance through the subsequent portal and across the connecting span, where you’ll discover another combat theater. Attempt to maintain position on the platform along the room’s exterior edge to provide defensive coverage and complicate enemy targeting acquisition. Many players fail to utilize vertical space – remember to incorporate jumping and dashing to break enemy aim tracking.
Following the Cacodemon’s elimination, an Arachnotron will materialize. Establish distance and utilize the Heavy Cannon to demolish its mounted weaponry, rendering it susceptible to damage. The turret represents its primary threat – once destroyed, the Arachnotron becomes significantly less dangerous. For weapon optimization strategies, consult our Weapons Unlock guide for advanced loadout configurations.
Proceed into the following chamber and, once exterior, you’ll encounter three distinct routes. Two pathways remain currently blocked, so adhere to the navigation marker and ascend to the ledge. Turn right, tracking behind the mobile platforms, until reaching a destructible barrier. Scale this structure and ride the platforms to eliminate each individual chain mechanism.
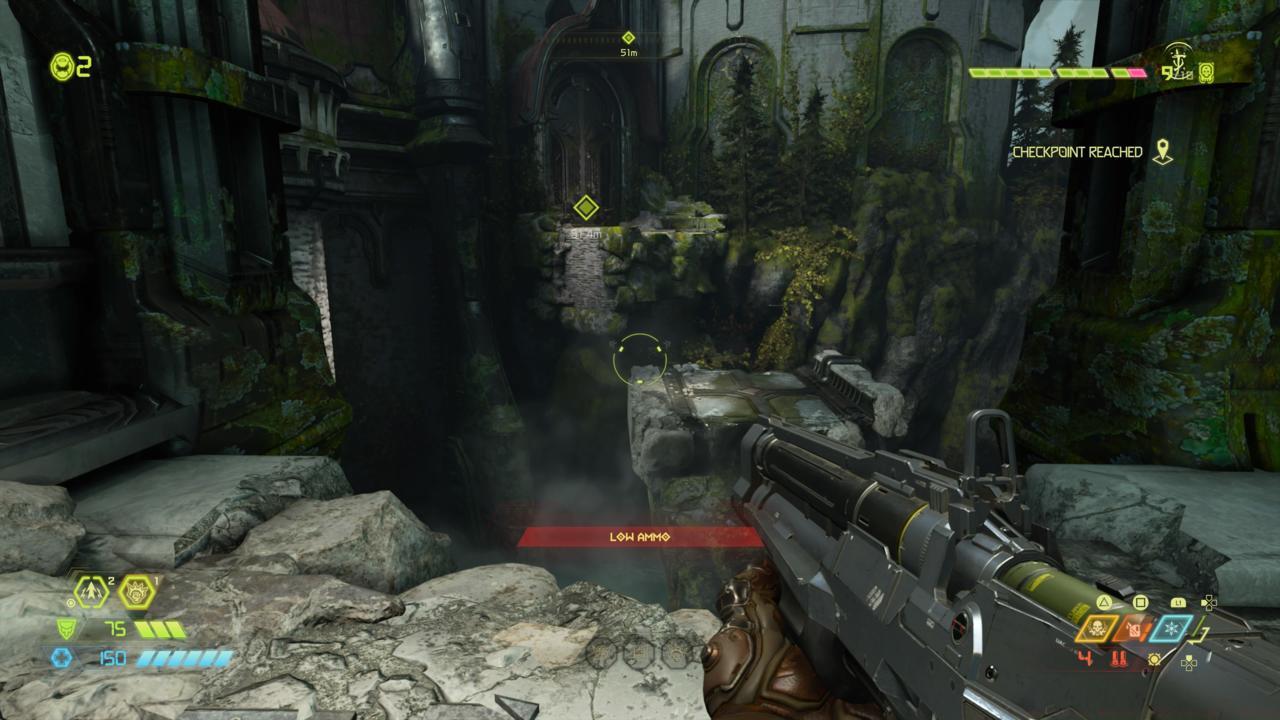
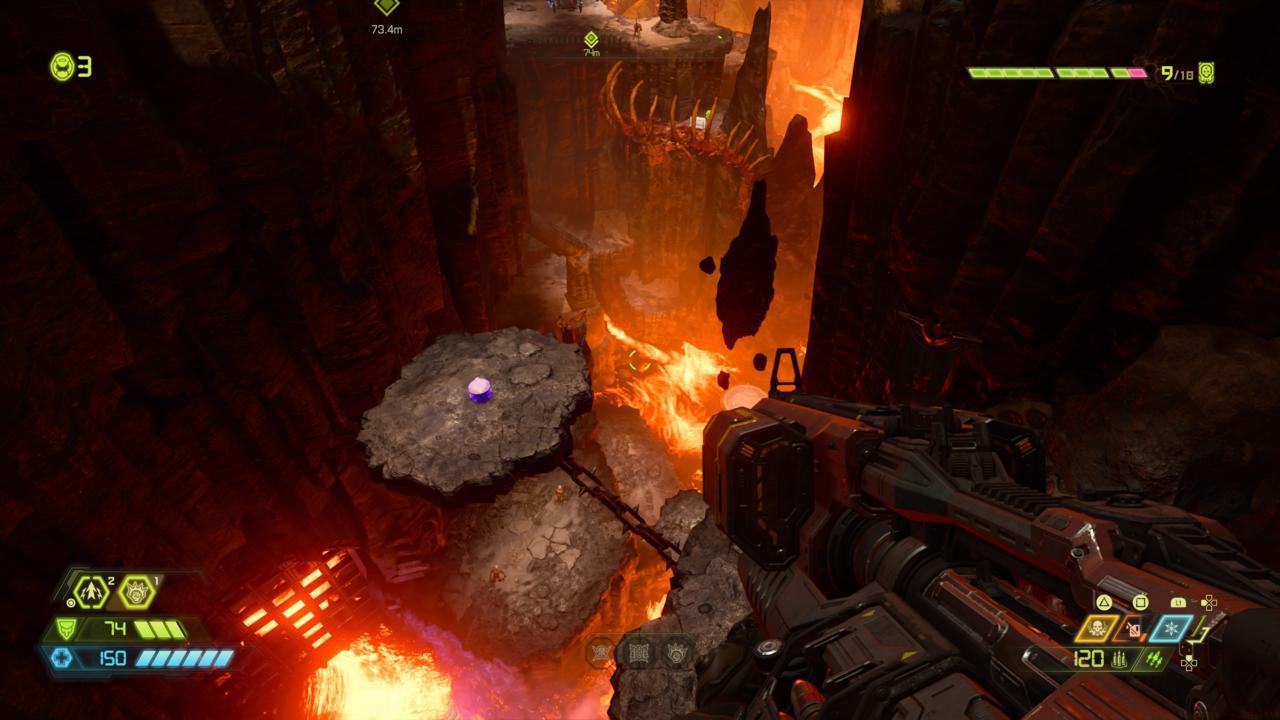
Descend and acquire another new capability: Dash. Traverse through the accessible doorway and employ your recently obtained ability to dash across the division and attain the opposite side. Climb upward and proceed through the open portal. When the cinematic sequence concludes, deploy Dash once more to cross the abyss.
The central flooring in this subsequent chamber carries electrical current, necessitating position maintenance on the peripheral platforms to prevent injury. Limited retreat space exists here, so employ your weapon’s alternate firing modes to inflict additional damage upon the Hell Knight, and concentrate on transitioning between platform tops to evade its assault patterns.
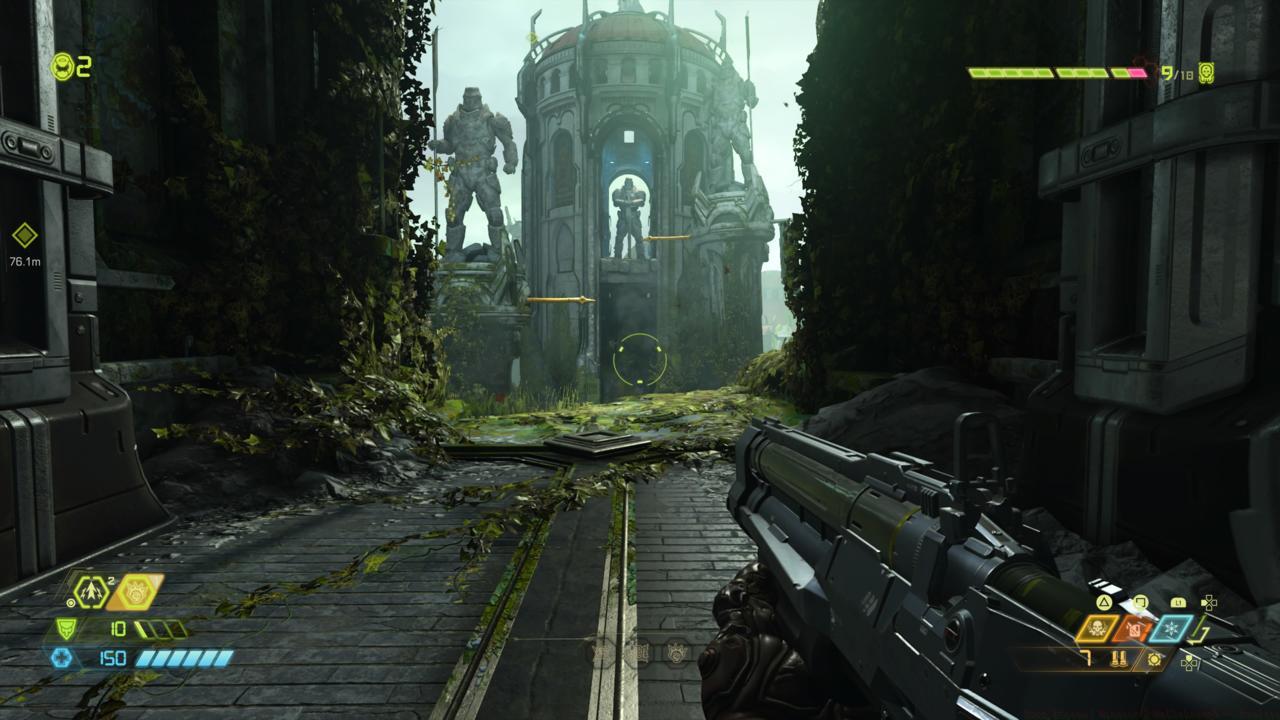
With this area secured, follow the waypoint through the appropriate doorway and you’ll return to the zone containing the two previously inaccessible routes. If you navigate rightward, you can utilize your Dash and double jump capabilities to reach the construction on the opposite side where a Secret Encounter awaits. This represents optional content, though once completed return to the central area and pursue the waypoint to enter the teleportation device. Understanding class mechanics can enhance your strategic approach – explore our Class Guide for specialized role optimization.
Action Checklist
- Master Gargoyle aerial combat with strafing maneuvers and Heavy Cannon precision
- Utilize Blood Punch against clustered enemies while avoiding electrical discharges
- Employ perimeter strategy for Hell Knight encounters with constant backward movement
- Destroy Arachnotron turrets using distance and Heavy Cannon before engaging directly
- Access Secret Encounter using Dash and double jump combination on right path
No reproduction without permission:SeeYouSoon Game Club » Doom Eternal Mission 2 Walkthrough — Exultia Master Doom Eternal's Exultia mission with advanced combat tactics and essential ability strategies