TL;DR
- Master vertical movement and weapon switching for survival in multi-level arenas
- Prioritize Buff Totem destruction to disable enemy buffs before clearing areas
- Use specific weapon strategies against elite enemies like Dread Knights and Spectres
- Navigate radiation zones efficiently using the Rad Suit and environmental tools
- Coordinate key collection with weapon upgrades for maximum combat effectiveness
Conquering the Super Gore Nest represents a pivotal challenge in Doom Eternal’s fifth mission, requiring both strategic thinking and aggressive execution. This level emphasizes navigation through complex environments while managing increasingly difficult enemy encounters.
Prepare for an intense journey through one of Doom Eternal’s most memorable locations. Following your victory over the Doom Hunter, this mission shifts focus toward mastering movement mechanics and arena combat. The Super Gore Nest tests your ability to maintain momentum while dealing with diverse demon types across vertically-designed battle spaces.
Our comprehensive walkthrough provides detailed navigation guidance and combat strategies. For additional mission assistance, explore our Complete Guide covering fundamental gameplay systems. Additional chapters will be available soon, but if you’re seeking foundational knowledge, consult our pre-play preparation guide covering essential mechanics.
Begin by moving through the train carriage, then turn right and leap onto the suspended train car to access the next platform. Enter the initial combat zone and eliminate the basic Zombies and Imps before deploying your recently obtained Ballista against the approaching Mancubus. The Ballista delivers devastating single-shot damage perfect for neutralizing heavier adversaries.
This combat space features multiple elevation levels, requiring constant mobility and utilization of vertical space to handle subsequent enemy waves. After clearing all threats, a doorway unlocks revealing a Pinky demon—dispatch it quickly and proceed inward. Descend through the pathway gap and employ the climbable walls on both sides to ascend. Continue forward until encountering a Dread Knight, an enhanced Hell Knight variant armed with dual Energy Blades. Maintain continuous movement while firing, using your Dash ability to evade its lethal jumping assaults.
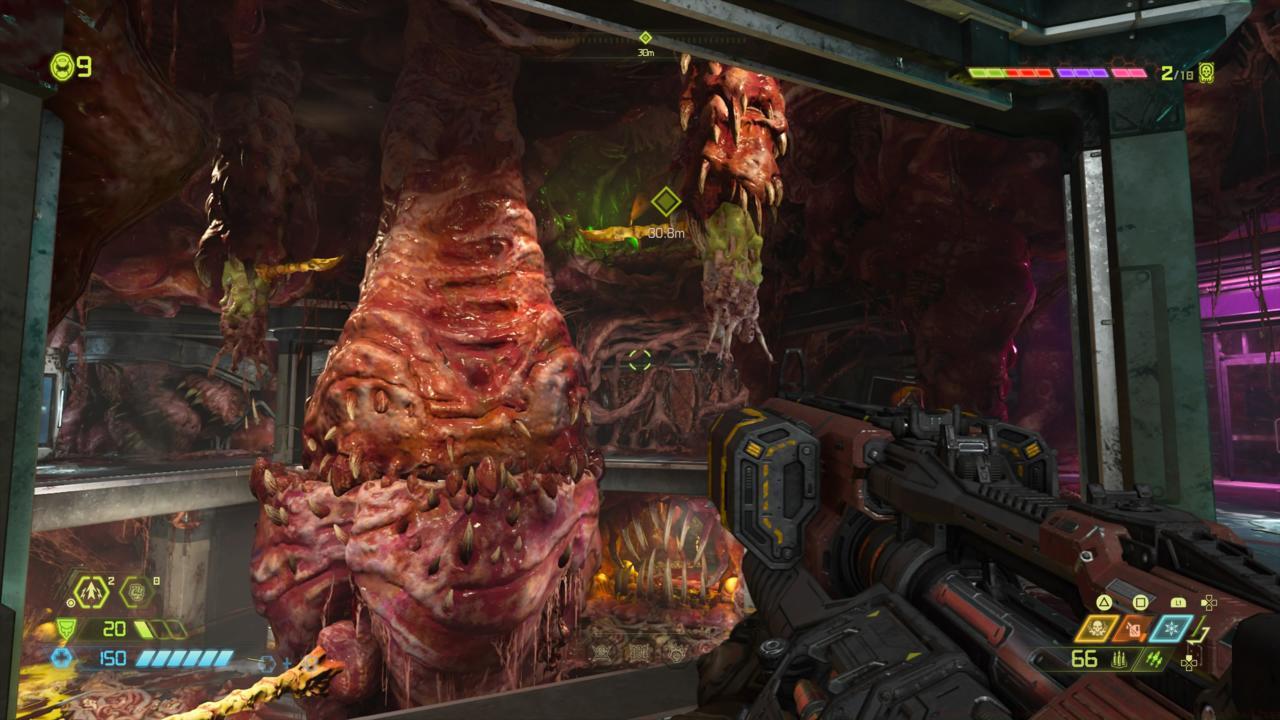
After defeating remaining enemies, utilize the central poles to swing upward to the higher platform. The subsequent battle area contains a Buff Totem that enhances all enemy capabilities—concentrate on survival and elimination until green teleportation portals materialize at the room’s center. Progress through each portal sequentially while continuing combat, eventually transporting directly to the Buff Totem for destruction. Employ the final portal to secure the Yellow Gore Key.
Return to the preceding chamber and unlock the yellow door to advance. You’ll enter an expansive combat arena populated with Mancubuses, Revenants, and additional demonic forces. Deploy your complete weapon inventory to target vulnerable points, and exploit the central chasm to create tactical separation through jumping maneuvers. With all enemies eliminated, insert the Yellow Gore Key before the Super Gore Nest.
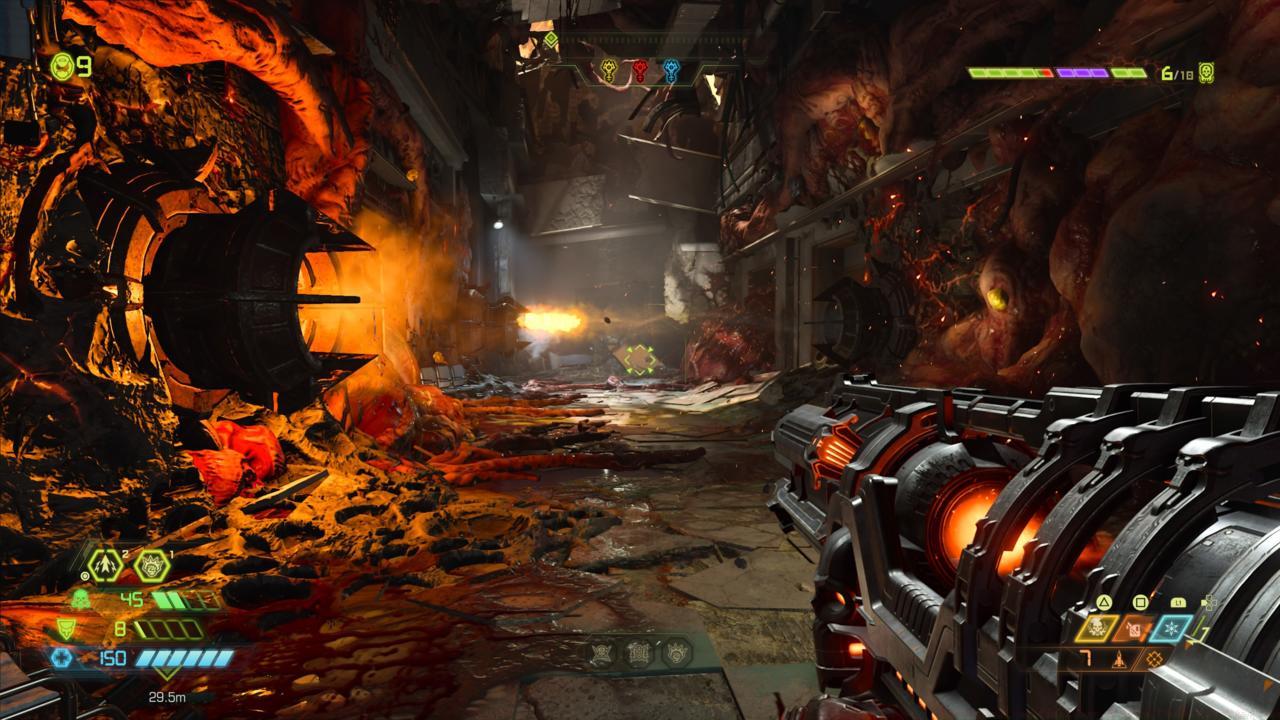
Proceed through the newly opened doors and descend the elevator shaft. Encounter several adversaries while navigating subsequent corridors, including a Spectre (an invisible Pinky variant). The Spectre’s distinctive growl and fiery exhalation reveal its position—double jump over its head and target its vulnerable tail area for elimination. Continue until descending another elevator shaft and reaching the nest’s core. Turn right and combat through to a radiation-contaminated zone filled with green toxic substance. Retrieve the Rad Suit across the contaminated river and rapidly traverse the hazardous area, using rotating poles in the next chamber to access and demolish a fragile wall.
Advanced players should note that Spectres require audio cues for tracking—their invisibility makes visual identification impossible. The radiation zones demand efficient pathing; missteps can result in significant health depletion even with the Rad Suit active due to timed duration limitations.
In the subsequent room, jump rightward and employ scalable walls to reach the upper area where the Red Gore Key awaits. Retrace your route and apply the key to obtain the Chaingun. Following floor collapse, employ your new weapon to decimate the incoming Dread Knight. Continue forward and use the green teleporter to return to the nest core, now accessing the chamber with the Red Gore Key. Follow navigation markers through the left doorway and activate the switch mechanism.
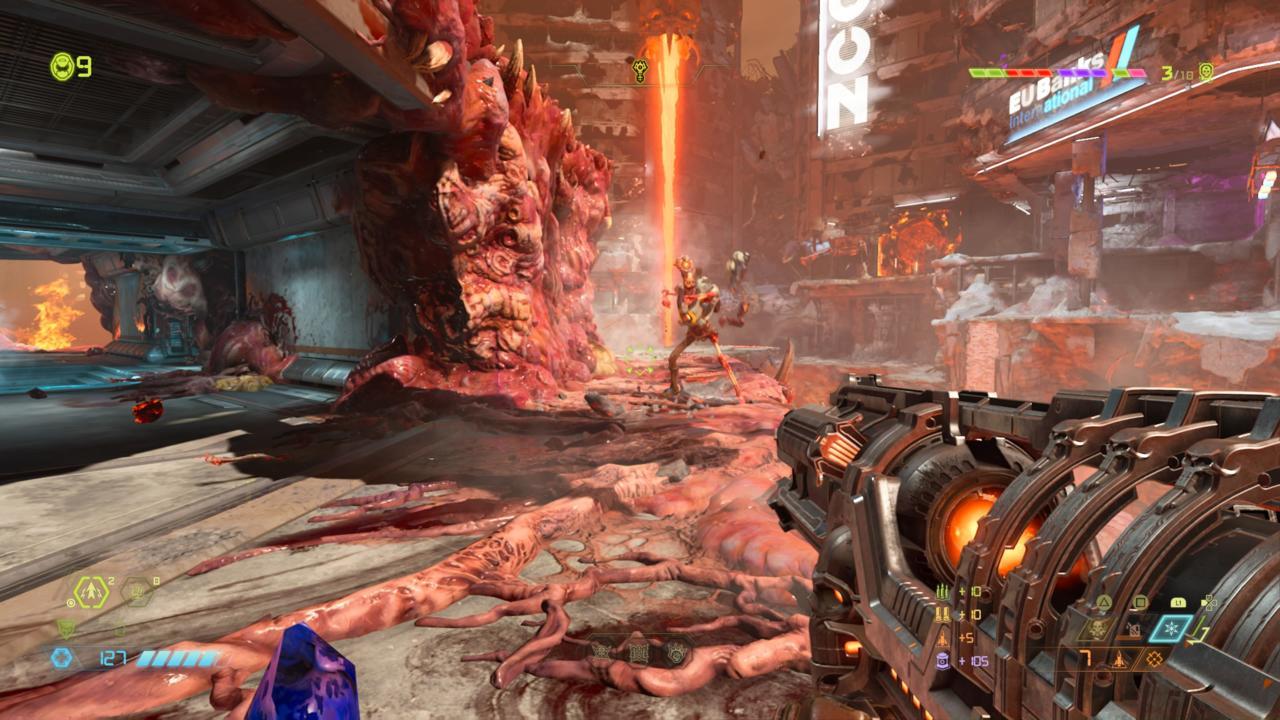
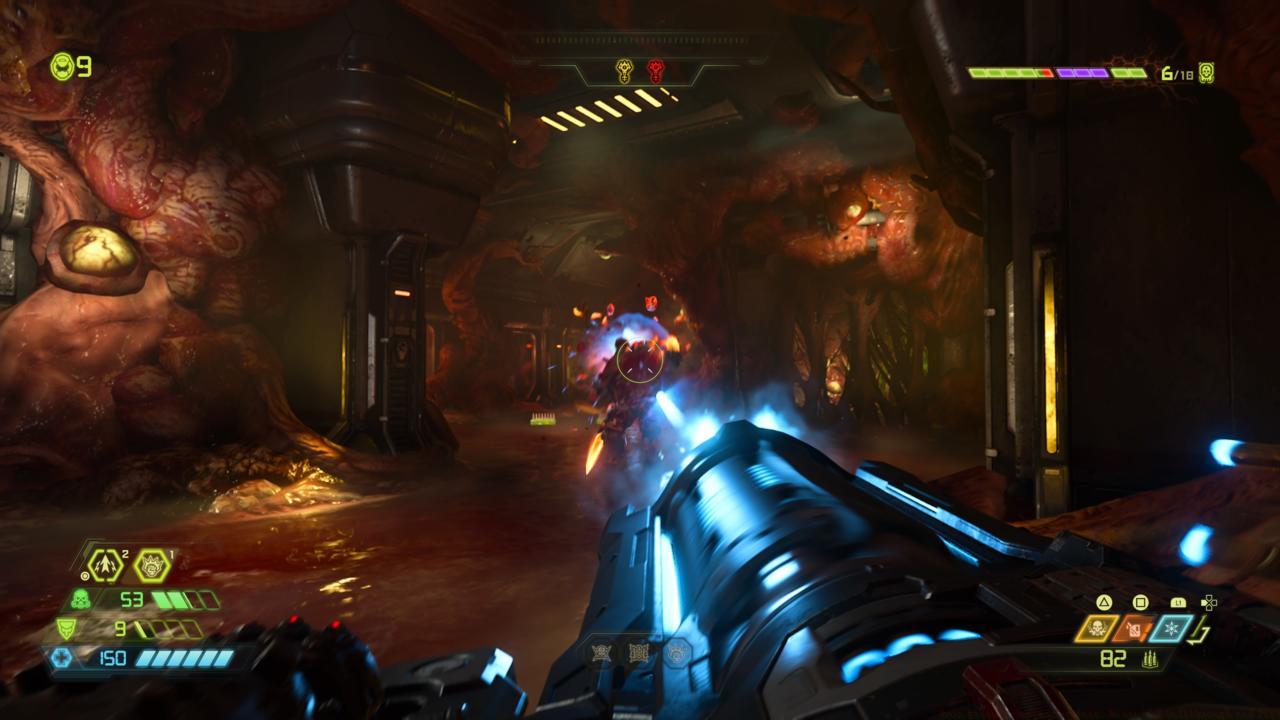
Exit the room and move left, utilizing your Plasma Rifle to overcome shielded Soldiers. Proceed downward through the corridor and defeat enemies in the next chamber before activating the switch concealed behind the sealed mouth to unveil another green portal. Traverse the portal and swiftly bypass enemies in the following zone. Prioritize Buff Totem destruction before engaging other threats—advance forward and leap to the damaged roadway curving left. Follow this path and enter the opening before Dashing to the opposite platform. Activate the jump pad to locate the Buff Totem positioned on a concrete slab amid lava terrain.
The Chaingun provides exceptional sustained damage against elite enemies, particularly when upgraded through our Weapons Unlock system. Proper Class Guide selection can further optimize your loadout for these challenging encounters.
Action Checklist
- Master vertical movement in multi-level arenas using double jump and dash combinations
- Prioritize Buff Totem destruction before clearing enemy waves
- Utilize specific weapon strategies: Ballista for heavies, Plasma for shields
- Navigate radiation zones efficiently with Rad Suit and environmental tools
- Coordinate key collection with weapon upgrades for maximum combat effectiveness
No reproduction without permission:SeeYouSoon Game Club » Doom Eternal Super Gore Nest: Mission 5 Walkthrough And Tips Master the Super Gore Nest with advanced strategies, enemy tactics, and key collection techniques