TL;DR
- Utilize Onslaught power-ups strategically against Tyrants in combat arenas
- Master spike trap activation to eliminate groups of weaker enemies efficiently
- Prioritize destroying Buff Totems before engaging surrounding demon forces
- Employ Crucible wisely for high-threat targets like Archviles and Dread Knights
- Navigate environmental hazards with precise jumping and dashing techniques
You’ve reached the climactic final missions of Doom Eternal! Congratulations on progressing this far through hell’s relentless onslaught. This comprehensive walkthrough covers the tenth mission’s critical path through Nekravol’s first segment, providing strategic guidance to overcome the escalating demonic resistance. Stay determined, and you’ll conquer this infernal gauntlet with precision and skill.
For additional mission assistance, explore our complete Doom Eternal guide collection covering all available chapters. New content arrives regularly to support your demon-slaying journey. If you need fundamental gameplay improvements, consult our essential tips guide for crucial pre-play knowledge. Alternatively, check out our detailed Doom Eternal performance analysis.
Begin your assault by ascending the staircase while eliminating the Cyber Mancubuses and Arachnotron positioned above. Evade their projectile attacks by moving rightward along the pathway, then continue circling until you reach the climbing point. Use the swing pole to access the wall grip, then leap through the building aperture. Inside, neutralize the demon cluster and advance to discover the initial combat zone.
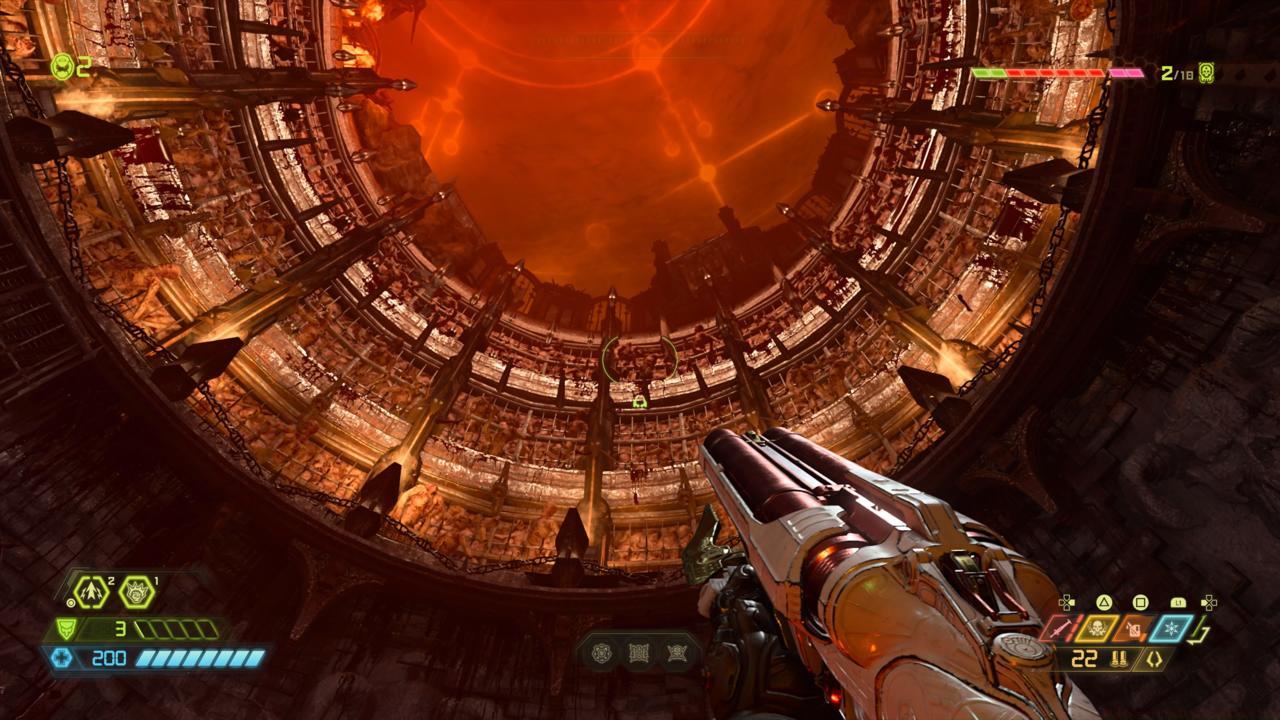
Upon reaching the staircase overlook, immediately leap toward the fragmented pillars dominating the arena’s center. This elevated position provides access to the floating purple Onslaught enhancement, which dramatically amplifies your damage output. Deploy this temporary power boost against the spawning Tyrant near the massive double doors, then systematically eliminate remaining hostile forces. After securing the area, activate the luminous green pressure plate and descend through the revealed opening.
Engage the control mechanism to trigger enemy reinforcements. Consider utilizing the Crucible for instant elimination of the Dread Knight, though conserving this resource for later encounters remains a valid strategic choice. Once all threats are neutralized, target the green emblem and rapidly proceed through the newly accessible gateway. The moving platform in the subsequent chamber operates on a strict time limit—strike it physically, reactivate the green symbol to unlock the exit, then swiftly scale the block and attach to the climbable surface above. Enter the transport cage to advance to the next combat zone.
Navigate this hazardous section by hopping between elevated platforms to avoid contact with the molten lava below. Pain Elementals will emerge to disrupt your progress, but concentrate your offensive efforts on the four vulnerable Eyes of Kalibas that become exposed. Eliminating all four ocular targets disables Kalibas’s protective barrier, allowing you to board its platform and strike it directly to clear your advancement route.
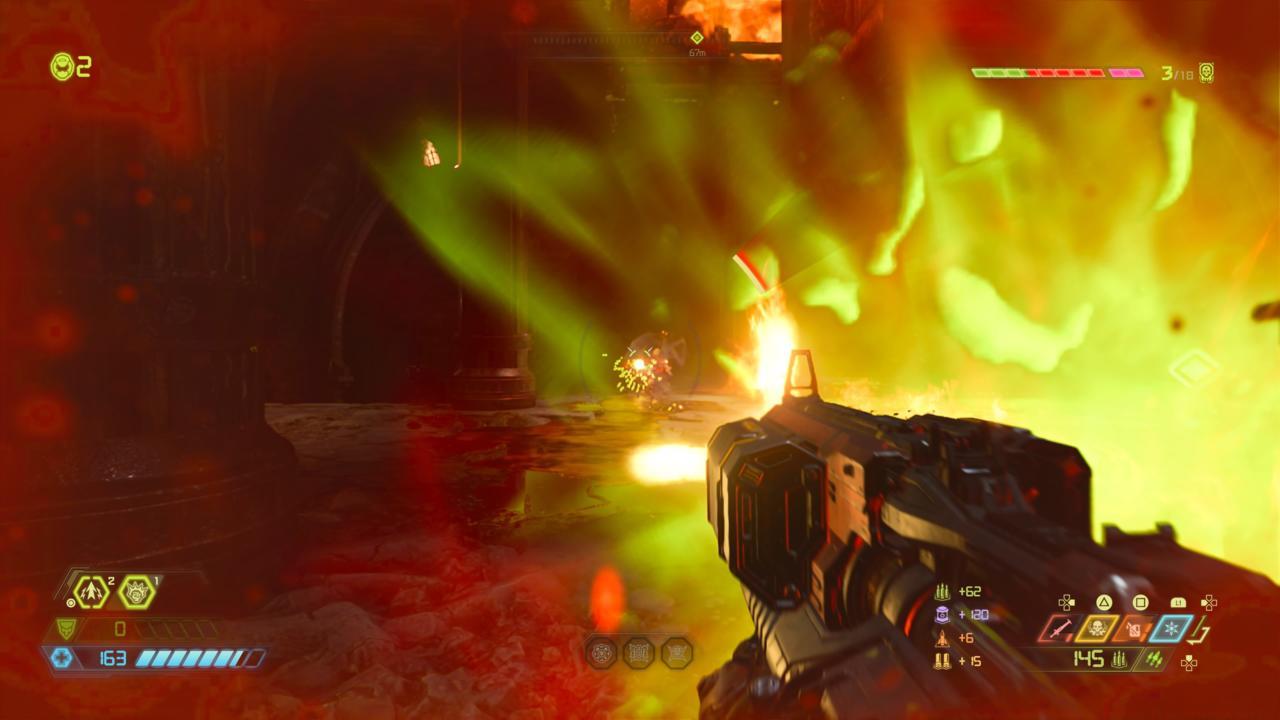
Observe the hovering green emblem to your left. Activating this symbol—and subsequent identical markers—triggers ceiling-mounted spike traps. Deploy the initial trap to annihilate the approaching Zombie horde, then follow the path leading to another chamber featuring a central spike mechanism. Leverage this environmental hazard to eliminate any enemies foolish enough to traverse beneath it. After defeating all opposition, continue onward until encountering a massive chasm. Execute a combined jump and dash maneuver to reach the opposite side and secure a grip on the climbable wall surface.
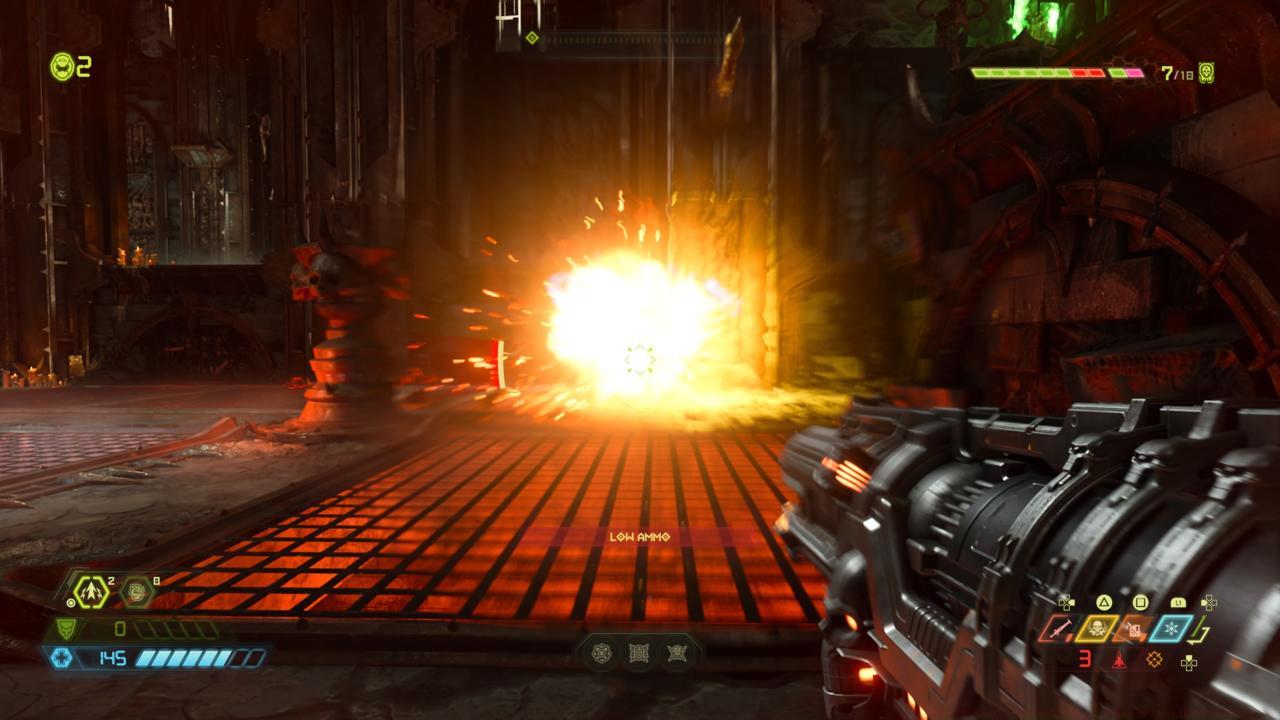
This corridor contains several immediate threats, with significantly more enemies appearing after utilizing either the jump pad or ascending the staircase. An additional spike trap awaits strategic activation, alongside BFG-9000 ammunition for clearing dense enemy concentrations. An Archvile will eventually materialize—employ the Crucible for immediate termination if available. Otherwise, concentrate all firepower to rapidly eliminate this high-priority target before it summons additional demonic reinforcements. Once the area is secured, return to the chasm following the waypoint marker and leap rightward to access another climbable wall.
Eliminate the waiting demon contingent, then traverse between multiple climbable surfaces while avoiding the intermittent flame jets. Board one of the human transport cages for vertical ascent, disembarking on the subsequent level. Dash between the alternating spike trap sequences to reach another combat environment. This arena contains a Buff Totem enhancing enemy capabilities—ignore the surrounding demons and rapidly ascend the right-side platform. From this position, leap between two additional platforms to reach and demolish the Totem. With this amplification source destroyed, proceed to eradicate the remaining hostile forces in the chamber.
Additional human transport cages operate in this sector—utilize the right-side unit to access the climbable wall. From this vantage, leap past the glowing green indicator to reach the opposite side containing an activation switch. Proceed past the spike trap array on the room’s far side and engage the waiting Marauder. Upon its defeat, activate the secondary switch to unlock the double doors in the main chamber.
Action Checklist
- Secure Onslaught power-up from central pillars before engaging Tyrant
- Activate spike traps strategically to eliminate zombie groups and conserve ammunition
- Prioritize destroying all four Eyes of Kalibas to disable boss shield
- Use Crucible selectively for Archviles and Dread Knights
- Destroy Buff Totems immediately upon entry to new combat arenas
- Execute precise dash-jump combinations to navigate chasms and avoid environmental hazards
No reproduction without permission:SeeYouSoon Game Club » Doom Eternal Nekravol Part 1: Mission 10 Walkthrough And Tips Master Doom Eternal's Nekravol Part I with expert strategies, combat tactics, and demon elimination techniques