TL;DR
- Master the Marauder counter-attack timing with Super Shotgun for consistent takedowns
- Prioritize Archvile elimination using vertical mobility to bypass its fiery shield
- Utilize environmental hazards and radiation suit mechanics for puzzle solving
- Employ Crucible weapon effectively in tight combat arenas with limited space
- Combine Blood Punch and rocket strategies against Cyber Mancubus and Doom Hunter
Having defeated the Gladiator, you now advance to acquire the legendary Crucible blade. This powerful melee weapon becomes essential for your demon-slaying arsenal in the challenging ninth chapter of Doom Eternal.
Following your victory over the Gladiator in mission eight, prepare for intensified combat encounters. This comprehensive guide provides detailed navigation through Taras Nabad’s complex environments and enemy formations.
For complete coverage of Doom Eternal’s campaign missions, explore our Complete Guide hub featuring all available walkthroughs. Additional mission guides will be published regularly. For fundamental gameplay techniques, consult our pre-play strategy guide covering essential mechanics. You can also read our full game evaluation for broader context.
Navigate the pathway and descend to the left-side lower platform. Demon forces including a Hell Knight and Cyber Mancubus will assault you on the bridge structure. Eliminate these threats completely, then strike the dual mechanisms positioned at both bridge termini using melee attacks to unlock the gateway.
When the massive doors pivot open, you’ll face Zombie infantry, a floating Cacodemon, and the recurring Marauder as standard opposition. Employ identical engagement protocols from your previous boss confrontation: maintain optimal mid-range positioning and retaliate with precisely timed Super Shotgun discharges during its green-eye vulnerability windows. Repeated successful counters will enable a final Glory Kill execution.
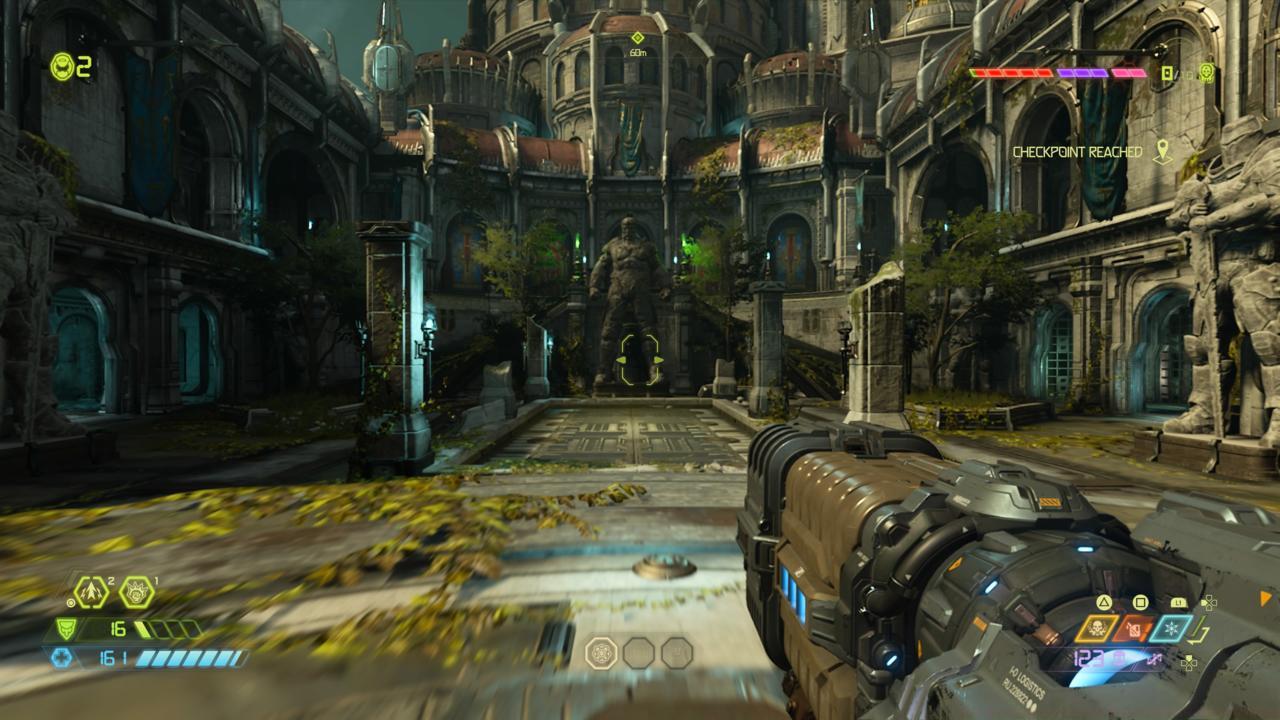
Proceed through the activated doorway and utilize the swing pole to access the subsequent platform. Continue advancement until reaching the expansive combat zone featuring a central monument. While initial tranquility may deceive you, escalating confrontations with both standard and enhanced demons will test your skills. Unlike previous encounters, no Buff Totem activates these reinforcements.
Instead, locate the newly introduced Archvile enemy classification. This summoner-type demon generates additional combatants while protected by incendiary barriers. Typically positioned on elevated structures, execute flanking maneuvers to bypass its defensive shield. Execute rapid elimination before it conjures excessive reinforcements, then clear remaining summoned entities.
After surviving this intense engagement, strike the monumental statue’s posterior section then descend to activate its foundational control. This triggers a central arena hatch revealing contaminated liquid. Navigate through hazmat indicators to prevent health deterioration, then execute Dash maneuvers against illuminated barriers to destroy them.
With water levels reduced, employ wall-climbing techniques to ascend and target the luminous green emblem positioned in the statue’s subterranean cavity. This creates an underwater passageway—traverse this channel and emerge at the opposite terminus.
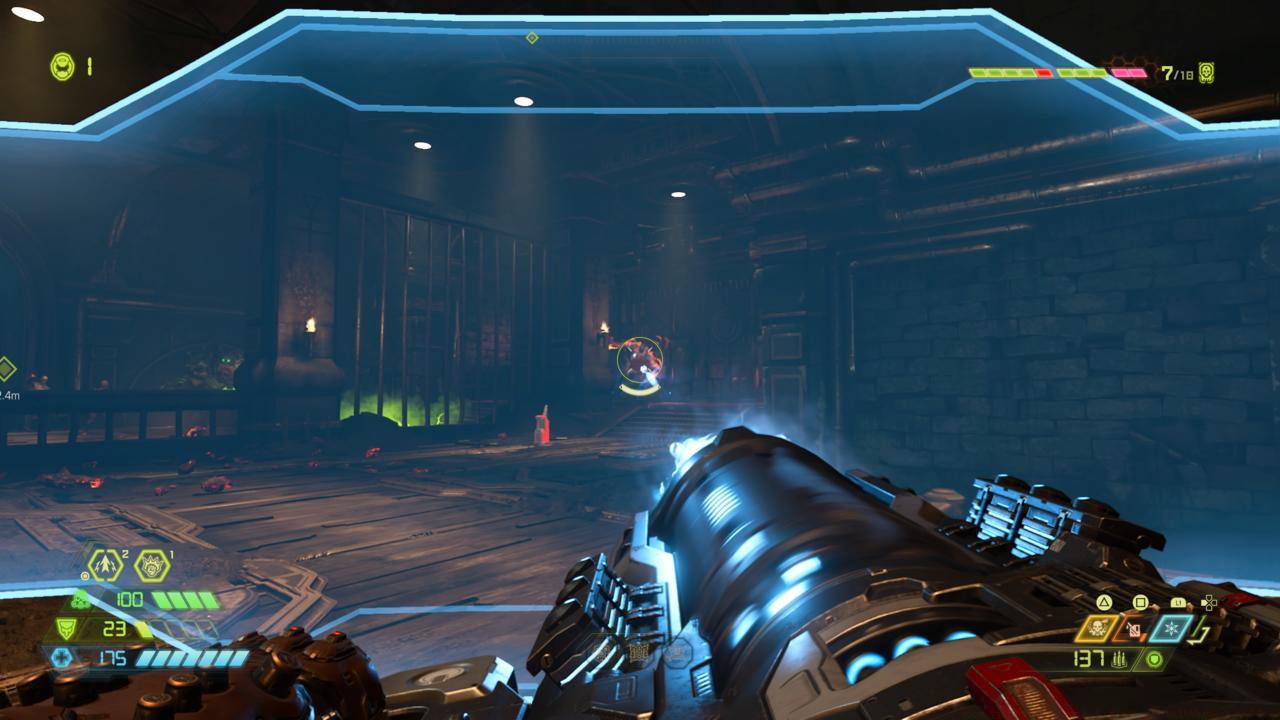
Eliminate hostile forces in the subsequent passageway and proceed through the large dual portals in the approaching open zone. Post-cutscene, track your navigation marker through the egress into another battle zone. Deploy Blood Punch techniques or Super Shotgun barrages against the appearing Cyber Mancubus duplicates, and concentrate rocket assaults on the Doom Hunter’s mobility platform to immobilize it.
With the combat area secured, scale the debris pile left of your entry point and strike the mechanism, then rapidly traverse to the opposing side to activate its counterpart. This reveals an access route leading to the subterranean drainage network.
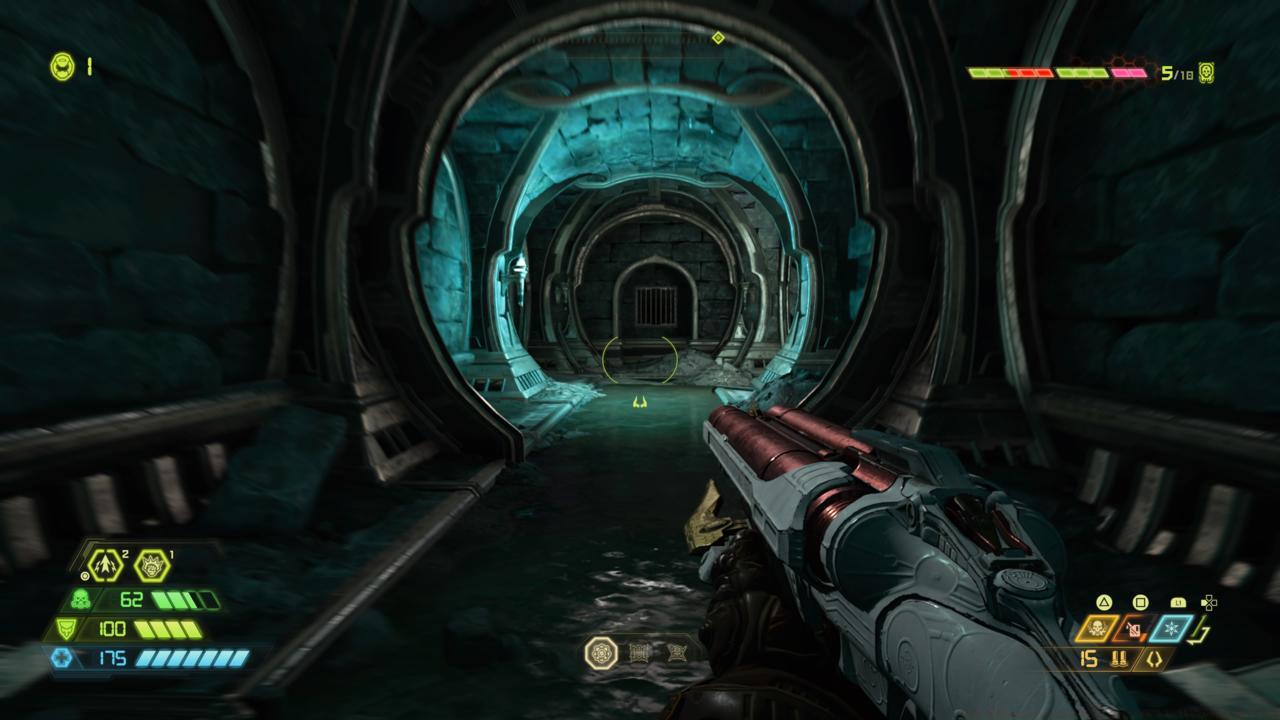
Follow sewer pathways until reaching the inundated chamber. Collect the protective suit from the right flank and submerge. Another luminous barrier awaits Dash penetration to further reduce liquid levels. Resubmerge and navigate through the wall aperture. Emerge and target the glowing symbol, then enter the gateway activated below it. Dash through this wall section and water levels will decrease again. Strike the obstruction, ascend it, then vault to the scalable surface. From this vantage, target another green emblem to unlock the final exit.
Continue sewer traversal and mount the collapsed titan upon exterior reemergence. Now possessing the Crucible, turn right into another confrontation zone. Limited maneuvering space challenges your tactical approach, but jump pads and swing poles provide evasion opportunities against the demon onslaught. After total eradication, follow your waypoint through the next corridor and leap to the right platform when reaching an opening. Several adversaries require elimination here; once dispatched, utilize the adjacent Dash recharge to access the next architectural structure.
Action Checklist
- Master Marauder engagement: maintain 10-15 meter distance, counter with Super Shotgun during green flashes
- Prioritize Archvile elimination using vertical flanking before it summons reinforcements
- Solve statue puzzle sequence: melee statue back, activate base control, navigate radiation zones
- Execute sewer navigation: collect hazmat suit, Dash through walls, activate symbols
- Utilize Crucible in final arena: employ jump pads for spacing, manage Dash resources
No reproduction without permission:SeeYouSoon Game Club » Doom Eternal Taras Nabad: Mission 9 Walkthrough And Tips Master Doom Eternal's Taras Nabad mission with advanced combat tactics and environmental navigation strategies