TL;DR
- Winston excels at disrupting backline targets and creating space through calculated aggression
- Master leap timing and positioning to maximize impact while minimizing vulnerability windows
- Strategic barrier placement provides temporary safe zones rather than sustained protection
- Tesla Cannon’s area denial and shield bypass make it ideal for pressuring multiple enemies
- Coordinate with dive-oriented teammates to amplify Winston’s disruption potential
Winston represents a specialized tank archetype in Overwatch 2 that prioritizes high mobility and area denial over traditional defensive capabilities. His unique kit demands strategic thinking and precise execution to maximize effectiveness on the battlefield.

Winston’s scientific brilliance translates into calculated aggression rather than brute force tanking.
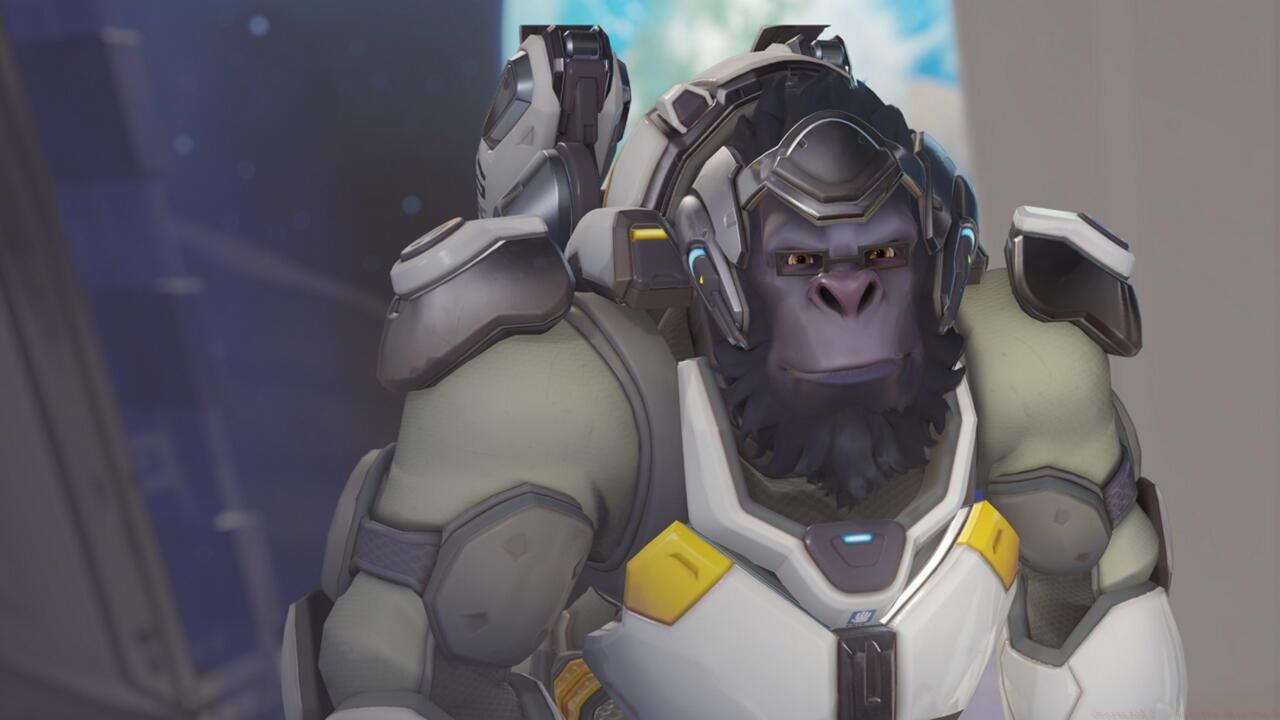
This genetically engineered gorilla functions as one of Overwatch 2’s most mobile tanks, capable of rapidly repositioning across combat zones to disrupt enemy formations. Unlike traditional shield tanks like Reinhardt, Winston thrives on creating chaos in the enemy backline while providing brief windows of protection for his team.
Understanding Winston requires recognizing his limitations: his Barrier Projector offers temporary respite rather than sustained protection, and his Tesla Cannon demands close-quarters engagement to be effective. This makes positioning and timing absolutely critical for success.
Common mistake: Many players underestimate Winston’s vulnerability during his engagement windows. His leap has significant cooldown time, leaving him exposed if used recklessly. Always plan your escape route before initiating.
Winston’s kit revolves around creating controlled chaos, with each ability serving specific tactical purposes that complement his disruptive playstyle.
- Tesla Cannon: Emits continuous electricity that automatically targets nearby enemies within its cone-shaped area of effect, bypassing defensive abilities like Genji’s Deflect and D.Va’s Defense Matrix
- Tesla Cannon (alt-fire): Charges and launches a concentrated electric orb that deals burst damage at range, perfect for finishing low-health targets
- Barrier Projector: Generates a spherical energy field that blocks incoming damage for a limited duration, though enemies can pass through it freely
- Jump Pack: Propels Winston through the air, dealing impact damage upon landing and enabling rapid repositioning or initiation
- Primal Rage: Transforms Winston into an unstoppable force with massively increased health, enhanced mobility through reduced jump cooldown, and powerful melee attacks that knock back enemies
Advanced technique: The “leap-melee” combo involves using melee attack just before landing from Jump Pack to maximize burst damage. This adds 30 instant damage to your initial engagement.
Optimization tip: Use Barrier Projector mid-air during your leap to maximize its uptime. The shield becomes active immediately upon deployment, protecting you during your vulnerable landing animation.
For comprehensive character strategies similar to this Winston guide, check out our Class Guide that covers tactical specialization across different game roles.
Mastering Winston’s mobility separates competent players from exceptional ones. Your Jump Pack serves as both engagement tool and escape mechanism, requiring strategic foresight.
Effective leap usage begins with target selection. Prioritize isolated supports or damage dealers who lack immediate escape options. The ideal engagement lasts 4-6 seconds—just enough time to apply pressure and force cooldowns before disengaging.
High-ground positioning before leaping provides tactical advantages: better visibility of the battlefield, increased leap damage from elevated positions, and safer disengagement options.
Common positioning error: Leaping directly into the entire enemy team without an exit strategy. This typically results in quick elimination. Instead, leap to the periphery and use natural cover to limit incoming damage angles.
Pro timing: Coordinate leaps with your team’s engagement. A well-timed Winston dive during your team’s push divides enemy attention and creates openings for your damage dealers.
For players looking to expand their tactical knowledge beyond individual heroes, our Complete Guide offers comprehensive strategic frameworks applicable across multiple game scenarios.
Winston’s Barrier Projector demands strategic placement rather than reactive usage. This dome-shaped shield provides temporary safe zones rather than sustained protection.
Optimal barrier placement creates micro-safety for specific actions: protecting teammates during ultimate abilities, securing resurrects, or enabling objective captures.
The shield’s 700 health pool depletes quickly under concentrated fire, so timing is crucial. Deploy it at the moment of peak incoming damage rather than preemptively.
Advanced tactic: Use the barrier to block key abilities rather than general damage. Preventing Ana’s Sleep Dart, Roadhog’s Hook, or McCree’s Flashbang provides disproportionate value compared to blocking routine damage.
Common shielding mistake: Placing the barrier too far forward, leaving your team exposed. The ideal placement covers your backline while allowing them to continue dealing damage.
Shield management: The barrier’s 13-second cooldown begins immediately upon deployment, regardless of its duration. Learning to maximize its 5-second active time while minimizing cooldown downtime separates elite Winston players.
Winston’s Tesla Cannon offers unique advantages that complement his disruptive playstyle, particularly its ability to damage multiple targets simultaneously and bypass certain defensive mechanisms.
The primary fire’s auto-targeting within its cone makes it exceptionally effective against agile heroes and groups. Its 60 damage per second may seem low, but against clustered enemies it quickly accumulates significant pressure.
The alt-fire electric orb requires precise timing but offers crucial ranged capability. Use it to finish fleeing targets, break enemy shields, or apply pressure from distance when engaging isn’t feasible.
Damage optimization: The Tesla Cannon’s penetration through barriers makes Winston excellent at pressuring shield-dependent compositions, particularly against Reinhardt or Sigma setups.
Ultimate usage: Primal Rage serves multiple purposes—survival mechanism, space creation, environmental kill potential, and objective disruption. Its 1000 bonus health provides incredible sustain during critical moments.
For weapon mastery techniques that complement Winston’s electric arsenal, explore our Weapons Unlock guide for detailed optimization strategies.
Action Checklist
- Practice leap-melee combos in training mode to master burst damage timing
- Master barrier placement timing by using it to block specific abilities rather than general damage
- Coordinate with dive-oriented teammates (Genji, Tracer) in quick play matches
- Study high-ground positions on 3 main maps to optimize leap engagement angles
- Develop target priority system by focusing on isolated supports before damage dealers
No reproduction without permission:SeeYouSoon Game Club » Overwatch 2 – Winston Hero Guide Master Winston's mobility and disruption tactics to dominate as Overwatch 2's agile tank specialist
