TL;DR
- Sigma excels as a versatile tank with multiple defensive tools including shield deployment and projectile absorption
- Master ability sequencing between Kinetic Grasp and Experimental Barrier for optimal survivability
- Gravitic Flux requires careful setup but can secure teamfight victories when properly executed
- Adapt your playstyle based on enemy composition rather than relying on a single strategy
- Proper cooldown management separates average Sigma players from exceptional ones
Sigma represents one of Overwatch 2’s most strategically complex tank heroes, blending multiple defensive mechanisms into a single cohesive kit. Unlike specialists like Reinhardt who excel in specific scenarios, Sigma thrives through adaptability and intelligent ability sequencing.
As a free-to-play evolution of the hero shooter genre, Overwatch 2 maintains the complete original roster while introducing new tactical dimensions. Sigma stands out as a tactical anchor who can adjust his defensive approach based on immediate threats. For comprehensive hero comparisons, consult our detailed Class Guide to understand how different roles interact.
What defines Sigma’s gameplay identity is his capacity to address diverse threats through proper ability selection. His toolkit enables him to handle burst damage, sustained fire, and crowd control situations, though each tool requires precise timing to maximize effectiveness.
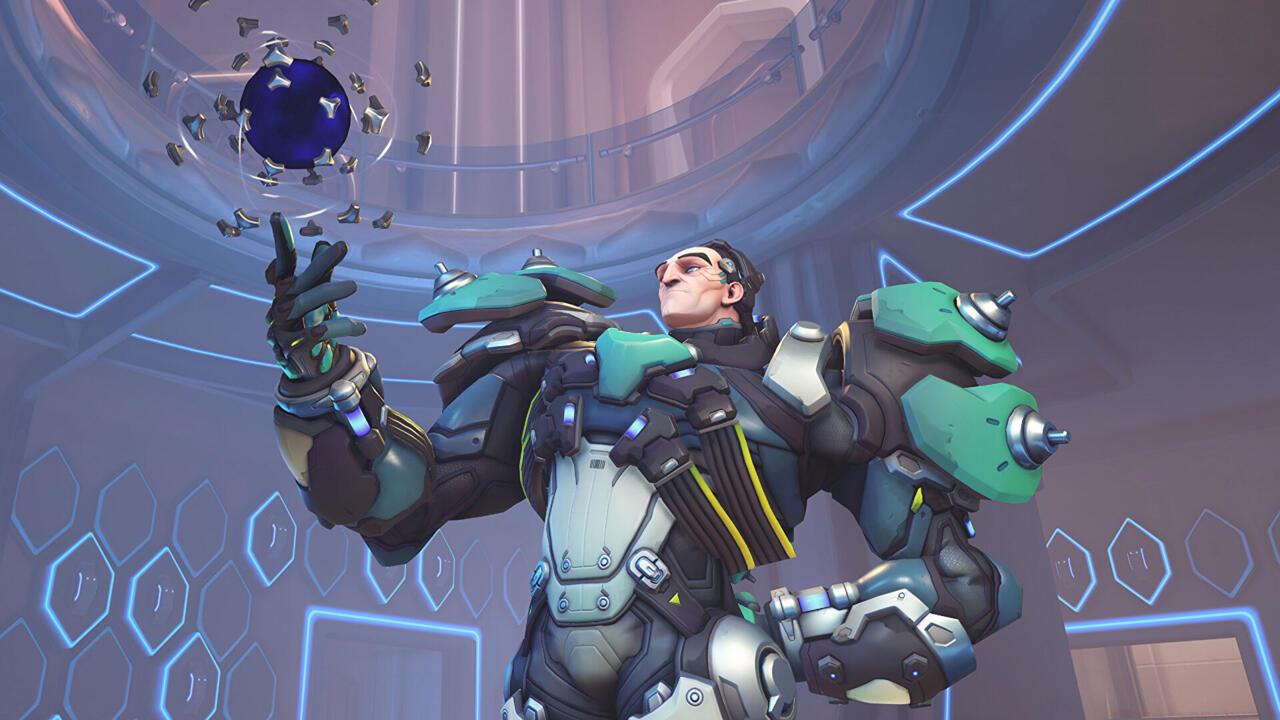
Hyperspheres: Launch two gravitational charges that detonate after brief travel time, creating area denial and punishing grouped enemies. Advanced technique: Bounce shots off walls to hit enemies around corners and maximize damage potential against stationary targets.
Kinetic Grasp: Absorb incoming projectiles within a frontal cone, converting 60% of damage received into temporary shields. Pro tip: Use against high-damage abilities like Pharah’s rockets or Junkrat’s grenades for significant shield generation.
Accretion: Gather debris into a concentrated mass that stuns targets upon impact. Strategic application: Cancel enemy ultimates like Reaper’s Death Blossom or Moira’s Coalescence with proper timing.
Experimental Barrier: Deploy a repositionable shield with 700 health that can be instantly recalled. Advanced tactic: Use brief shield deployments to block specific abilities rather than leaving it static.
Gravitic Flux: Manipulate gravity within a targeted area, lifting enemies airborne before slamming them down for 50% of their maximum health as damage.
Sigma’s true strength lies in combining his shield with other defensive abilities for layered protection.
Sigma’s design philosophy centers on having answers for multiple situations rather than excelling in any single domain. This creates a high skill ceiling where mastery comes from understanding which tool to use and when.
While his Experimental Barrier possesses approximately half the durability of Reinhardt’s shield, its dynamic deployment system offers superior positional flexibility. Similarly, his Kinetic Grasp provides burst protection against heavy damage sources, though with more limited uptime compared to D.Va’s Defense Matrix.
The Accretion rock functions as Sigma’s primary crowd control, creating brief windows where enemies become vulnerable to focused fire. This mirrors the setup potential of Roadhog’s hook while offering safer engagement distance.
Sigma truly shines in compositions that benefit from flexible frontline control. He pairs exceptionally well with heroes like Zenyatta for discord amplification or Baptiste for sustained healing during aggressive pushes. Understanding these synergies is crucial for maximizing his impact, much like mastering weapon combinations in our Weapons Unlock guide for optimal loadouts.
His adaptability makes him an ideal choice when facing unpredictable enemy compositions or when your team strategy remains fluid throughout the match.
Gravitic Flux represents one of Overwatch’s most visually impressive ultimates, but its effectiveness depends entirely on setup and follow-through. Proper execution requires understanding several key elements.
The ability lifts all enemies within its substantial radius, suspending them helplessly before crashing them to the ground. The initial lift provides a crucial window for your team to focus fire on vulnerable targets.
Successful Gravitic Flux usage depends on three factors: enemy positioning, your team’s readiness to capitalize, and absence of defensive counter-ultimates. Always check for Zarya’s projected barrier or Baptiste’s Immortality Field before committing.
Advanced combo opportunities include pairing with damage-dealing ultimates like Soldier: 76’s Tactical Visor or Cassidy’s Deadeye for guaranteed eliminations. The 50% maximum health damage ensures that even tanks will be left vulnerable to cleanup attacks.
Common counterplay includes stun abilities that can interrupt Sigma during the cast animation, as well as defensive ultimates that negate the slam damage. For comprehensive team strategy development, reference our Complete Guide to coordinated play.
Mastering Sigma requires moving beyond basic ability usage into sophisticated resource management and positional awareness. These advanced techniques separate competent Sigma players from truly dominant ones.
Positioning guidelines: Maintain mid-range distance to maximize Hyperspheres effectiveness while keeping escape routes available. Avoid close-quarters combat where brawler tanks like Reinhardt excel.
Cooldown sequencing represents Sigma’s highest skill cap element. Never use both Kinetic Grasp and Experimental Barrier simultaneously—stagger these cooldowns to maintain constant defensive options.
Common errors include deploying the shield too far forward where it quickly disintegrates, or using Accretion predictably allowing easy dodges. Another frequent mistake is holding Gravitic Flux for perfect scenarios rather than using it to secure key picks during teamfights.
Resource optimization: Use Kinetic Grasp primarily against high-damage projectiles rather than sustained fire. Monitor shield health constantly and recall before destruction to minimize recharge time.
Against specific counters: When facing Sombra, save Kinetic Grasp for hack interruption. Versus Zarya, use Hyperspheres to break bubbles rather than charging her energy.
Action Checklist
- Practice Hyperspheres ricochet shots on custom maps for 15 minutes daily
- Master Kinetic Grasp timing against common ultimates in training mode
- Learn cooldown rotation patterns: shield → grasp → rock → repeat
- Study Gravitic Flux combo setups with common DPS ultimates
- Analyze professional Sigma gameplay for advanced positioning techniques
No reproduction without permission:SeeYouSoon Game Club » Overwatch 2 – Sigma Hero Guide Master Sigma's versatile tank abilities with advanced strategies and practical gameplay techniques