TL;DR
- Zarya’s damage scales directly with energy gained from barrier absorption
- Strategic bubble placement on engaged allies maximizes energy generation
- Graviton Surge requires team coordination for maximum effectiveness
- Energy management separates beginner from advanced Zarya players
- Proper positioning enables both defensive protection and offensive pressure
Zarya represents a unique tank archetype in Overwatch 2, functioning as a damage-amplifying protector rather than a traditional shield-based defender. Her gameplay revolves around a sophisticated energy economy where defensive actions directly translate into offensive power. Understanding this symbiotic relationship between protection and aggression is crucial for mastering her kit in the new 5v5 format.
The transition to single-tank compositions in Overwatch 2 has fundamentally altered Zarya’s battlefield responsibilities. Without a second tank partner, she must balance personal survival with team protection while simultaneously building energy for damage output. This requires exceptional game sense and predictive barrier placement. Many players struggle with timing their bubbles effectively, often wasting them on minimal threat situations rather than saving for critical engagements.
Zarya’s Particle Cannon operates on an energy scaling system where damage blocked by her barriers converts directly into weapon power. At zero energy, her beam deals approximately 85 damage per second, while at maximum charge (100 energy) this skyrockets to 170 DPS – a 100% increase that transforms her from a supportive presence into a primary damage threat.
Particle Cannon: The primary fire emits a continuous energy beam effective at close to medium range, requiring precise tracking of enemy hitboxes. Alternate fire launches explosive energy orbs that detonate on impact, ideal for damaging groups or hitting enemies around corners. The beam excels against armored targets and barriers, while the explosive projectiles work better for area denial and finishing low-health enemies.
Particle Barrier: Creates a personal protective shield absorbing up to 200 damage over 2 seconds. Strategic self-bubbling involves anticipating incoming damage rather than reacting to it. Advanced players use environmental awareness to predict enemy sightlines and activate barriers just before taking fire.
Projected Barrier: Places a similar 200-health barrier on an ally within 30 meters, lasting 2 seconds. This ability requires predicting which teammate will become the focus of enemy attention within the next 1-2 seconds.
Energy Passive: Each point of damage blocked by barriers provides 1% energy charge, with each barrier capable of generating up to 40 energy if fully utilized. Energy decays at 1.8% per second after 1 second without gaining charge, creating windows of peak performance that must be capitalized upon.
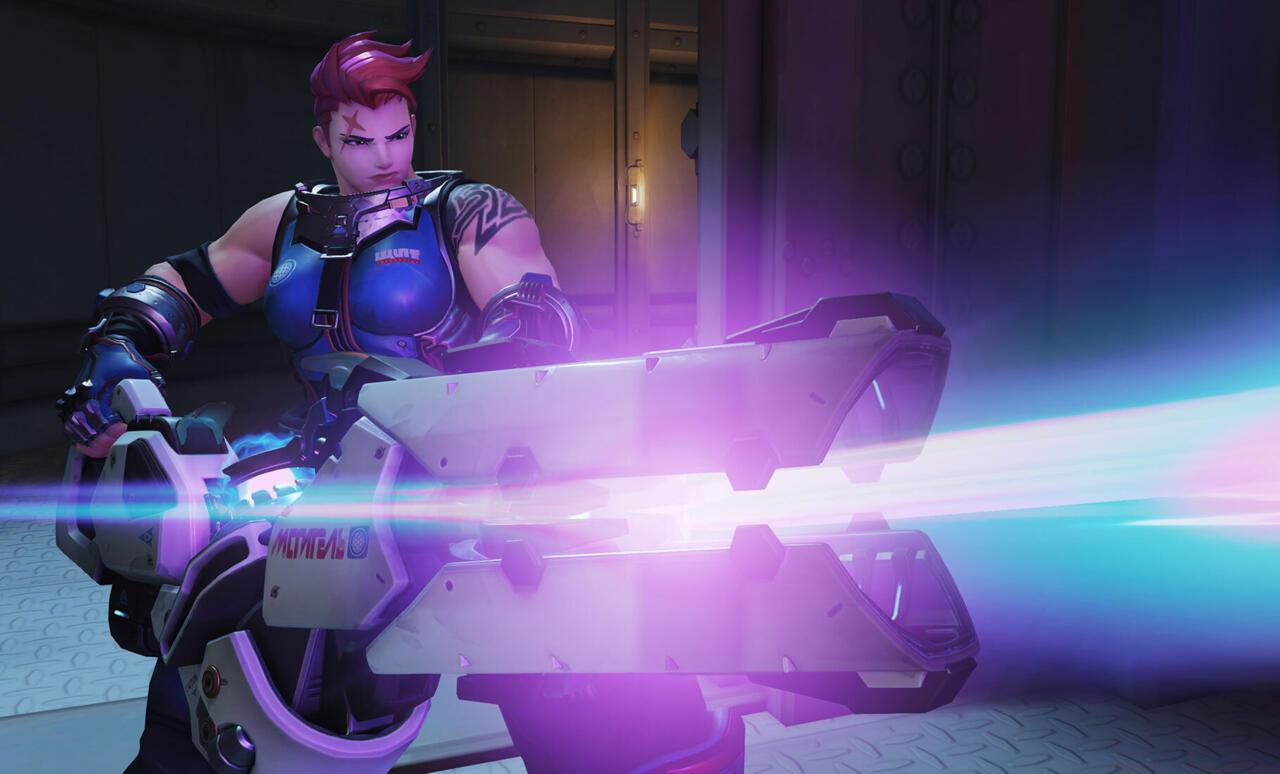
Zarya’s Particle Cannon becomes increasingly lethal as her energy level rises, with visual effects intensifying to indicate charge status.
In Overwatch 2, Zarya possesses two independent barrier charges on separate 10-second cooldowns, providing flexibility in protection distribution. The most common mistake beginners make is using both bubbles simultaneously, leaving themselves vulnerable during the extended recharge period. Instead, maintain at least one available charge for emergency situations.
Optimal bubble placement follows a simple principle: protect allies who are actively taking damage or about to engage. Support players under dive pressure, DPS heroes in vulnerable positions, or yourself when pushing through chokepoints. Each successful barrier absorption not only prevents damage but significantly boosts your offensive capabilities.
Advanced technique: “Bubble baiting” involves intentionally exposing yourself to enemy fire with a ready Particle Barrier, tempting opponents into feeding your energy. This requires understanding enemy psychology and attack patterns. Similarly, “pre-bubbling” allies who are about to use high-impact abilities (like Pharah’s Barrage or Reaper’s Death Blossom) can turn potential team wipes into fight-winning opportunities.
Energy management separates competent Zarya players from masters. Maintain energy above 40 during engagements by strategically timing barriers. High energy windows should be used aggressively to pressure enemies, while low energy periods focus on repositioning and cooldown management.
Graviton Surge Ultimate: This game-changing ability launches a gravity well that pulls enemies toward its center and traps them for 3.5 seconds. Effective Graviton usage requires both proper positioning and team coordination. The ultimate builds faster when you maintain high energy levels, emphasizing the importance of consistent barrier management.
Positioning is critical – aim Graviton Surge at surfaces rather than open space to prevent enemies from escaping its pull. Ideal locations include corners, ceilings, or against walls where the gravitational effect is most restrictive.
Combination opportunities abound with Graviton Surge. Coordinate with teammates possessing area-of-effect ultimates like Hanzo’s Dragonstrike, Pharah’s Barrage, or Junkrat’s RIP-Tire for maximum team wipe potential. Communication is essential; announce your ultimate status and planned engagement timing.
Counterplay awareness: Enemy teams may have abilities to escape or counter your Graviton Surge. Zarya players must track enemy support ultimates (like Transcendence or Sound Barrier) and defensive cooldowns (such as Orisa’s Fortify or Mei’s Cryo-Freeze) that can negate its effectiveness. Bait out these abilities before committing your ultimate.
Avoid the “panic bubble” reflex – using barriers reactively instead of proactively. High-level Zarya play involves predicting damage sources 1-2 seconds before they occur. This predictive approach generates significantly more energy than reactive barrier usage.
Positioning errors commonly plague Zarya players. Maintain medium-range engagement distances where your beam remains effective but you can retreat if energy drops. Never overextend with low energy, as your damage output and survivability both suffer dramatically.
Energy preservation techniques include using natural cover during low-charge periods and only exposing yourself when barriers are available. Track enemy cooldowns for high-impact abilities (like Roadhog’s Hook or Ana’s Sleep Dart) and save bubbles to counter them specifically.
Ultimate economy management: Avoid holding Graviton Surge for perfect multi-kill opportunities. Instead, use it to secure key picks on high-value targets or to counter enemy ultimates. A well-timed Graviton on even 2-3 enemies can swing team fights decisively. For comprehensive team composition strategies, check our Class Guide that covers synergy principles.
Common beginner mistake: Using both barrier charges simultaneously then having no protection during the 10-second cooldown window. Stagger usage to maintain consistent energy generation and protection availability throughout engagements.
Action Checklist
- Practice predictive bubbling on engaged allies 1-2 seconds before they take damage
- Track energy levels and adjust aggression accordingly
- Master beam tracking on moving targets in practice range
- Coordinate Graviton Surge with 2-3 teammate ultimates
- Study enemy composition to identify optimal bubble targets
No reproduction without permission:SeeYouSoon Game Club » Overwatch 2 – Zarya Hero Guide Master Zarya's barrier mechanics and energy system to dominate in Overwatch 2's 5v5 meta