TL;DR
- The Night’s Tide is a deadly rain that shrinks over 15-minute days, forcing players toward boss encounters
- Contact with the tide drains health and causes level loss, but teammates can revive during brief crawl states
- Rune recovery differs between Day 1 (full recovery possible) and Day 2 (proximity-dependent)
- Regular map checks and strategic flask management are essential for survival and boss preparation
- Random respawn locations after death require careful navigation to avoid repeated tide encounters
Welcome to the treacherous lands of Limveld, Nightfarer. Your survival depends on mastering one of Elden Ring Nightreign’s most punishing mechanics.
In Elden Ring Nightreign, the Night’s Tide represents a persistent environmental hazard that fundamentally shapes expedition strategy. While FromSoftware’s design philosophy differs from battle royale titles, this mechanic borrows the genre’s signature closing circle concept, creating relentless pressure throughout your journey. The deadly precipitation systematically constricts the playable area, herding players toward predetermined confrontation zones.
Understanding this system’s operational parameters is crucial for expedition success. The Night’s Tide dictates pacing and positioning throughout your Limveld exploration, requiring constant awareness and strategic adaptation to its encroaching presence.
Expedition flow revolves around the Night’s Tide’s progressive intensification. This lethal downpour methodically consumes the landscape, culminating at randomized locations hosting boss encounters. The cycle completes at Day 1 and Day 2 conclusions—following the second day’s end, you’ll transition to exterior regions for final preparations before facing your designated Night Lord adversary.
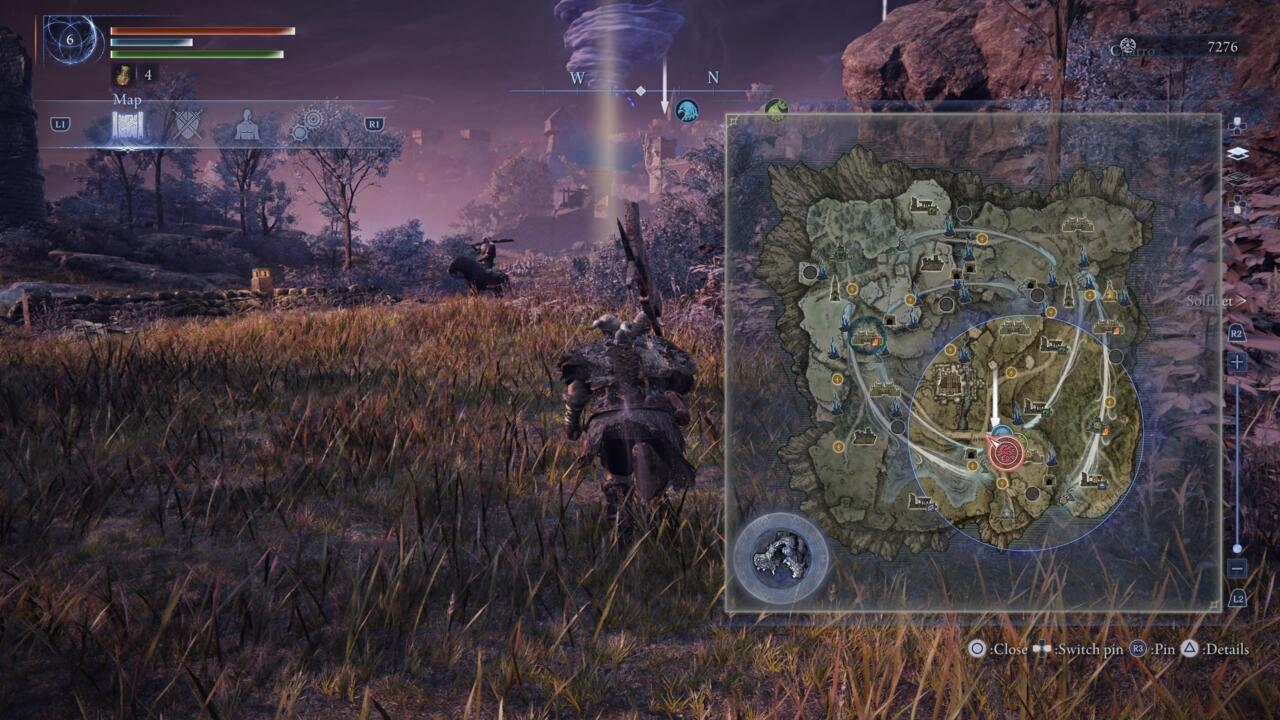
Vigilant map monitoring provides critical intelligence on the Night’s Tide movement patterns and safe zone locations.
Each operational day spans approximately 15 minutes of real-time gameplay. Throughout this period, observe the peripheral blue boundary’s gradual contraction. Although on-screen alerts signal movement initiation, cultivating the habit of frequent map consultation delivers superior situational awareness and reaction time.
Direct exposure to the Night’s Tide initiates gradual health deterioration. Should your HP fully deplete, consequences include level reduction and rune forfeiture, though resurrection remains possible. A brief crawling animation window permits squad revival attempts—though executing this under torrential conditions presents significant challenges.
Respawn mechanics introduce additional complexity through randomized placement that doesn’t guarantee proximity to allies. This randomization can trigger successive fatalities if you reappear within active tide zones, creating dangerous death spirals that demand immediate evacuation strategies.
While the rain presents formidable opposition, strategic healing flask deployment can sustain survival. Crucially, monitor Sites of Grace locations when approaching boss encounters, as inadequate flask replenishment may leave you critically underprepared for the impending confrontation.
Common tactical errors include underestimating tide contraction speed and poor flask management timing. Advanced players recommend establishing mental checkpoints every 3-4 minutes for map assessment and route recalibration. Never assume safe zones will remain stationary—the tide’s movement algorithm incorporates unpredictable acceleration patterns that can trap unprepared Nightfarers.
Optimization strategies involve calculating tide movement against your current position and destination. Elite players develop sixth senses for predicting contraction patterns, often positioning themselves proactively rather than reactively fleeing advancing boundaries.
The fate of lost runes and levels depends critically on timing and location. Day 1 casualties within the tide permit complete recovery—simply return to the death location during Day 2 to reclaim all forfeited resources, including those representing the level reduction.
Day 2 fatalities operate under stricter recovery parameters. Retrieval only succeeds if death occurred relatively near the boss encounter zone. This proximity requirement demands rapid sprinting to secure your runes before permanent loss.
Flask conservation concerns shouldn’t deter necessary usage during recovery attempts. The game provides replenishment opportunities before the Night Lord engagement, allowing aggressive flask deployment when navigating hazardous recovery scenarios.
Strategic consideration: Day 2 rune recovery typically requires 45-60 seconds of uninterrupted sprinting from respawn. If your death occurred beyond this timeframe from the boss arena, consider the runes permanently lost rather than risking additional deaths during extended recovery attempts.
Advanced recovery tactics include pre-marking potential death sites on your map and coordinating with teammates for recovery escort missions. The Class Guide offers valuable insights on character builds optimized for rapid movement and survival during these critical retrieval operations.
Mastering Night’s Tide navigation separates competent Nightfarers from expedition legends. Develop the discipline of map consultation every 2-3 minutes, watching for subtle boundary shifts that signal imminent danger zones.
Movement optimization involves understanding the terrain and identifying choke points before the tide arrives. High-ground positions often provide superior visibility for planning escape routes, while valley paths may become death traps during rapid contractions.
For comprehensive strategic planning, consult our Complete Guide covering broader expedition mechanics. Additionally, the Weapons Unlock guide ensures you’re properly equipped for the challenges ahead.
Endgame preparation requires balancing tide avoidance with resource collection. The most successful Nightfarers maintain constant awareness of their position relative to both the tide and essential Sites of Grace.
Remember: the Night’s Tide isn’t merely an obstacle—it’s a pacing mechanism designed to create tension and force decisive action. Embrace its rhythm rather than fighting its inevitability, and you’ll transform from prey to predator within Limveld’s deadly ecosystems.
Action Checklist
- Check map every 3 minutes for tide movement patterns
- Mark safe routes and potential choke points on your map
- Coordinate revival positions with teammates before entering danger zones
- Time flask usage to ensure full charges before boss encounters
- Assess rune recovery feasibility based on death timing and location
No reproduction without permission:SeeYouSoon Game Club » How Elden Ring Nightreign Night’s Tide Works Master the deadly Night's Tide mechanic in Elden Ring Nightreign with survival strategies and recovery tactics