TL;DR
- Libra’s madness-building attacks require constant mobility and orange crystal collection
- Scale-Bearing Merchant deals vary significantly in risk – always read descriptions carefully
- Ultimate abilities are crucial for breaking Frenzied Shield and creating damage windows
- Team composition should balance damage, healing, and crowd control capabilities
- Positioning and arena awareness prevent being trapped by rotating sigil patterns
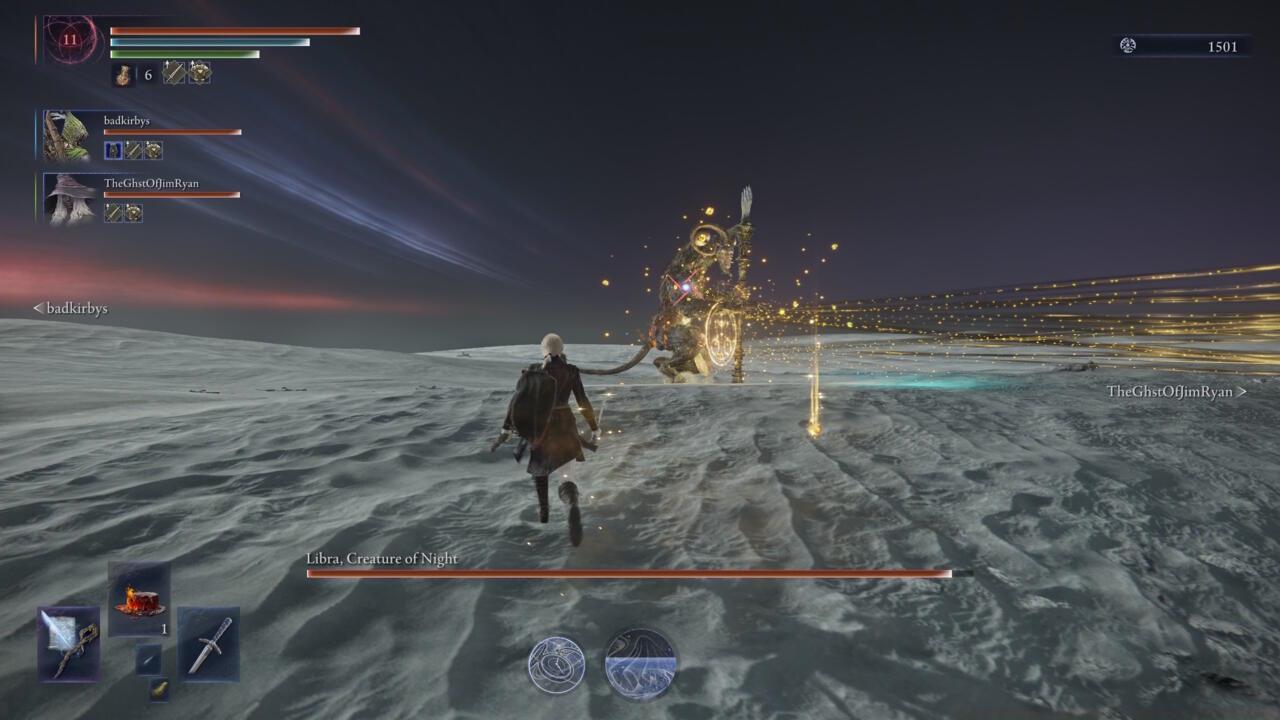
Elden Ring Nightreign’s formidable Libra presents one of the most mechanically intensive encounters in the expansion, combining relentless aggression with arena-control mechanics that test even veteran players. The Equilibrious Beast overwhelms through rapid attack chains and madness accumulation, creating a combat puzzle that demands both quick reflexes and strategic planning.
Elden Ring Nightreign’s Equilibrious Beast, Libra, dominates engagements through blistering speed and ferocious assault patterns that seamlessly blend multiple attack types. What distinguishes this Night Lord from others is its capacity to influence nearly the entire battlefield simultaneously, regardless of which combatant holds its primary attention. Success hinges on maintaining constant mobility while precisely timing ultimate ability deployments to capitalize on brief vulnerability windows.
Our comprehensive Elden Ring Nightreign Libra boss guide provides detailed breakdowns of attack patterns and exploitable weaknesses, alongside optimized team configurations specifically designed to overcome this challenging encounter.
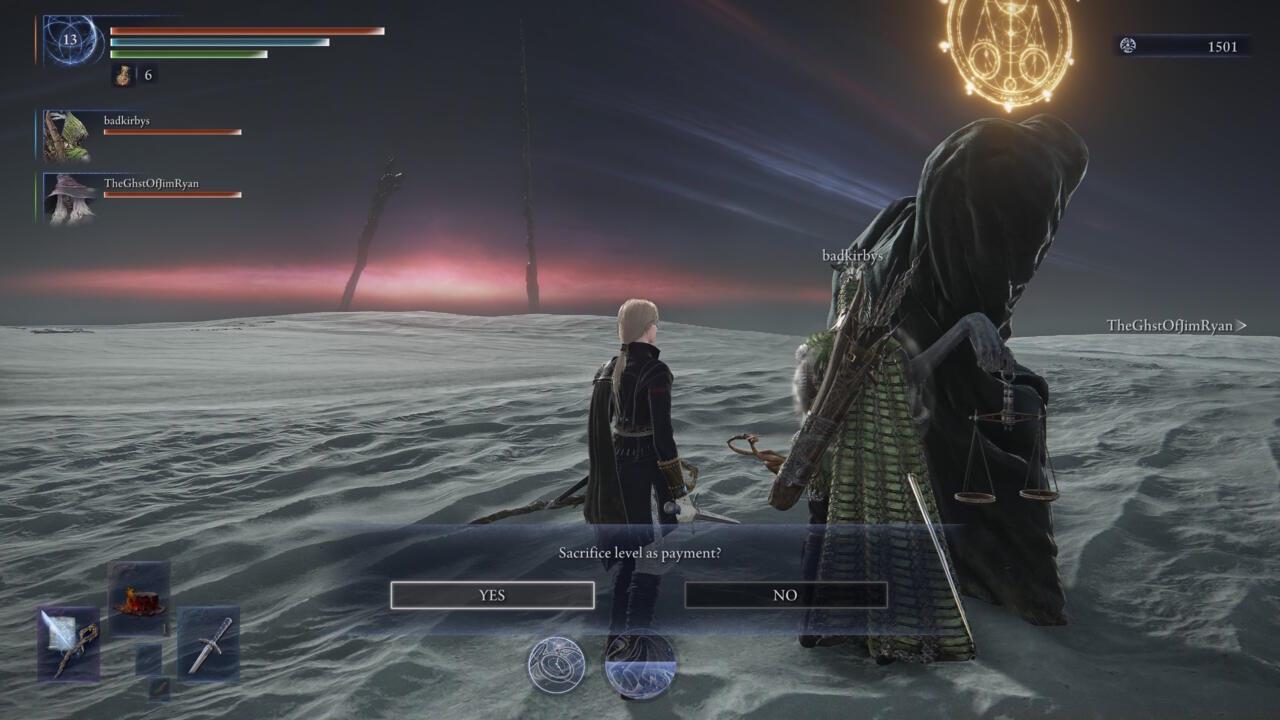
Engaging with the Scale-Bearing Merchant before confronting Libra introduces strategic variables that can dramatically alter encounter difficulty. Each negotiation presents unique risk-reward calculations that experienced players must carefully evaluate based on their team composition and personal skill level.
The decision to accept Libra’s proposed terms depends entirely on the specific offer presented. Certain pacts impose severe combat disadvantages, such as enhanced damage resistance for the boss or resurrection capabilities after defeat. Less detrimental agreements might provide character-specific benefits at manageable costs. When operating as the Recluse archetype, for instance, players might exchange unused sorcery specializations for improved Incantation potency or magical amplification, though this often comes at the price of empowering Libra’s spellcasting capabilities. Always thoroughly review agreement descriptions to understand the exact trade-offs involved.
Initiating combat without dialogue or declining proposed terms appears to carry no discernible penalties based on extensive testing. The confrontation simply progresses under standard conditions without additional modifiers.
Common Mistake: Many players hastily accept merchant deals without reading the fine print, only to discover mid-fight that they’ve granted Libra permanent stat buffs or additional combat phases. Always allocate at least 30 seconds to review all terms before committing.
Libra employs a sophisticated arsenal of magical and physical assaults that require distinct countermeasures. Understanding the sequencing and tells for each attack type is fundamental to surviving this demanding engagement.
Advanced Strategy: Weapon selection should complement your team role rather than chasing random upgrades. Maintaining specialized equipment often provides greater combat effectiveness than level sacrifices for uncertain rewards.
Primary Attack Breakdown
Staff Smash: Libra initiates with a telegraphed overhead strike followed by ground shockwaves. Dodge diagonally forward rather than backward to avoid the area-of-effect component while positioning for counter-attacks.
Libra frequently combines physical assaults with magical ground sigils, creating layered threats that demand spatial awareness. Monitor both the boss’s animations and environmental indicators simultaneously.
Rotating Madness Sigil: This complex pattern creates expanding concentric circles that rotate unpredictably. Position yourself in the narrow safe zones between sigil layers and time your movements to match the rotation rhythm.
Rain of Madness: Aerial bombardment that requires constant repositioning. The attack follows player movement patterns, so incorporate sudden direction changes rather than maintaining consistent dodging rhythms.
Madness Accumulation Mechanics: Nearly every successful strike from Libra builds madness, making consistent evasion paramount. Understanding class mobility options becomes crucial for managing this resource drain.
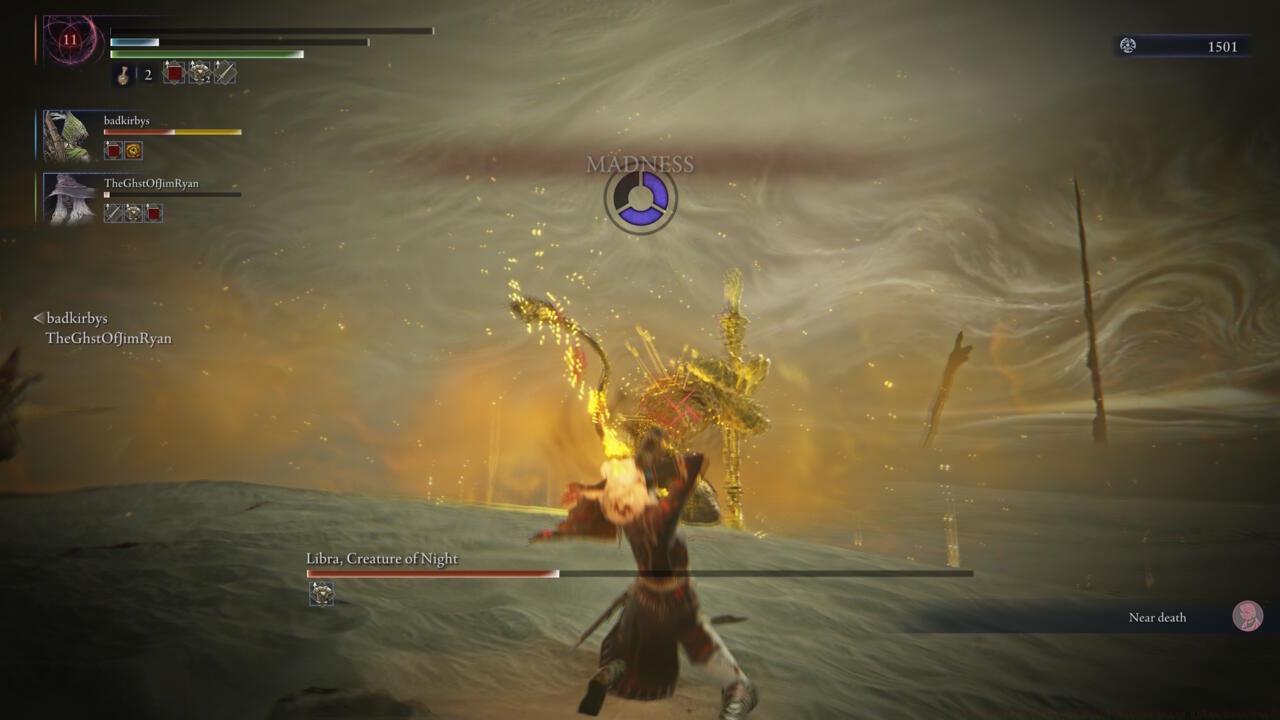
Strategic crystal collection provides temporary madness immunity, creating essential breathing room during intense assault phases. Prioritize crystals during transition periods between major attack patterns.
Frenzied Shield: A charged defensive ability that requires coordinated team effort to breach effectively.

Offensive ultimate abilities serve as the most reliable method for disrupting Libra’s shield formation. Time these abilities to impact during the shield’s charging animation to prevent complete activation.
Despite its overwhelming offensive capabilities, Libra possesses several exploitable weaknesses that skilled players can leverage to gain significant advantages. Capitalizing on these vulnerabilities often determines the difference between victory and repeated failure.
Elemental Susceptibilities: Libra demonstrates particular vulnerability to frost and holy damage types. Incorporating weapons or spells with these attributes can increase damage output by approximately 15-20% compared to neutral elements.
Positioning Weaknesses: The boss struggles with targets positioned at medium range directly behind it during certain spellcasting animations. This creates consistent damage windows for attentive players.
Animation Commitment: Several of Libra’s most dangerous attacks feature extended recovery periods where it remains stationary and vulnerable to concentrated assault.
Interruptible Casts: The initial frames of sigil-creation abilities can be disrupted by high-stagger attacks, preventing entire attack sequences from developing.
Advanced Technique: Skilled players can apply advanced positioning strategies to force Libra into predictable pattern repetitions, creating more consistent counter opportunities.
Constructing a balanced team composition proves essential for overcoming Libra’s diverse challenges. The most effective squads incorporate complementary roles that address specific encounter mechanics while maximizing damage during vulnerability phases.
Role-Based Composition Framework:
Primary Damage Dealer: Focuses on exploiting elemental weaknesses and capitalizing on animation recovery periods. Characters with high burst damage and mobility excel in this role.
Support Specialist: Prioritizes madness management through crystal collection and healing capabilities. This role often determines encounter sustainability.
Crowd Control Expert: Specializes in interrupting cast sequences and creating additional stagger opportunities through well-timed abilities.
Ultimate Ability Coordination: Timing ultimate deployments to synchronize with Libra’s vulnerability windows dramatically increases team effectiveness. Weapon selection should complement ultimate timing to ensure maximum impact during critical moments.
Advanced Synergy Strategy: Experienced teams can chain ultimate abilities to extend vulnerability periods, creating extended damage phases that can eliminate entire health segments in single rotations.
Execution Timeline: Well-coordinated teams typically complete the encounter within 4-6 minutes, while disorganized groups may require 8-12 minutes with significantly higher failure rates.
Action Checklist
- Thoroughly read Scale-Bearing Merchant deal descriptions before accepting any terms
- Assign team roles (damage, support, control) based on character strengths
- Practice dodging Staff Smash by moving diagonally forward into safe zones
- Coordinate ultimate abilities to break Frenzied Shield during charge animation
- Systematically collect orange crystals during attack transitions to manage madness
- Position behind Libra during spellcasts to exploit medium-range vulnerability
No reproduction without permission:SeeYouSoon Game Club » Elden Ring Nightreign Equilibrious Beast Libra Boss Guide Mastering Elden Ring Nightreign's Libra boss fight with strategic counters, team compositions, and deal-making insights