TL;DR
- Revenant unlocks randomly after first Night Lord defeat – complete expeditions consistently
- Master spirit rotation: Frederick for bosses, Sebastian for mobs, Helen for distraction
- Prioritize Faith scaling weapons like Sword of Night and Flame with arcane alternatives
- Utilize guaranteed relics Grand Drizzly Scene and Small Makeup Brush for optimal performance
- Manage FP carefully with Starlit Shards since no built-in FP regeneration exists
Mastering Elden Ring Nightreign’s final character requires understanding her unique unlock conditions and challenging initiation battle.
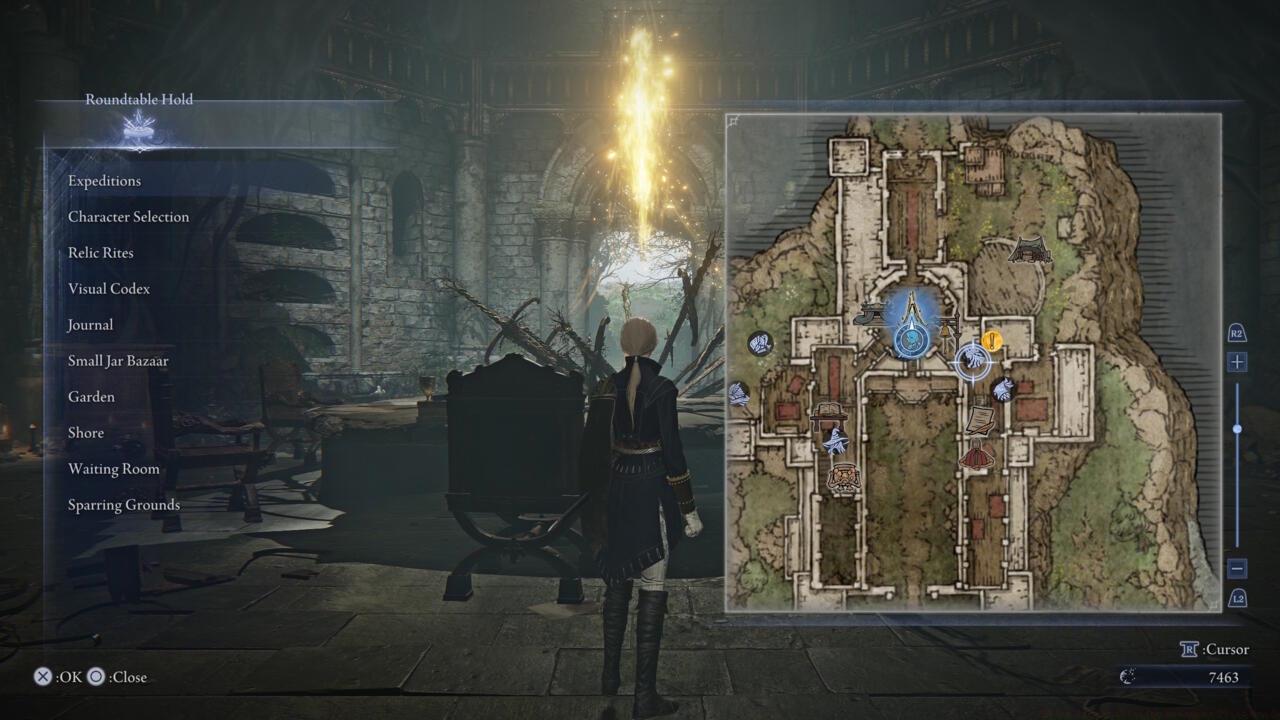
Persistent expedition completion triggers the Revenant’s appearance at Roundtable Hold.
The Revenant becomes accessible following your initial Night Lord victory and Duchess acquisition. While the exact timing appears randomized, consistent expedition completion—whether solo or co-op, successful or failed—will eventually spawn her at the hub. Monitor your map post-expedition; an exclamation point near the main hall entrance signals her arrival.
Critical preparation step: Switch from Recluse to Raider or Executor before engaging her dialogue. This triggers a spectral arena battle where you must defeat the Revenant while managing her three spirit summons simultaneously.
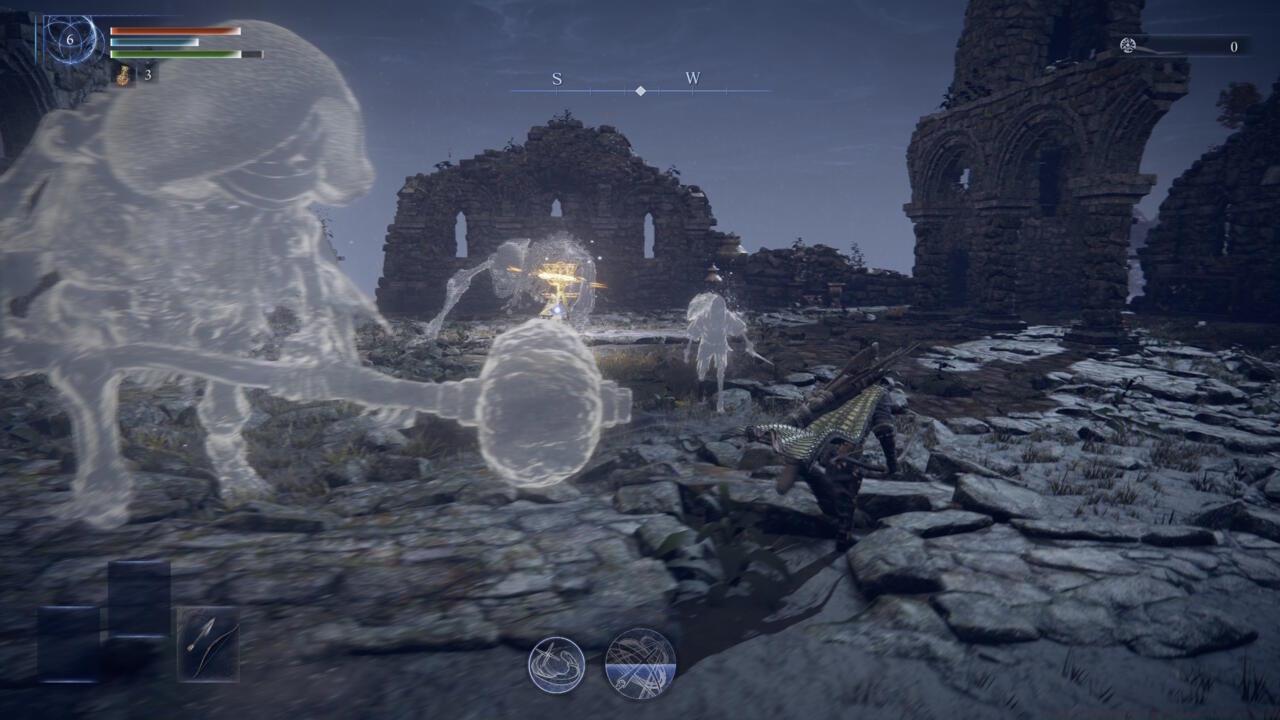
Strategic target prioritization is essential—neutralize frontline summons before engaging the Revenant directly.
Optimal strategy employs Raider or Executor classes for their superior damage output and defensive capabilities. The Executor’s enhanced perfect guard mechanics prove particularly valuable against the summons’ aggressive assault patterns.
Victory returns you to Roundtable Hold with the Revenant permanently unlocked. Most players report 5-15 expeditions required before her appearance, though RNG can extend this timeframe significantly.
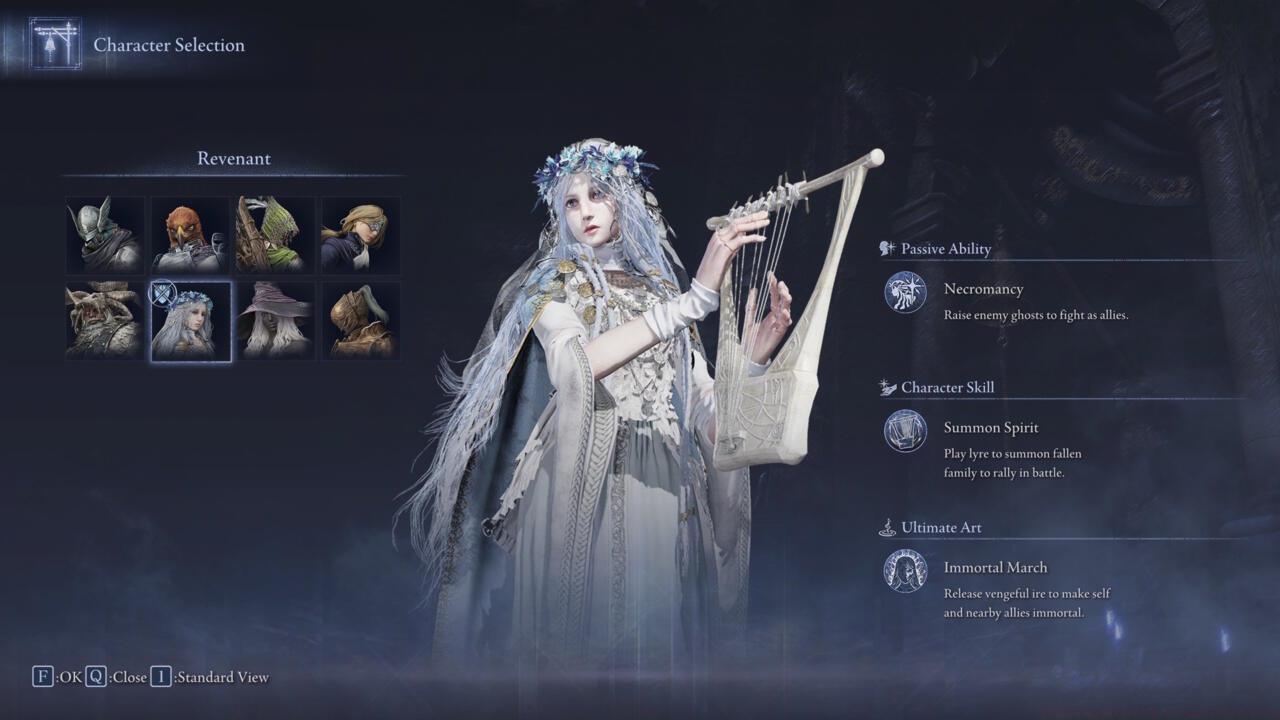
The Revenant’s necromancy ability provides consistent value across most combat scenarios.
This summon-focused specialist diverges from conventional combat archetypes through her sustained spirit rotation capabilities. Her initial claw weaponry offers elevated critical strike potential despite close-range limitations. The included healing Incantation provides sustainability, though FP constraints demand judicious usage.
Necromancy
- Defeated non-boss enemies permanently join your spectral army throughout the current expedition
Summon Spirit
-
Active spirit management enables summoning any of three spectral allies while dismissing current summons freely. Spirits dissipate upon health depletion and remain unavailable until natural HP regeneration commences.
-
- Helen – Agile swordfighter specializing in distraction and rapid strikes
- Frederick – Resilient Mad Pumpkin-Head balancing mobility and damage
- Sebastian – Stationary Giant Skeleton excelling in area denial and crowd control
Immortal March
- Temporary invulnerability envelops all allies, indicated by ghostflame orbs. This ultimate ability additionally resurrects fallen comrades within proximity.
Frederick’s balanced capabilities make him the default choice for most challenging encounters.
While Sebastian’s area control seems appealing for passive playstyles, his immobility creates significant vulnerabilities against mobile adversaries. Boss encounters particularly expose this weakness, requiring frequent repositioning that consumes valuable combat time.
Frederick represents the optimal middle ground with Helen’s mobility combined with substantial damage output. Helen serves adequately for distraction purposes but lacks durability against formidable opponents.
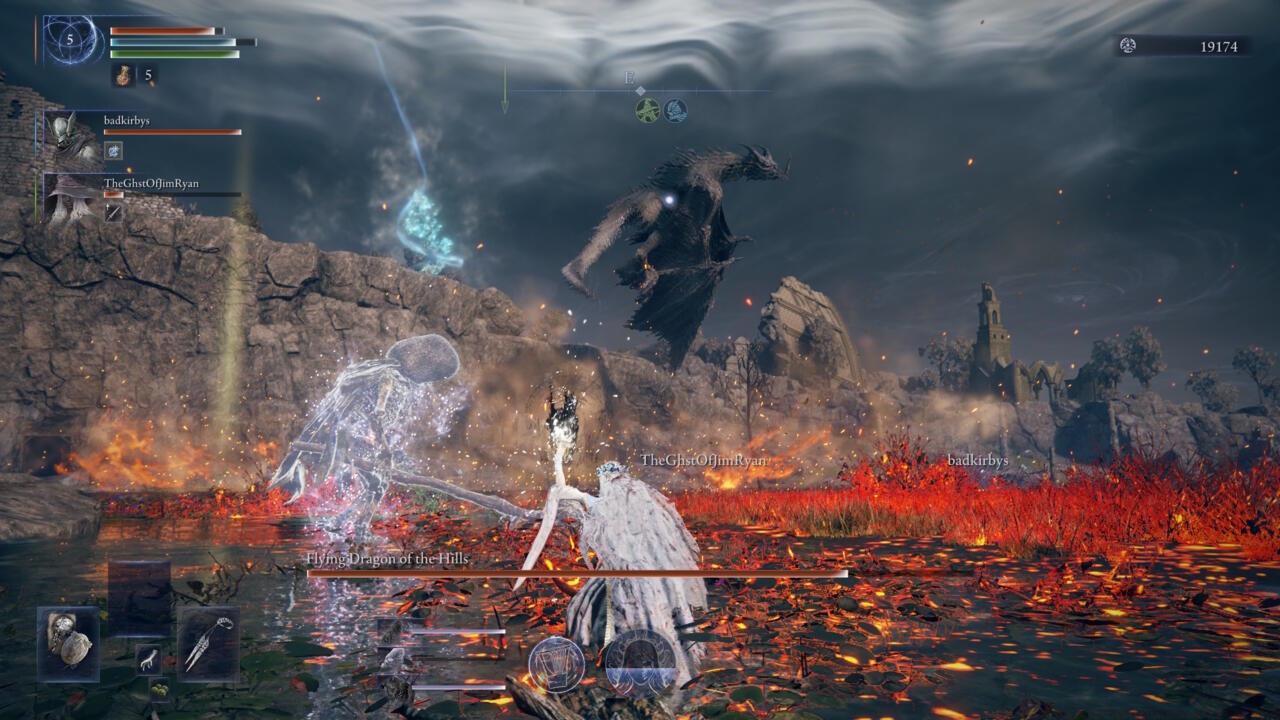
Advanced technique: Pre-summon Frederick before boss aggression triggers, ensuring immediate engagement. Against swarming enemies, Sebastian’s stationary beam attack clears groups efficiently when positioned in choke points.
Common strategic error: Over-relying on Sebastian’s theoretical damage potential while neglecting his positional limitations. Successful Revenant play requires constant summon assessment based on enemy composition and battlefield dynamics.
Strategic equipment selection compensates for the Revenant’s unconventional stat distribution and resource limitations.
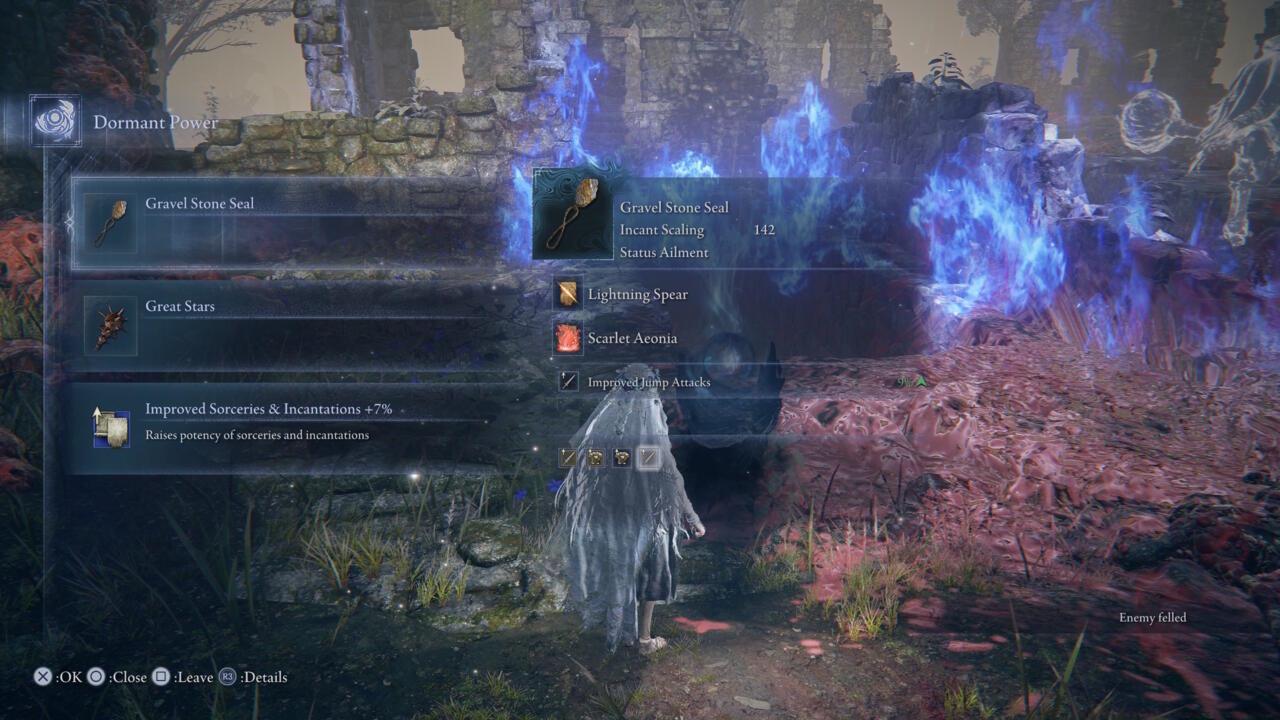
Primary stat priority favors Faith scaling, with Arcane and Intelligence (sorcery) as secondary focuses. Strength or Dexterity weapons function adequately but underperform compared to faith-aligned alternatives.
Nightreign’s faith-scaling arsenal ranges from the Erdtree Dagger to the exceptional Sword of Night and Flame. Despite her stature, the Revenant’s health scaling permits slower, heavier weapons with manageable risk. Ideal loadouts include Maliketh’s Black Blade, Grafted Dragon Head, Magma Whip Candlestick, Halo Scythe, and Winged Scythe.
Fallback strategy: Equip any discovered Incantations or sorceries alongside blood loss-inducing weaponry. Rivers of Blood performs remarkably well due to its substantial arcane scaling compatibility.
Incantation flexibility allows any magical combination from expedition drops. Unlike the Recluse’s specific requirements, the Revenant adapts to available resources. Critical limitation: No innate FP regeneration necessitates Starlit Shard usage or passive buff reliance.
Pro tip: Maintain at least one reliable melee option since FP constraints prevent spell-exclusive playstyles. For more weapon options, see our BF6 Weapons Unlock Guide for comprehensive armament strategies.
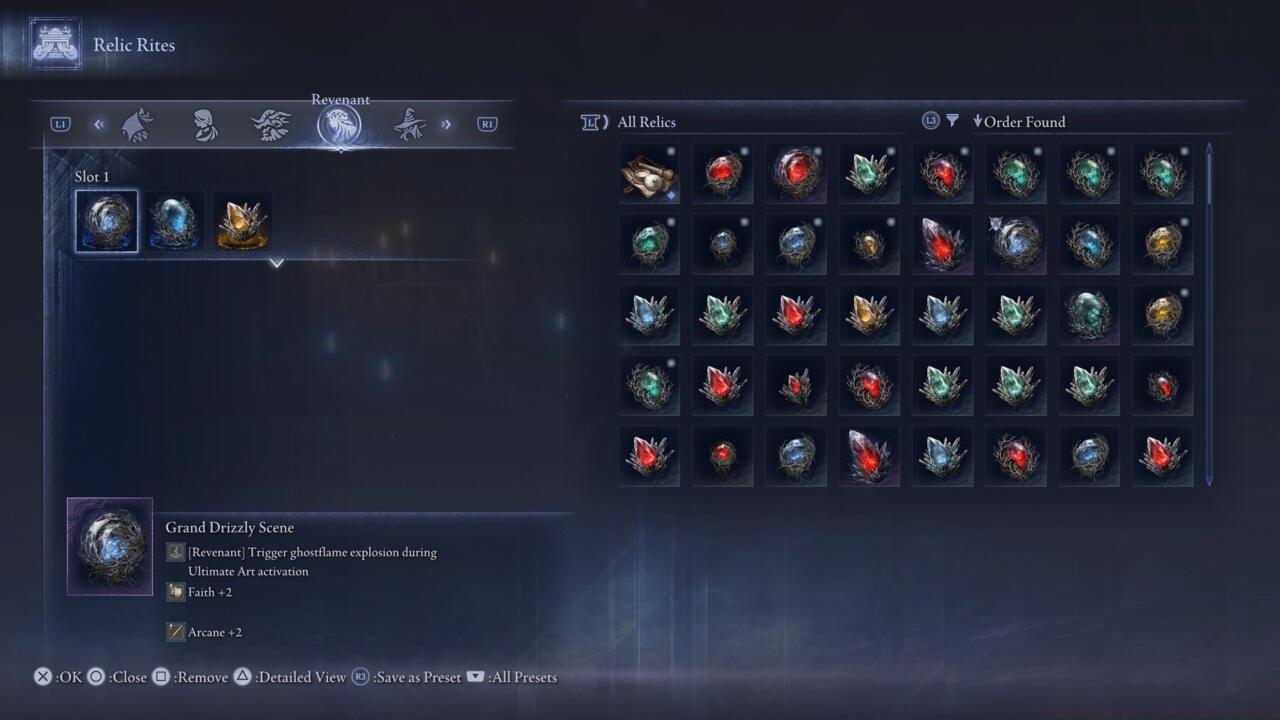
Guaranteed relic acquisitions provide substantial power spikes for the Revenant’s specialized playstyle.
Faith-focused relics deliver optimal performance, complemented by Mind enhancements for FP capacity. Intelligence and Arcane improvements offer secondary benefits.
Two essential relics come from guaranteed sources: Roundtable Hold jar merchant and the Revenant’s initial Remembrance completion.
Grand Drizzly Scene
- [Recluse] Triggers ghostflame detonation upon ultimate activation
- +2 Faith
- +2 Arcane
Small Makeup Brush
- [Revenant] Enhanced combat potency when fighting alongside spectral family members
- Boosted Rune acquisition for yourself and allied players
Luminous Scene gems providing Mind and lightning power enhancements appear with reasonable frequency. Lightning-based Incantations, while not guaranteed, represent some of the more common magical discoveries.
Advanced build variation: Combine Grand Drizzly Scene with lightning-focused Incantations for area control, or prioritize Small Makeup Brush for sustained summon-enhanced combat.
For comprehensive character guidance, our BF6 Class Selection Guide offers comprehensive archetype analysis. Long-term Revenant enthusiasts can explore cosmetic customization through available character skins.
Action Checklist
- Complete 5-15 expeditions post-first Night Lord to trigger Revenant appearance
- Switch to Raider/Executor before initiating Revenant dialogue
- Acquire guaranteed relics from jar merchant and first Remembrance
- Master spirit rotation: Frederick for bosses, Sebastian for crowds
- Optimize loadout with Faith-scaling weapons and manage FP with Starlit Shards
No reproduction without permission:SeeYouSoon Game Club » Elden Ring Nightreign Revenant Class Guide Master Elden Ring Nightreign's final class with comprehensive summoning strategies and optimized builds