TL;DR
- Maintain precise 10-15 foot distance to trigger Marauder’s vulnerable melee attacks
- Exploit the green flash moment with Super Shotgun for maximum stagger damage
- Use grenades for area control and to counter spectral wolf summons effectively
- Disengage strategically to manage resources and eliminate supporting demons first
- Master weapon switching combos and environmental mobility for tactical advantages
Confronting the Marauder demands tactical precision rather than brute force aggression. This formidable adversary represents Doom Eternal’s ultimate combat proficiency test, requiring players to master advanced positioning and timing mechanics.

The Marauder stands apart as Doom Eternal’s most tactically sophisticated demonic entity. Originally a Sentinel warrior, this enemy mirrors the Doom Slayer’s combat capabilities with evasive dashes and devastating close-quarters firepower. Your initial encounter occurs during mission six at Arc Complex, but prepare for repeated engagements as Marauders become regular threats in later stages.
What makes the Marauder exceptionally dangerous is its defensive superiority. Unlike typical demons that charge relentlessly, this opponent employs an energy shield while simultaneously launching punishing counterattacks. Success requires sustained offensive pressure combined with strategic resource management, keeping weaker demons available for health, armor, and ammunition replenishment through glory kills.
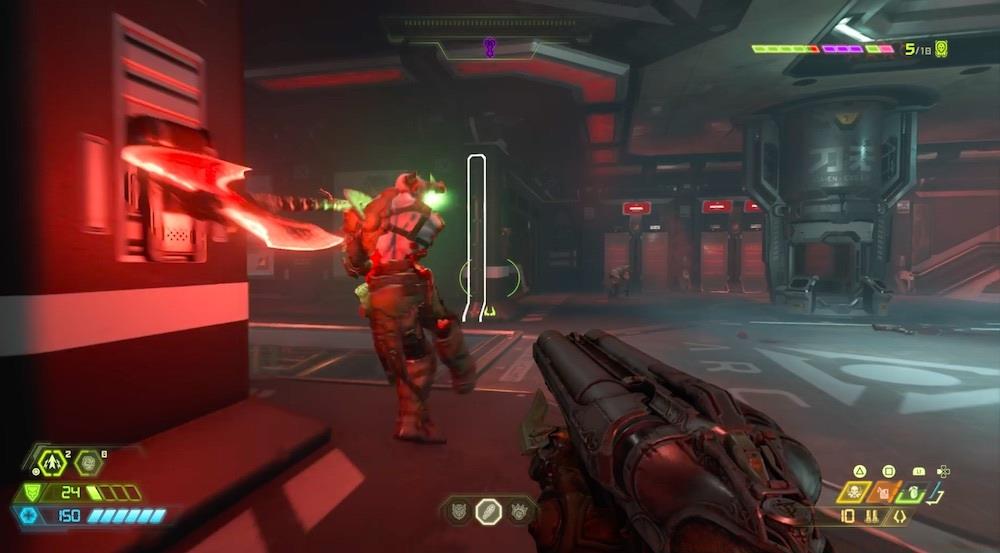
This combatant utilizes three distinct attack patterns: a close-range shotgun blast delivering massive damage, a thrown energy axe for distance engagements, and a summoned spectral wolf that relentlessly pursues targets. Each attack demands specific countermeasures, but collectively they can rapidly deplete your survivability if handled incorrectly.
Optimal engagement occurs at 10-15 feet—the sweet spot that triggers the Marauder’s vulnerable melee lunge while avoiding its most dangerous shotgun spread. At extended ranges, the thrown axe becomes the primary threat; while challenging to evade, it’s preferable to the devastating close-range alternative. The Marauder employs rapid sidestep dodges to flank your position and close distance, so maintain spatial awareness constantly.
When you create excessive distance, the Marauder summons its spectral wolf companion. Despite its intimidating appearance, this entity is relatively fragile and can be eliminated with concentrated fire from any weapon. Prioritize immediate neutralization upon appearance to prevent persistent harassment.
Understanding the stagger mechanic is fundamental to defeating Marauders efficiently. Under normal combat conditions, the energy shield provides complete frontal protection, making conventional attacks ineffective. The critical vulnerability window occurs during the Marauder’s melee assault initiation, signaled by a distinctive green illumination.
This green flash indicates the brief period when the shield is inactive, allowing you to stagger the enemy and create extended damage opportunities. Precision timing is essential—strike during this moment to interrupt the attack sequence and maximize your offensive output.
While any firearm can trigger the stagger effect, the Super Shotgun delivers optimal performance due to its high damage output and generous projectile spread. The weapon’s effectiveness ensures reliable hits during the narrow vulnerability window while enabling substantial follow-up damage during the staggered state.
Advanced players should master the quick-switch technique: firing the Super Shotgun, immediately switching to the Ballista for a precision shot, then returning to the Super Shotgun. This combo can eliminate a Marauder in just two stagger cycles when executed perfectly.
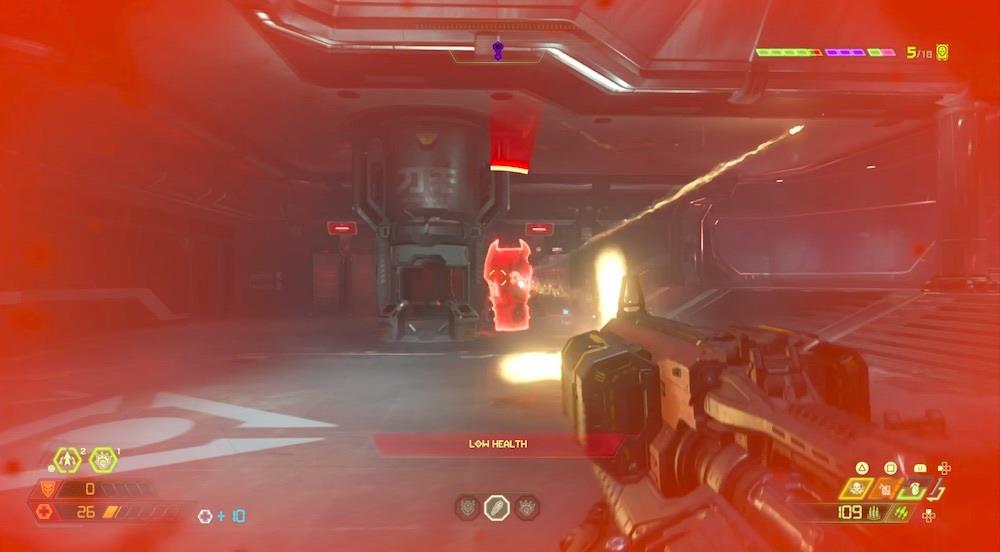
Resource management becomes crucial when relying on the Super Shotgun. Monitor ammunition levels consistently and identify opportunities to utilize the chainsaw on weaker demons for shell replenishment. Many players fail by exhausting their primary weapon resources at critical moments.
When the Marauder maintains its defensive posture with the energy shield deployed, conventional direct attacks prove futile. However, explosive and area-effect weaponry can circumvent this protection through splash damage mechanics.
The equipment launcher’s grenades provide exceptional utility in these situations, particularly when the Marauder is accompanied by supporting demonic forces. Target explosions adjacent to the Marauder rather than directly at it to bypass the shield and inflict chip damage or force repositioning.
Grenades also serve as effective countermeasures against the spectral wolf summon. Deploy explosives immediately when the wolf materializes to eliminate it efficiently while potentially damaging the Marauder simultaneously.
Many players overlook the ice bomb’s potential against Marauders. While it doesn’t freeze them completely, it significantly slows their movement speed, making subsequent staggers easier to execute and follow-up damage more reliable.
The initial Marauder confrontation occurs within a confined combat arena populated by numerous zombie fodder, creating opportunities for glory kills and resource recovery. In larger battle zones where Marauders appear alongside diverse demonic threats, avoid developing target fixation on this single enemy.

While the Marauder represents the most immediate danger, it simultaneously functions as a distraction while other demons flank and eliminate you from unprotected angles.
Strategic disengagement represents an advanced tactical option many players hesitate to employ. When resources diminish or the situation becomes overwhelming, temporarily retreat from the Marauder, eliminate weaker demons for replenishment, then re-engage with restored capabilities.
The Marauder will pursue aggressively, but no demon in Doom Eternal matches the Doom Slayer’s mobility potential. Utilize environmental navigation systems including monkey bars, jump pads, and teleportation devices to create separation and control engagement timing.
Common tactical errors include exhausting all ammunition during stagger windows without securing kills, failing to manage supporting enemies, and persisting in unfavorable engagements until death. Successful players recognize when to reset the encounter rather than continuing doomed assaults.
For players seeking to optimize their Marauder elimination efficiency, mastering specific weapon combinations delivers dramatic improvements. The “Super Shotgun-Ballista” combo remains the gold standard, but alternative loadouts can achieve similar results with different resource investments.
The Rocket Launcher’s lock-on burst, while ammunition-intensive, can nearly eliminate a Marauder in a single stagger sequence when properly executed.
Movement technology integration separates competent players from masters. Learn to combine dash maneuvers with environmental navigation to maintain optimal positioning while avoiding the Marauder’s attacks and controlling the engagement pace.
When available, the BFG-9000 provides an emergency solution for overwhelming situations involving multiple Marauders or dense demon clusters. While resource-intensive, it can instantly reset unfavorable combat scenarios.
Ultimate weapon applications should be reserved for critical situations where conventional tactics would likely result in death. Strategic BFG deployment can eliminate supporting demons while damaging Marauders, creating manageable 1v1 engagements.
Action Checklist
- Establish and maintain 10-15 foot engagement distance
- Monitor for green flash indicator and respond with Super Shotgun
- Execute weapon switch combos during stagger windows
- Deploy grenades for wolf countermeasures and area control
- Disengage strategically to eliminate fodder and replenish resources
- Utilize environmental mobility to control engagement timing
No reproduction without permission:SeeYouSoon Game Club » Doom Eternal Marauder Guide: Beating The Game’s Hardest Enemy Master advanced Marauder combat tactics with precise positioning, timing strategies, and survival techniques
