TL;DR
- Firecrackers cost 500 Sen and stun animals/bosses, located via grapple points in Outskirts Wall
- Flame Vent counters red-eyed enemies and Chained Ogre, found in Hirata Estate area
- Shinobi Axe shatters enemy shields and posture, requires careful navigation past guards
- Each prosthetic addresses specific enemy weaknesses and dramatically reduces early game difficulty
- Proper tool selection and timing can turn impossible fights into manageable encounters
While Sekiro: Shadows Die Twice emphasizes precise sword combat, mastering the Shinobi Prosthetic tools provides critical tactical advantages against specialized enemies. These supplementary weapons target specific vulnerabilities that standard blade attacks cannot effectively address.
The Firecrackers, Flame Vent, and Shinobi Axe represent essential early-game acquisitions that transform challenging encounters into manageable situations. Many players overlook these tools during initial exploration, inadvertently increasing the game’s difficulty curve unnecessarily.
Strategic tool deployment becomes particularly vital against enemies with unique defensive capabilities or attack patterns that overwhelm standard parry-and-counter approaches.
Firecrackers serve as one of Sekiro’s most versatile prosthetic tools, creating explosive distractions that interrupt enemy attack animations and create brief vulnerability windows. Their effectiveness peaks against animal-type enemies and specific bosses who rely on aggressive, uninterrupted assault patterns.
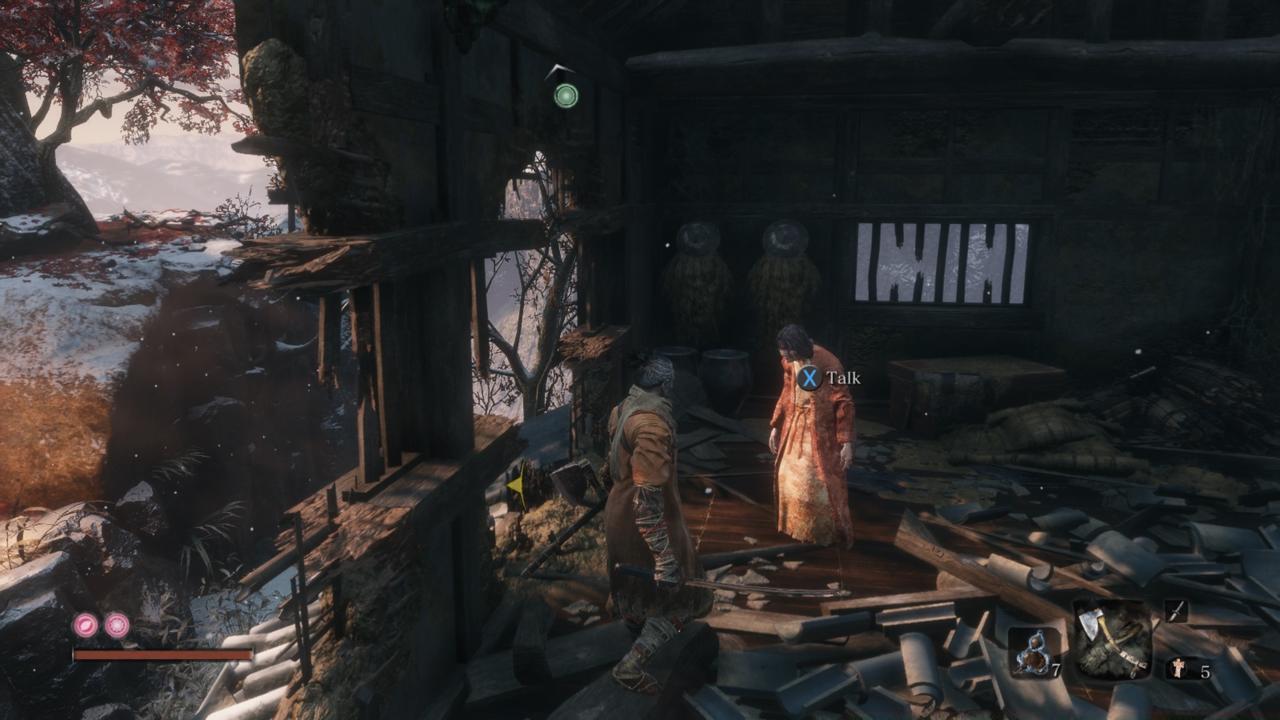
To acquire this essential tool, navigate to the Outskirts Wall – Gate Path area. Proceed past the encounter with the woman who mistakes you for her son until you reach a gate with stairs ascending beyond it. You’ll notice an enemy positioned at the stairway’s peak launching cannon projectiles toward your position.
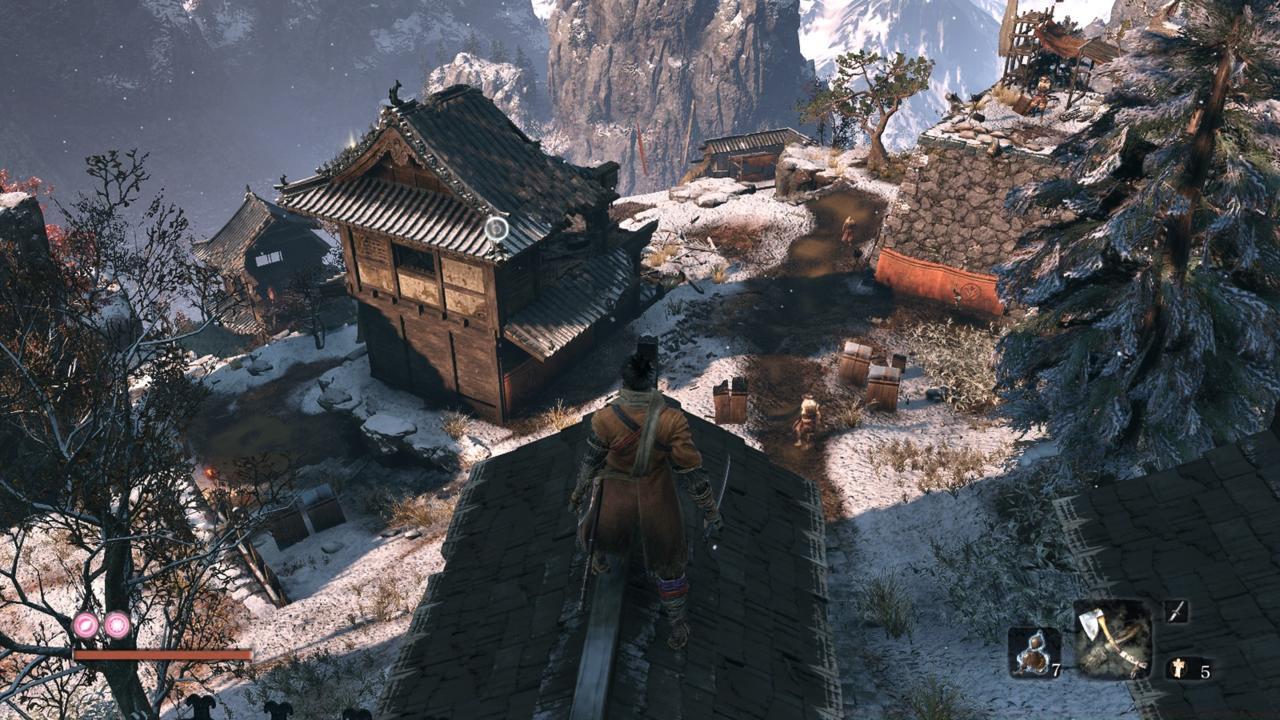
Avoid direct confrontation with the cannon-wielding enemy and instead scan leftward for grapple points leading upward. These will transport you to a stone tower’s foundation where additional ascending grapple opportunities await.


Upon reaching the summit, you’ll discover a Merchant Mob establishment where Robert’s Firecrackers can be purchased for 500 Sen. Return to the Sculptor at Dilapidated Temple for prosthetic integration.
The Flame Vent prosthetic delivers fiery bursts that instill fear in specific enemy types, particularly red-eyed berserkers and the challenging Chained Ogre mini-boss. While fire attacks don’t inflict additional damage numerically, they trigger recoil animations that disrupt aggressive assault patterns and create strategic breathing room.
Beyond immediate disruption, the Flame Vent applies burn status effects that deal damage over time, effectively whittling down enemy vitality while you maintain defensive positioning.
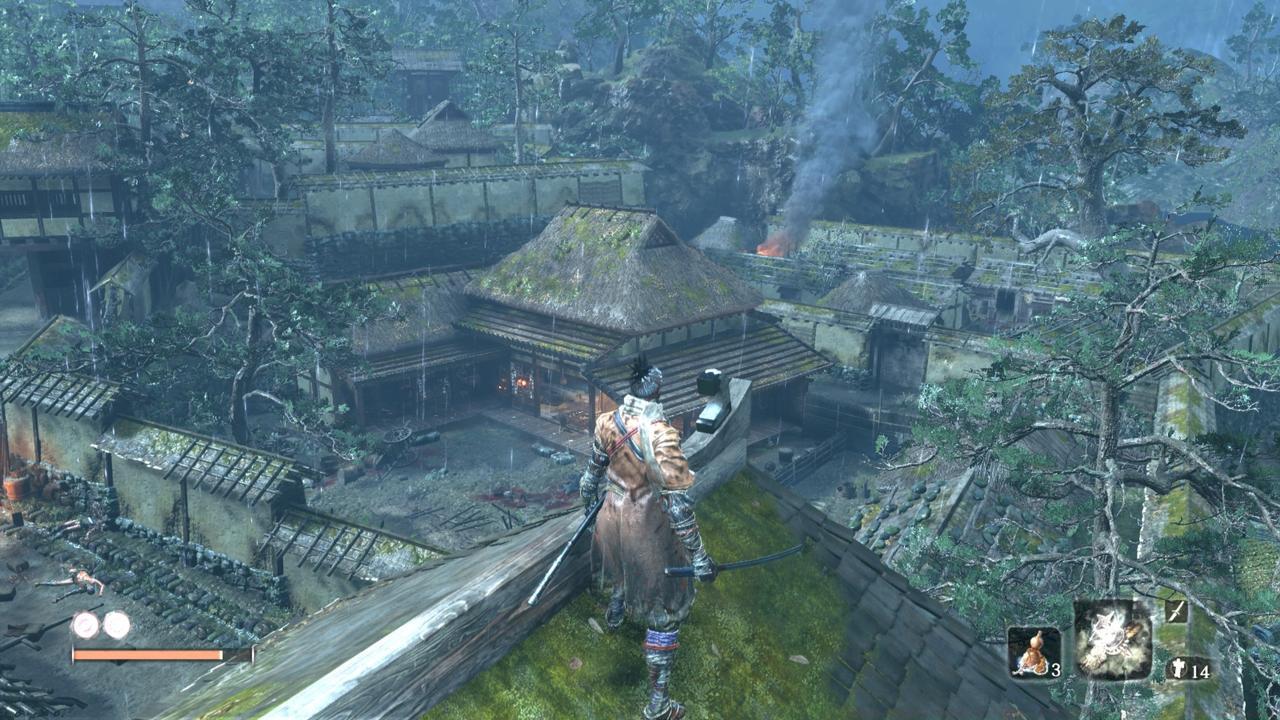
Locating the Flame Vent requires thorough exploration of the Hirata Estate region. This area becomes accessible early in your journey and contains multiple hidden paths that conceal essential tools.


The Shinobi Axe specializes in shattering defensive postures and breaking through enemy guards that would otherwise require tedious attrition. This tool proves invaluable against shield-bearing opponents who block standard sword attacks repeatedly.
Acquiring the axe demands careful progression through guarded areas in the Hirata Estate. You’ll need to navigate past watchful enemies while identifying alternative paths that circumvent direct confrontations.
Strategic axe deployment involves timing your strikes to capitalize on enemy recovery frames after their attacks. The tool’s slow wind-up requires anticipation but delivers substantial posture damage when connecting with blocking foes.


Mastering the Shinobi Axe involves understanding its integration into combat flow. Rather than spamming axe attacks, successful implementation requires reading enemy patterns and deploying the tool during specific vulnerability windows.
Beyond individual tool mastery, understanding prosthetic combinations creates devastating tactical opportunities. The Firecracker-into-Flame Vent sequence, for example, can control enemy positioning while setting up burn damage applications.
Resource management becomes crucial when planning prosthetic usage. Spirit Emblems represent a finite resource, requiring strategic decisions about when to deploy specific tools versus conserving for critical encounters.
Many players struggle with early bosses like Gyoubu Oniwa and the Blazing Bull, not realizing that specific prosthetic tools dramatically alter these fight dynamics. The Firecrackers’ stun effect on the Blazing Bull, for instance, transforms an intimidating charge-fest into a manageable confrontation.
Common mistakes include overlooking grapple points that lead to hidden areas, spending Sen on unnecessary items before securing essential tools, and failing to recognize enemy-specific weaknesses that prosthetics exploit.
Action Checklist
- Save 500 Sen by collecting coin purses in Ashina Outskirts for Firecrackers
- Navigate to Outskirts Wall – Gate Path, locate grapple points left of cannon enemy
- Thoroughly explore Hirata Estate for Flame Vent and Shinobi Axe
- Return to Dilapidated Temple for prosthetic installation by Sculptor
- Practice tool deployment against standard enemies before boss encounters
No reproduction without permission:SeeYouSoon Game Club » Sekiro Guide To Shinobi Prosthetics: Be Sure To Grab Three Early-Game Weapons Essential Sekiro prosthetics guide: Find Firecrackers, Flame Vent, and Shinobi Axe locations to dominate early game