TL;DR
- Focus on vitality damage rather than posture breaking in Phase 1
- Master the four-move combo parry sequence for optimal damage windows
- Use Firecracker prosthetic strategically to interrupt attacks and create openings
- Position at mid-range to avoid triggering ranged attacks while staying close enough to capitalize on opportunities
- Learn specific dodge timing for the dangerous poop throw attack to avoid poison buildup
No musical talents from this colossal primate, unfortunately—just pure, unadulterated violence.
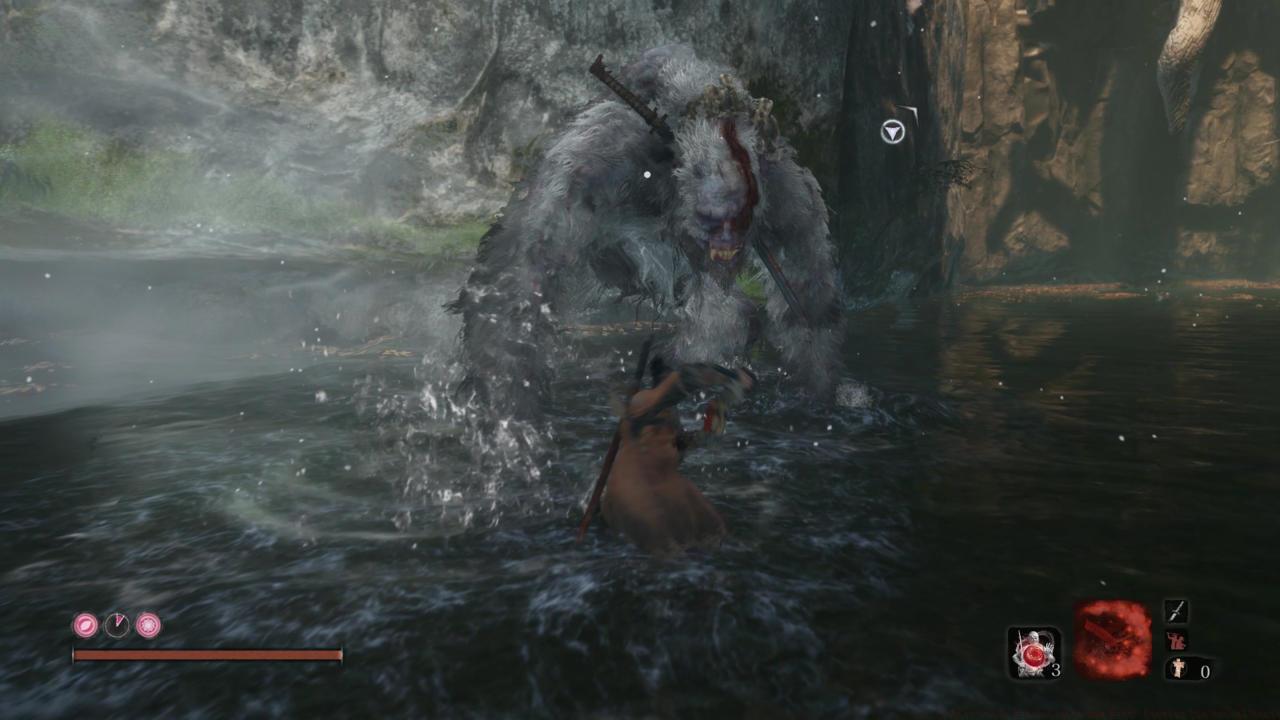
While Sekiro: Shadows Die Twice predominantly pits you against skilled warriors wielding diverse armaments—demanding constant adaptation to swords, spears, and other traditional weapons—you’ll occasionally confront massive creatures like the Blazing Bull or Great Serpent. The Guardian Ape represents a fusion of these enemy archetypes, beginning as a ferocious beast employing its enormous fists before unexpectedly revealing a shocking second phase with a massive blade.
This formidable opponent awaits within the toxic marshes of Sunken Valley, strategically positioned to block access to a crucial story-progressing flower. Although confrontation is inevitable, experienced players often prioritize collecting Prayer Beads or defeating other bosses first to strengthen their capabilities. Enhancing your offensive power proves particularly valuable here, as you’ll need to inflict substantial vitality damage throughout the prolonged engagement.
Our comprehensive guide delivers essential knowledge for overcoming this challenging encounter, covering everything from its unconventional excrement-hurling tactics to its devastating sword-based assaults. For additional Sekiro guidance, explore our extensive and continually expanding game knowledge repository.
Unlike most Sekiro bosses where posture management reigns supreme, the Guardian Ape’s initial phase demands a vitality-focused approach. This necessitates identifying specific attack windows to deliver meaningful sword strikes. Many openings prove challenging to recognize and exploit effectively, requiring careful observation and timing.
Maintain optimal positioning at medium distance, utilizing the entire combat space to evade dangerous maneuvers while avoiding environmental constraints. The key lies in balancing aggression with preservation—staying close enough to capitalize on damage opportunities while maintaining sufficient space to retreat from lethal combos.
Despite the absence of traditional weaponry, deflecting the ape’s assaults remains crucial for survival. Its exceptional speed and extensive reach make evasion nearly impossible; parrying provides the only reliable method to remain engaged and positioned for counterattacks.
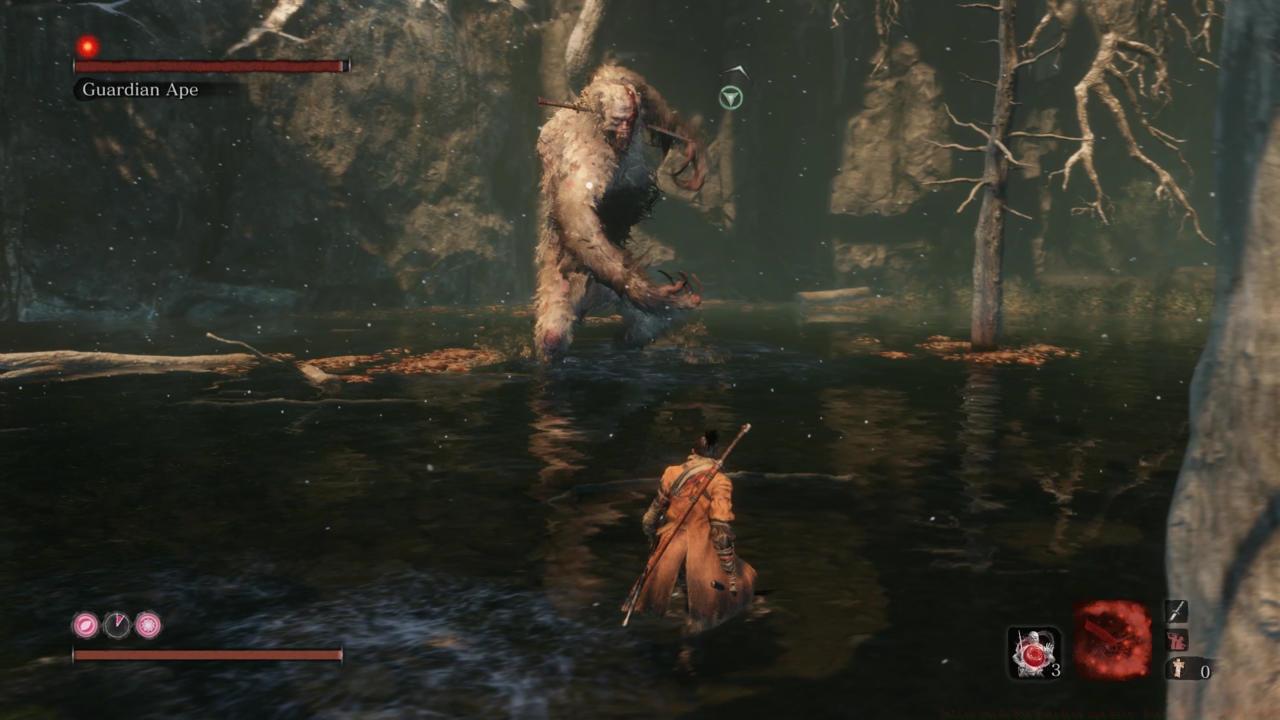
Prime attacking moments emerge following the ape’s signature four-strike combination: initial alternating arm swings, a powerful shove creating distance, and concluding with an aerial descent. Successfully parrying all components—particularly the final two maneuvers—creates significant counterattack windows. Another excellent opportunity arises after the vertical overhead slam, where the ape tumbles backward and thrashes violently. Sprint toward its head during this tantrum-like animation to deliver several strikes before disengaging safely.
Exceptional damage-dealing possibilities materialize through strategic grappling hook utilization. When the primate pauses to roar vociferously, it reveals the embedded neck sword, enabling grapple attachment and aerial approach. If available, employ the Ashina Combat Art that permits post-grapple attacks, allowing two solid strikes to the creature’s head before landing. Additional grapple chances occasionally present themselves during the beast’s patrol movements around the arena.
Maintain moderate proximity to ensure you don’t overlook these essentially risk-free damage opportunities. The timing for these grapple moments is relatively generous, but positioning remains critical for activation.
Most adversaries display vulnerability to the Firecracker prosthetic tool, with animals like the Guardian Ape proving particularly susceptible. While not completely reliable, these pyrotechnics frequently interrupt the ape’s assault patterns, creating openings for multiple sword strikes. Exercise caution against deploying Firecrackers during vulnerable states, as they cannot consistently halt already-initiated attack animations. They excel at securing damage windows or creating brief respites for healing.
Pro Tip: Combine Firecracker usage with the Loaded Umbrella prosthetic for maximum safety during aggressive approaches. The umbrella blocks incoming damage while the firecrackers create the opening, mimicking advanced strategies you’d employ in our BF6 Class Selection Guide for optimal loadout synergy.
One distinctive behavior sequence involves the Guardian Ape delivering multiple swings before rotating into a seated posture with its back exposed. While this presents an apparently vulnerable target, maintain distance as the creature possesses two response options. The first entails rapid spinning followed by ground impact and wide-arcing attacks requiring precise blocking or parrying.
The alternative response features a slower standing motion culminating in an enormous flatulence emission that blankets the area in toxic green gas. The poisonous cloud persists for several seconds, making avoidance the superior strategy.
The gaseous attack typically precedes the ape’s perilous ranged assault, where it defecates into its palm, launches skyward, and hurls the massive projectile toward your position. This move presents significant threat due to substantial damage output and potential poison infliction.
If your poison resistance meter remains relatively empty, the most consistent defense involves blocking the attack and accepting the minor poison accumulation. However, if facing potential full poisoning, attempt sprinting away and executing a precisely timed dodge as the fecal missile approaches. Note that maintaining excessive distance frequently triggers this assault, reinforcing the importance of moderate proximity maintenance.
Common Mistake: Many players instinctively retreat to maximum range when low on health, inadvertently triggering the very attack they’re trying to avoid. Similar to tactical errors discussed in our Battlefield 6 Complete Guide, proper positioning often proves more effective than pure evasion.
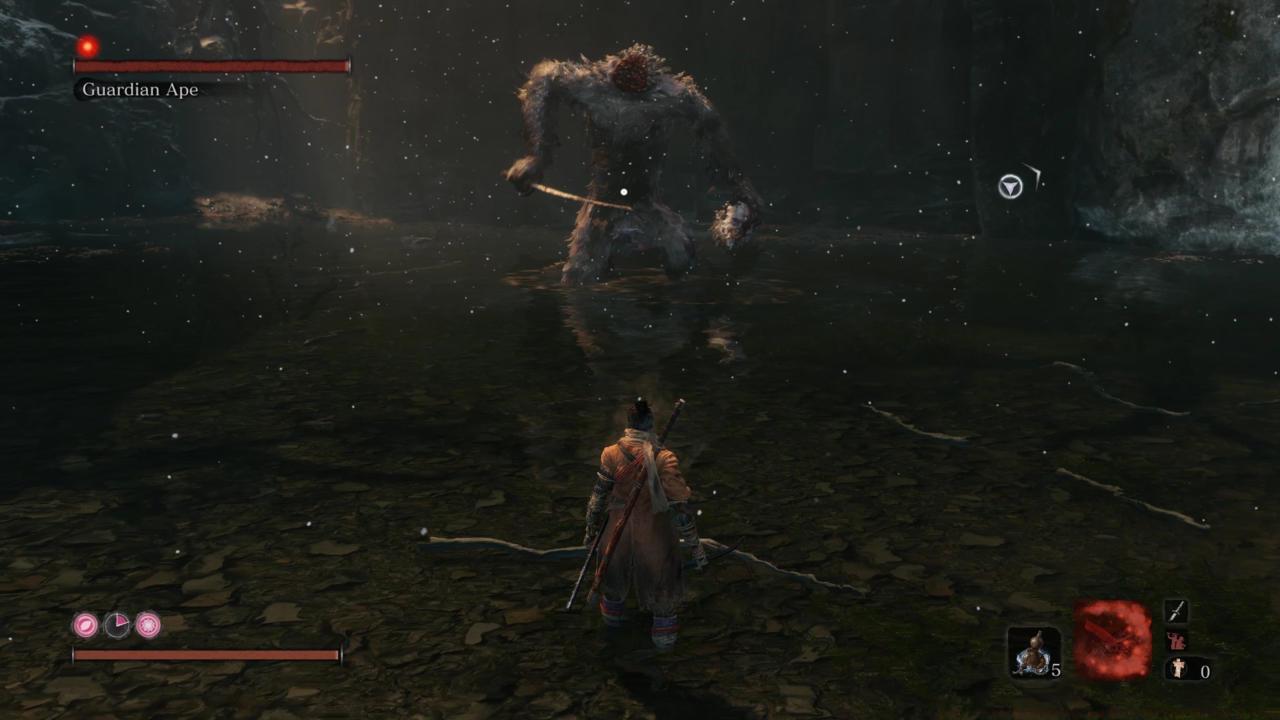
Following the initial defeat, the Guardian Ape undergoes a shocking transformation, rising with its colossal sword now actively employed as a weapon. This phase demands a complete strategic shift from vitality damage focus to posture-breaking tactics.
The sword-swinging primate introduces devastating new attack patterns, including wide horizontal sweeps and overhead slams with significantly extended range. The combat dynamic shifts dramatically, requiring precise deflection timing and opportunistic counterattacks.
Critical to success in this stage is mastering the parry rhythm for the ape’s sword combos. Successful deflections create posture damage accumulation opportunities that were largely ineffective during the first phase.
When the headless creature raises its sword overhead for an extended period, anticipate the massive downward strike and prepare for the perfect parry window.
Advanced Technique: The Mortal Draw combat art proves exceptionally effective during this phase, dealing substantial posture damage through the ape’s defenses. This mirrors the weapon specialization principles outlined in our BF6 Weapons Unlock Guide, where specific tools excel in particular combat scenarios.
Maintain aggressive pressure while watching for the telltale sword-gleam indicating parry opportunities. The second phase typically concludes more rapidly than the first when employing proper posture-breaking strategies.
Action Checklist
- Position at mid-range (neither too close nor too far) to optimize attack opportunities while minimizing ranged attack triggers
- Master the four-move combo parry sequence: block initial swings, perfect parry the pushback and leap attacks
- Utilize grappling hook during roar animations with Ashina follow-up attacks
- Deploy Firecracker prosthetic during attack wind-ups (not mid-animation) for safe damage windows
- Execute precise dodge timing for poop throw attack: sprint away, dodge at projectile impact moment
- Shift to posture damage focus in Phase 2, utilizing Mortal Draw combat art for maximum effectiveness
No reproduction without permission:SeeYouSoon Game Club » Sekiro Guide For Guardian Ape Boss: Beating The Brutal Beast Master the Guardian Ape fight with expert strategies, attack patterns, and advanced combat techniques