TL;DR
- The Shinobi Axe excels at breaking enemy shields and dealing massive posture damage
- Access Hirata Estate via the old woman’s bell in Ashina Outskirts
- Navigate Estate Path’s alternative route past the campfire area
- Locate the shrine building after eavesdropping on enemy conversations
- Master axe timing and spirit emblem conservation for optimal performance
In Sekiro: Shadows Die Twice, certain adversaries present significant challenges due to their resilient posture meters and defensive capabilities. The Shinobi Prosthetic arm offers specialized tools designed to counter specific enemy types, with the Loaded Axe standing out as particularly effective against shielded opponents and posture-heavy enemies. This implement delivers devastating strikes that can shatter defenses instantly.
Unlike starting equipment, prosthetic tools require discovery throughout the game world and installation by the Sculptor at Dilapidated Temple. Missing crucial tools like the axe can severely handicap players against mid-boss encounters and certain regular enemies who rely on defensive tactics.
The Loaded Axe proves indispensable early in your journey, especially against shield-carrying soldiers and the wooden-hat-wielding Senpou Temple assassins. Overlooking this tool creates unnecessary difficulty spikes, making thorough exploration essential for smoother progression. For comprehensive combat preparation, consult our BF6 Weapons Unlock strategies that emphasize tool specialization.
The Loaded Axe resides within Hirata Estate, accessible only through a specific memory sequence triggered by a quest item. The required object is a ceremonial bell obtained from an elderly woman located in Ashina Outskirts’ devastated settlement area.
Progress through Outskirts Wall—Gate Path beyond the initial samurai mini-boss encounter. In the subsequent open zone with numerous patrols and destroyed structures, locate the specific ruined dwelling containing the distraught old woman. Engaging with her while humoring her maternal confusion yields the essential bell item for Buddha offerings.
Return to Dilapidated Temple and present the bell at the Buddha statue adjacent to the Sculptor. This ritual transports you three years into the past to the Hirata Estate memory realm. Understanding quest triggers like this parallels the mission structure in our Class Guide for tactical advantages.
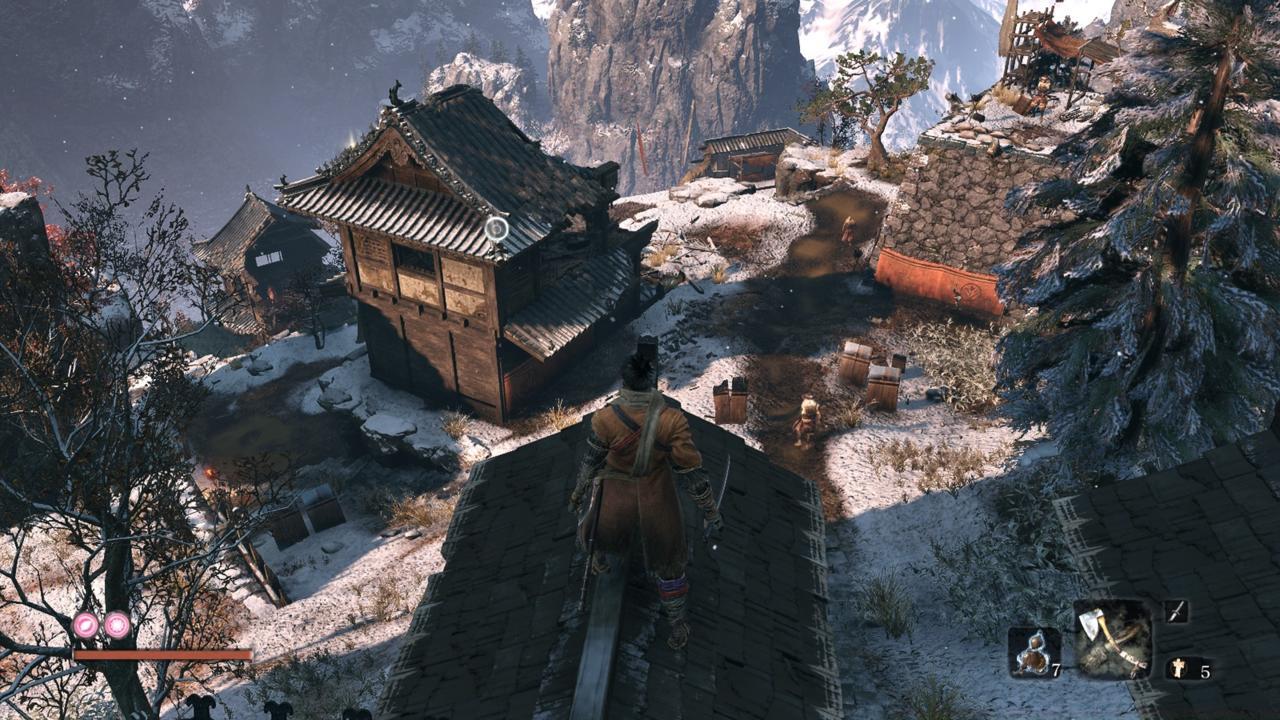
Upon arriving in Hirata Estate, advance through the initial combat sections until reaching the Sculptor’s Idol designated “Estate Path.” This checkpoint marks the beginning of your axe retrieval operation.
From the idol position, follow the main route until encountering an impassable gate obstruction. Employ vertical mobility by scaling the right-side wall to bypass this barrier, proceeding past residential structures and courtyards. Navigate beyond the Flame Vent location if previously acquired.
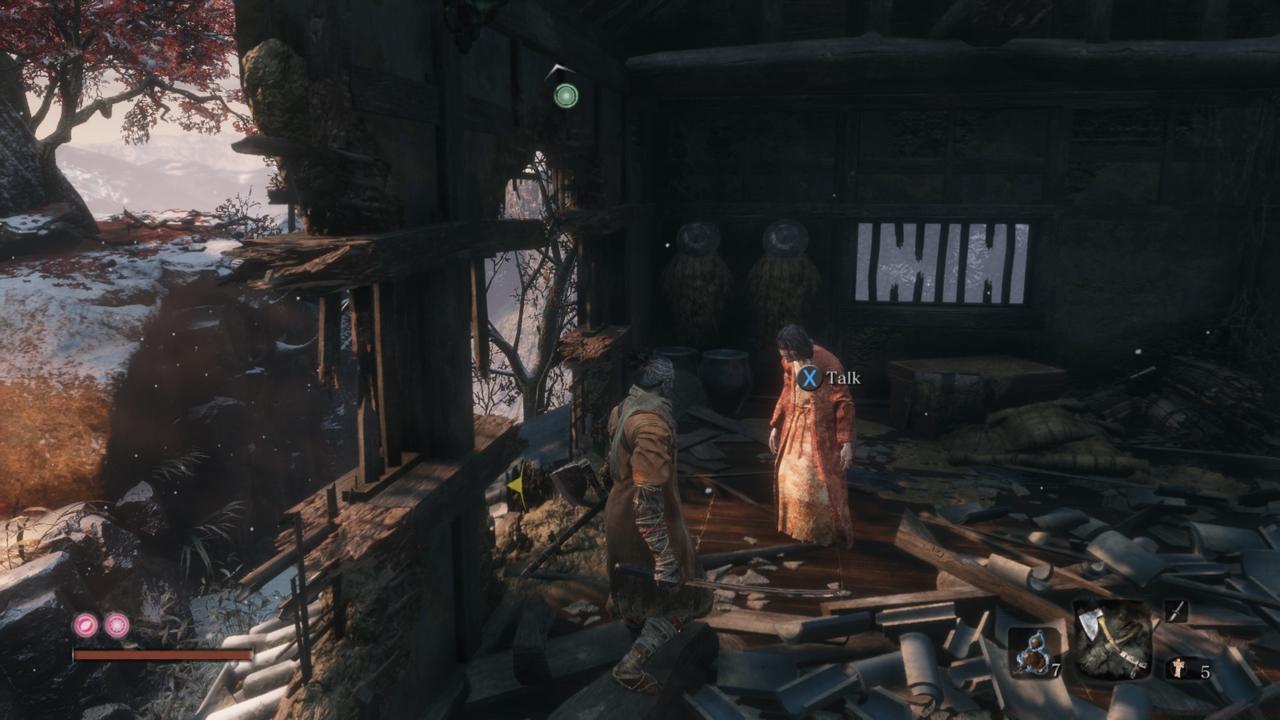
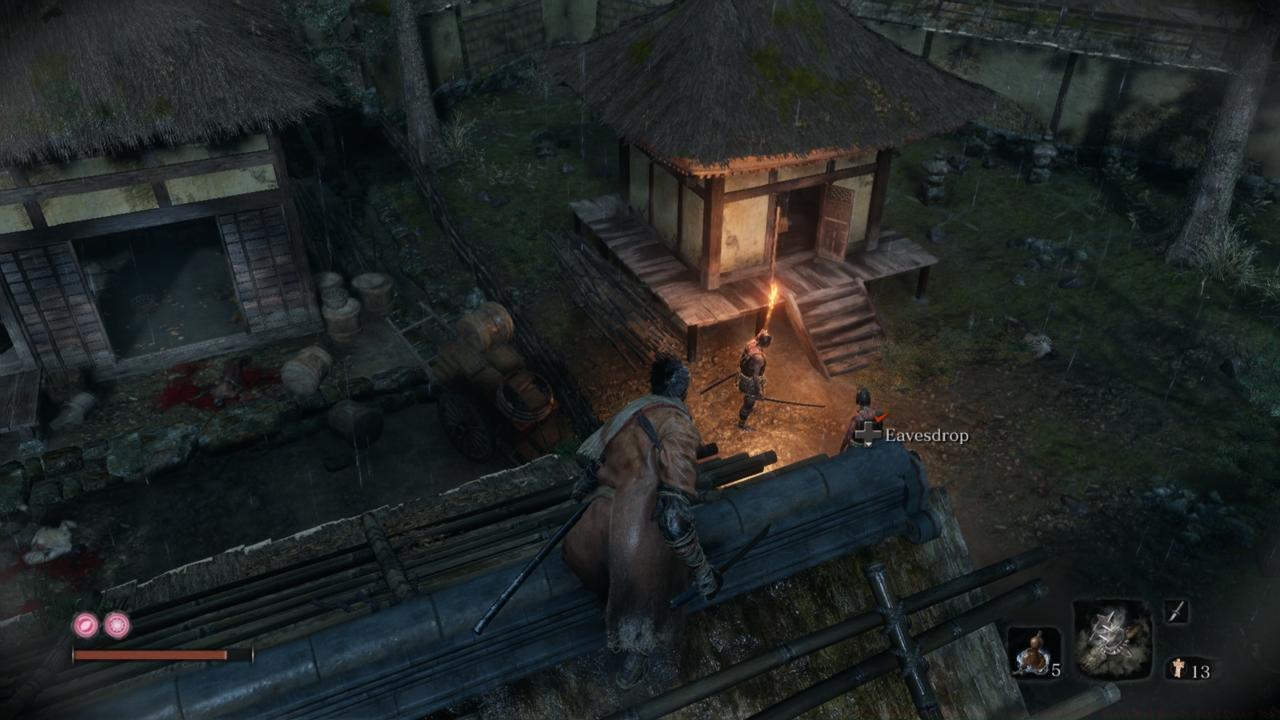
Continue through the terrain until passing a hut cluster where multiple enemies congregate around a campfire. The trail beyond this gathering rejoins the primary path on the gate’s opposite side, where an injured samurai provides intelligence about the axe’s shrine location.
Progressing past the samurai returns you to the main roadway with directional options. To the right, observe two guards at a gate presenting eavesdropping opportunities. Instead, proceed left toward the previously encountered locked gate, then ascend the left wall to overhear two additional enemies discussing arson plans for a nearby shrine structure—your target destination.
Eliminate the two discussing enemies, then access the compact square shrine building to claim the Loaded Axe. Return to any Idol Statue for fast travel to Dilapidated Temple, where the Sculptor will install your new prosthetic attachment. Expedite this process by operating the previously locked gate from your current position, creating a shortcut back to the checkpoint.
Mastering the axe involves understanding its attack wind-up and spirit emblem consumption. The weapon delivers exceptional posture damage against shielded enemies and hat-wearing assassins, but requires precise timing due to its slower execution. Against regular swordsmen, the axe can break their guard in 2-3 connected hits, creating execution opportunities.
Advanced technique: Combine axe strikes with dodging to maintain offensive pressure while avoiding counterattacks. Against the shield-bearing soldiers immediately ahead in Hirata Estate, the charged axe attack will demolish their defense in a single blow, immediately enabling deathblows. For more advanced tactical approaches similar to Complete Guide methodologies, practice timing against various enemy types.
Common mistakes to avoid: Don’t spam axe attacks against agile enemies who can punish the recovery animation. Avoid using the axe when low on spirit emblems, as it consumes one per usage. Never deploy the axe against fast-attacking enemies like the Lone Shadow swordsmen.
Action Checklist
- Locate the old woman in Ashina Outskirts ruins and obtain the bell
- Offer bell at Dilapidated Temple Buddha statue to access Hirata Estate
- Reach Estate Path Idol and take alternative route over right wall
- Navigate past campfire area and locate injured samurai
- Eavesdrop on enemies discussing shrine burning, then retrieve axe from building
- Practice axe timing against shield enemies and manage spirit emblem usage
No reproduction without permission:SeeYouSoon Game Club » Sekiro Axe Prosthetic Guide: Get The Shield-Smashing Tool Master Sekiro's Shinobi Axe location and combat strategies to dominate shield-wielding enemies