TL;DR
- Strategic turret placement creates distraction opportunities and controls key map areas
- Master weapon switching between rivet gun ranges for optimal damage output
- Overload ability provides crucial survival and burst damage windows
- Molten Core excels at area denial and objective protection
- Advanced positioning and turret management separate average from elite Torbjorn players
Torbjorn’s engineering expertise allows him to construct automated turrets that provide consistent area denial and supplementary firepower for his squad.
As one of Overwatch 2’s legacy heroes, Torbjorn maintains his core identity while adapting to the game’s faster 5v5 format. Equipped with his versatile Rivet Gun and deployable auto-turret, this damage specialist excels at securing objectives and establishing defensive strongpoints. His toolkit proves particularly effective in the innovative Push mode, where creating strategic chokepoints can determine match outcomes. This guide explores advanced techniques to maximize Torbjorn’s defensive capabilities.
For comprehensive hero comparisons and meta analysis, consult our regularly updated Class Guide that details optimal team compositions and counter-picks.
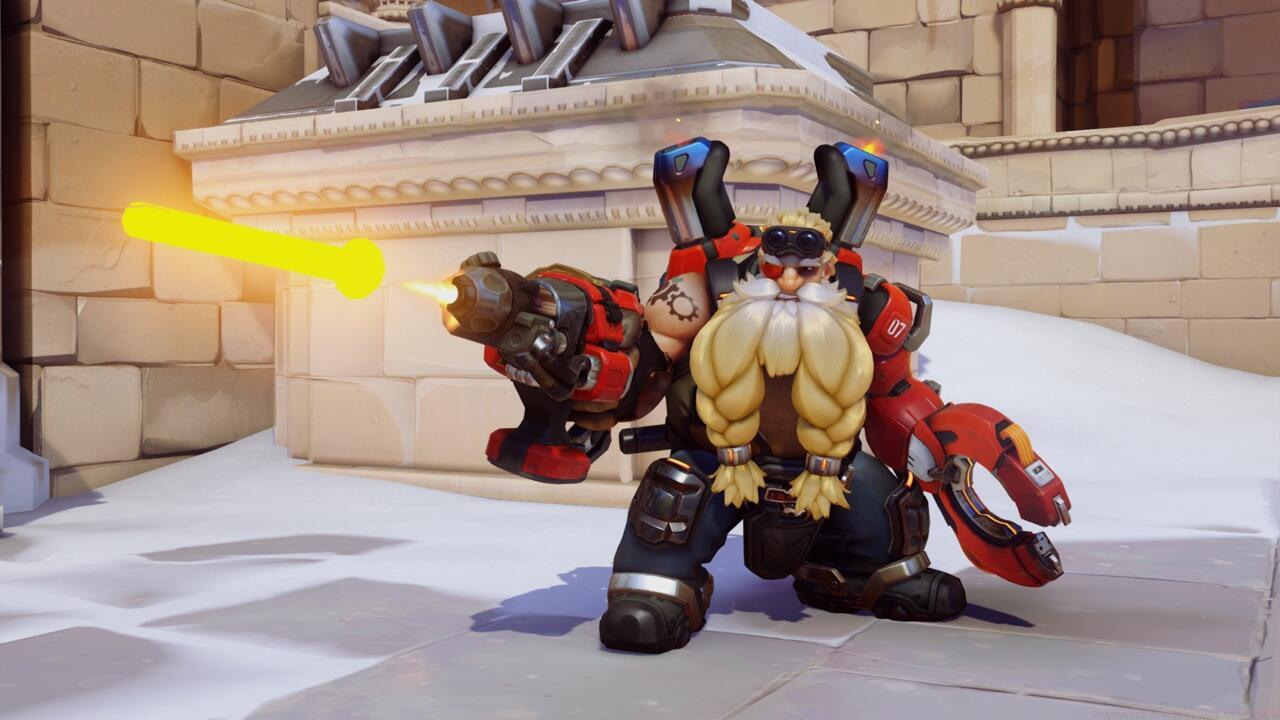
Functioning as a hybrid damage dealer, Torbjorn’s autonomous turret delivers sustained pressure while he engages enemies directly. His Rivet Gun offers tactical flexibility with both precise long-range projectiles and devastating close-quarters shotgun blasts. The Overload ability temporarily enhances his mobility, fire rate, and durability, while his Molten Core ultimate transforms battlefield zones into lethal lava fields that devastate armored opponents.
Rivet Gun: Primary fire delivers accurate, high-damage projectiles ideal for medium to long-range engagements, requiring careful shot leading. Secondary fire unleashes a wide-spread shotgun blast perfect for close-quarters defense against flankers.
Forge Hammer: This multipurpose tool repairs turret damage efficiently while serving as a respectable melee option when ammunition runs low.
Deploy Turret: Constructs an automated sentry that independently targets enemies within its line of sight, providing consistent area denial.
Overload: Activates a temporary combat enhancement providing bonus health, accelerated movement, faster reloading, and increased attack speed for emergency situations.
Molten Core ultimate: Deploys multiple pools of molten slag that create persistent area denial zones, dealing significant damage to enemies and extra damage to armor-based heroes.
Torbjorn reaches peak effectiveness when his turret occupies strategic positions that control key sightlines. While the turret maintains long-range engagement capability, it requires unobstructed vision to acquire targets. The relatively brief cooldown for deploying new turrets means excessive repair efforts often prove inefficient compared to tactical repositioning.
Employ your turret as a psychological weapon that divides enemy attention. While opponents focus on eliminating your automated ally, your team gains precious seconds to execute coordinated attacks against distracted foes. Optimal turret locations include elevated positions with partial cover, unexpected angles overlooking objectives, and areas that force enemies into unfavorable engagement positions. For weapon optimization strategies that complement your turret placement, explore our comprehensive Weapons Unlock guide.
Mastering Torbjorn’s Rivet Gun requires understanding projectile speed and leading moving targets effectively.
While Torbjorn’s turret garners significant attention, his personal combat capabilities should not be underestimated. His Rivet Gun’s primary fire demands precision aiming and anticipation of enemy movement patterns, while the secondary fire provides reliable close-range stopping power against aggressive divers.
Effective Torbjorn play involves constant assessment of engagement distances. At medium ranges, utilize the primary fire’s accuracy to pressure enemies and build ultimate charge. When opponents close distance, immediately switch to shotgun blasts combined with Overload for surprising burst damage potential. This dual-range approach forces enemies to contend with threats from multiple distances simultaneously.
Movement during combat proves crucial—utilize environmental cover while maintaining angles that allow your turret to supplement your damage output. For broader strategic context that enhances your Torbjorn gameplay, reference our Complete Guide to team-based objective play.
Molten Core represents one of Overwatch’s most potent area denial ultimates when deployed strategically. The created lava pools persist for several seconds, making them ideal for blocking choke points, securing objective areas during overtime, or denying enemy repositioning during team fights.
Optimal deployment timing involves activating Molten Core when enemies commit to specific positions or during crucial objective contests. The ultimate’s armor-melting properties make it particularly effective against tank heroes who rely on damage reduction abilities.
Advanced techniques include combining Molten Core with other area control abilities like Mei’s Blizzard or Sigma’s Gravitic Flux for devastating team wipe combinations. The visual clutter created by multiple lava pools also provides temporary visual cover for your team’s movements.
Elite Torbjorn players consistently reposition their turrets between team fights to maintain unpredictability. Avoid the common error of becoming overly attached to a single turret position—adaptation proves more valuable than stubborn defense of compromised locations.
Another frequent mistake involves neglecting personal combat in favor of constant turret repair. Remember that your weapons contribute significantly to team damage output, and sometimes sacrificing a turret to secure eliminations represents the optimal play.
Advanced tactics include using your turret deployment sound as audio cues for enemy positioning and timing Overload to absorb incoming burst damage from abilities like Junkrat’s RIP-Tire or D.Va’s Self-Destruct.
Develop the habit of frequently checking tab to monitor enemy team composition changes that might necessitate adjusted turret placements or ability usage patterns.
Action Checklist
- Scout map for elevated turret positions with cover and sightlines
- Practice rivet gun projectile leading against moving bots
- Master weapon switching between engagement ranges in practice range
- Develop Overload timing for surviving enemy ultimates
- Study Molten Core placement zones on key objectives
No reproduction without permission:SeeYouSoon Game Club » Overwatch 2 – Torbjorn Hero guide Master Torbjorn's turret placement and combat tactics to dominate Overwatch 2 defensive strategies