TL;DR
- Master shield management with strategic deployment and regeneration timing
- Coordinate Earthshatter with team positioning for maximum impact
- Balance defensive protection with calculated offensive pressure
- Utilize Fire Strike for ultimate charge and ranged pressure
- Maintain team proximity while controlling engagement pace
Reinhardt stands as a foundational tank hero in Overwatch 2, representing the classic era of first-person shooters where durable defenders dominated the battlefield. His design philosophy emphasizes area denial and team protection, though his implementation requires significant adaptation in the current single-tank meta.
While maintaining his signature durability and protective capabilities, Reinhardt’s role has evolved substantially in Overwatch 2’s revised team structure. With only one tank slot available per team, his responsibilities now demand a sophisticated balance between creating safe zones for allies and generating offensive pressure. Successful Reinhardt players must master the art of controlled aggression, knowing precisely when to advance and when to consolidate defensive positions.
For comparative hero analysis, consult our comprehensive Class Guide that explores similar tactical roles across different game systems. Understanding how Reinhardt fits within the broader tank category helps players make informed team composition decisions.
Reinhardt functions as a powerful anchor point for team formations, capable of withstanding immense punishment while enabling strategic advances. His barrier system creates temporary safe zones that allow damage dealers to operate effectively, while his close-quarters threat potential forces opponents to respect his space. The hero’s primary limitations involve ranged combat effectiveness and susceptibility to coordinated focus fire when isolated from support systems.
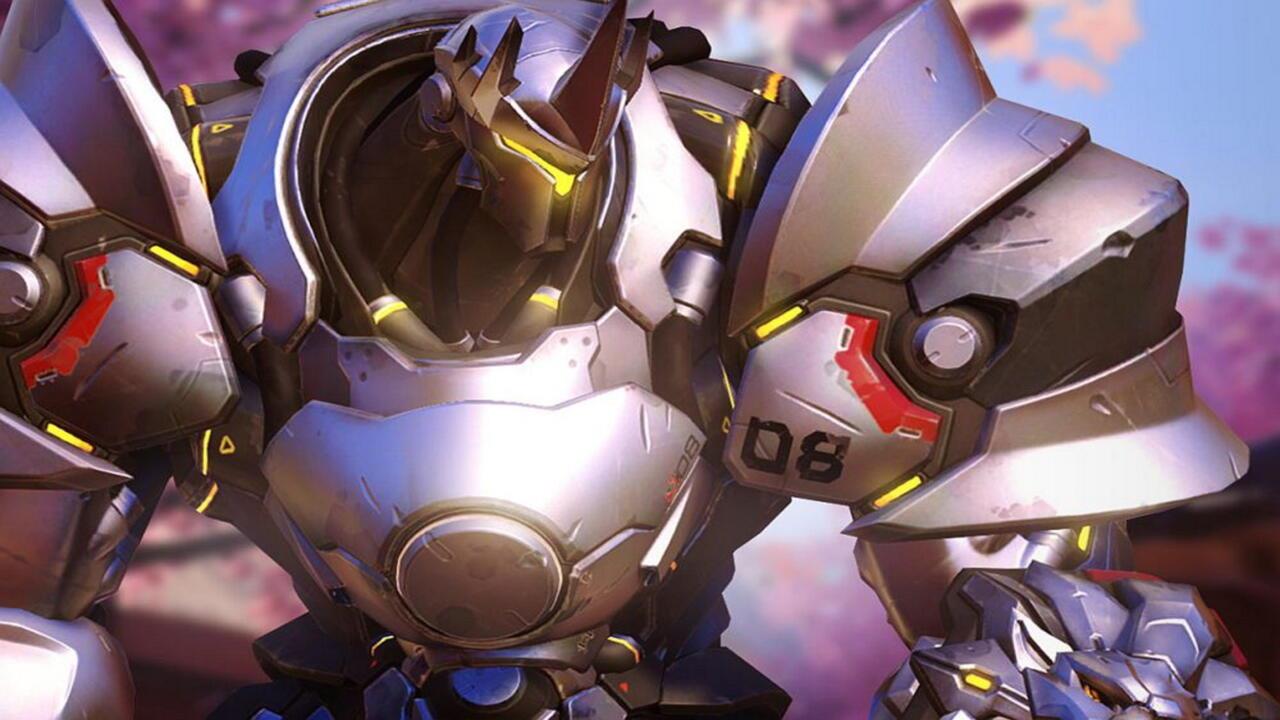
Reinhardt’s armor isn’t just for show. He can absorb a substantial amount of damage even without his shield up.
Unlike more versatile tanks, Reinhardt specializes in creating and maintaining protected zones rather than flexible engagement options. Attempting to play him as a pure brawler typically results in quick elimination, as his movement limitations and close-range focus make him exceptionally dependent on team support and positional awareness.
Effective Reinhardt play revolves around intelligent shield economy and spatial control. Your barrier represents a finite resource that must be managed with the same care as ammunition in tactical shooters like Battlefield 6, where conservation often determines engagement outcomes.
Common positioning error: Overextending with low barrier health. Solution: Establish a rhythm of advance and consolidation, using natural cover during shield regeneration periods. Advanced players recognize that a partially charged barrier often provides sufficient protection for critical moments.
Optimal shield management involves deploying protection only when teammates are actively using it, rather than maintaining constant barrier presence. This approach conserves resources for crucial defensive needs while forcing opponents to respect your potential to create safe zones at any moment.
Reinhardt’s combat effectiveness depends heavily on engagement timing and distance management. The sweet spot for his Rocket Hammer is approximately 5-8 meters from targets – close enough to land consistent blows but far enough to maintain situational awareness.
Fire Strike serves multiple tactical purposes beyond simple damage dealing. Use it to: (1) Build ultimate charge rapidly by hitting multiple targets, (2) Force enemy repositioning, (3) Finish low-health opponents beyond melee range. With a cooldown of just 6 seconds, it represents your primary tool for influencing battles outside immediate melee range.
Charge should be employed strategically rather than reactively. Effective applications include: breaking enemy formations, creating sudden numerical advantages, and securing environmental kills. Poor usage typically involves charging deep into enemy territory without escape options.
Superior Reinhardt play requires constant environmental assessment and team communication. Key awareness elements include: tracking enemy ultimate status, monitoring support line of sight, and identifying environmental hazards that could compromise your position.
Communication protocols should include: barrier status updates, Earthshatter readiness, and intended movement directions. This coordination ensures your team can capitalize on your defensive and offensive contributions effectively.
Adapt your playstyle based on team composition and map geometry. On tight, enclosed maps like King’s Row, aggressive hammer play becomes more viable, while open areas like Circuit Royale demand more conservative shield management. For weapon proficiency across different game systems, reference our Weapons Unlock guide for complementary tactical principles.
Common coordination failure: Using Earthshatter without ensuring team follow-up. Solution: Communicate ultimate status and coordinate engagement timing to maximize the stun duration’s value.
Action Checklist
- Practice shield cycling: deploy for critical moments, regenerate during lulls
- Master Fire Strike accuracy on moving targets at medium range
- Coordinate Earthshatter usage with team positioning in custom games
- Learn short-distance Charge techniques for repositioning rather than elimination
- Develop communication protocols for barrier status and engagement timing
No reproduction without permission:SeeYouSoon Game Club » Overwatch 2 – Reinhardt Hero Guide Master Reinhardt's shield tactics, hammer combat, and team coordination for Overwatch 2 dominance