TL;DR
- Master weapon switching rhythm to maintain optimal healing output while contributing damage
- Use Petal Platform for high ground control, escape routes, and disrupting enemy ultimates
- Coordinate Life Grip usage with teammates to prevent accidental positioning disruption
- Deploy Tree of Life for area denial, choke point control, and countering enemy ultimates
- Position strategically to maximize ability effectiveness while maintaining self-preservation
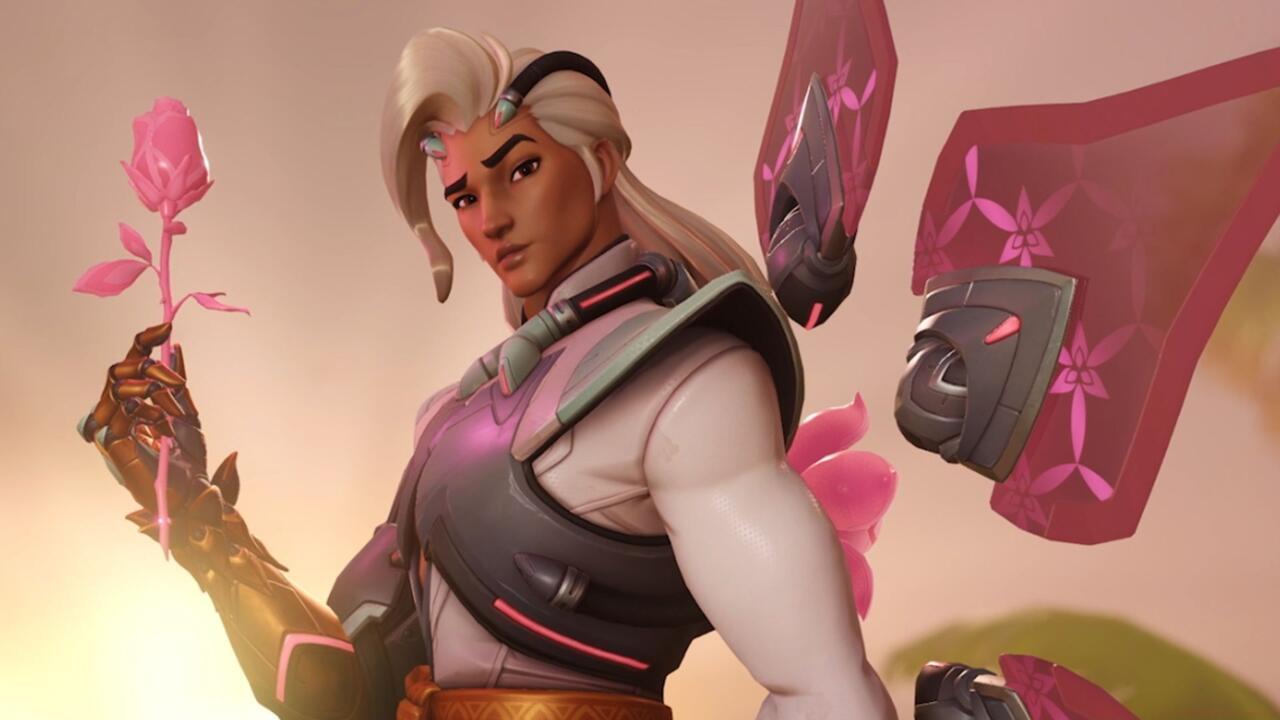
The newest support addition to Overwatch 2 brings an unprecedented level of tactical versatility to the support role. Lifeweaver’s extensive ability kit demands strategic thinking and precise execution to maximize his impact on the battlefield.
Season 4 introduces this complex support hero alongside substantial quality-of-life improvements and battle pass content. What sets Lifeweaver apart is his remarkably diverse set of tools that require thorough understanding and deliberate practice to master effectively. Unlike straightforward healers like Mercy or Moira, Lifeweaver’s effectiveness scales dramatically with player knowledge and situational awareness.
His primary healing mechanism, Healing Blossom, requires charging to deliver 65 health points per burst. The weapon swap to Thorn Volley transforms him into a close-range damage dealer, but the approximately one-second transition animation creates natural rhythm requirements for balancing offensive and defensive duties. Advanced players learn to pre-charge healing during movement and cover periods.
Lifeweaver possesses three distinct active abilities that create unique support opportunities. Rejuvenating Dash provides brief mobility and self-sustain, crucial for repositioning during team fights. Petal Platform offers vertical mobility for your entire team while creating temporary map control. Life Grip serves as both rescue tool and strategic repositioning ability, granting temporary invulnerability during transit.
His ultimate, Tree of Life, establishes a persistent healing zone that affects all allies within its substantial radius. Like Petal Platform, it features destructible health properties, requiring thoughtful placement away from direct enemy fire. His passive ability generates a heal pickup upon death, creating strategic considerations for both teams during eliminations.
Healing Blossom: Master charging timing to maximize healing per second while maintaining mobility. Partial charges can be effective for topping off allies between engagements.
Thorn Volley: Optimal at close-to-medium range against large hitbox heroes or breaking shields. Ineffective against distant, mobile targets.
Petal Platform: Deploy strategically to create instant high ground, escape deadly ultimates, or elevate stationary allies like Bastion.
Rejuvenating Dash: Use during reload animations or between healing charges to maintain positioning without sacrificing output.
Life Grip: This powerful ability requires communication and game sense. Save teammates from certain death but avoid pulling them from advantageous positions.
Lifeweaver’s toolkit enables creative support approaches that extend far beyond traditional healing roles.
Understanding ability interactions separates competent Lifeweaver players from masters. Platform an ulting Cassidy to give him unexpected angles. Use Life Grip to save a pinned teammate before Reinhardt’s charge connects. These moments define high-level support play.
Lifeweaver transcends traditional healing through spatial control and tactical repositioning. His value extends beyond health bars to shaping engagement terms for your entire team.
Positioning dictates effectiveness more than with most supports. Maintain medium distance from frontline to utilize all abilities while having escape options. Use high ground whenever possible to improve sightlines and reduce threat exposure.
Team composition synergy significantly impacts Lifeweaver’s effectiveness. He excels with dive compositions that can utilize Platform mobility and benefits brawl comps with sustained healing and Life Grip safety nets.
Counter enemy strategies by anticipating their approaches. Platform can block choke points temporarily, while Tree of Life can negate area denial ultimates like Dragonstrike or Blizzard.
For players transitioning from other tactical shooters, Lifeweaver’s strategic depth will feel familiar. His kit rewards the same kind of map awareness and positioning skills that are crucial in games like our Complete Guide to Battlefield 6.
Tree of Life represents one of the most versatile support ultimates when deployed correctly. Its area denial capabilities can split enemy formations while providing substantial sustain for pushes or defenses.
Optimal timing involves deploying during critical team fight moments or to counter enemy ultimate combinations. The tree’s destructible nature means placement should provide cover from primary sightlines.
Zone control applications include blocking choke points, creating temporary cover, or securing objective spaces during overtime scenarios.
Combo potential exists with various team ultimates. Deploy tree before Genji’s Blade to provide healing through enemy focus fire. Combine with Zarya’s Graviton Surge to sustain allies caught in the engagement.
Much like mastering Weapons Unlock systems in other games, learning Tree of Life placement requires understanding map geometry and engagement flow.
Platform elevation offers creative applications beyond simple vertical mobility. Use it to elevate Bastion or Cassidy for unexpected angles, create temporary cover against snipers, or disrupt enemy melee attackers.
Life Grip communication prevents frustrating teammates. Use voice commands or text chat to coordinate pulls, especially when repositioning ulting allies.
Resource management involves balancing cooldown usage with anticipated needs. Avoid using Platform and Life Grip simultaneously unless absolutely necessary.
Common positioning errors include staying too far back (reducing Life Grip effectiveness) or too forward (increasing vulnerability).
Weapon switching rhythm optimization comes with practice. Develop muscle memory for switching during natural downtime moments rather than reactive swaps.
For players who enjoy strategic character mastery, Lifeweaver offers depth comparable to the Class Guide systems in tactical shooters, rewarding game knowledge and predictive play.
Action Checklist
- Practice weapon switching rhythm in training range until it becomes automatic
- Master Petal Platform placements on 3 different map types
- Coordinate Life Grip usage with teammates in quick play matches
- Study Tree of Life placements against common ultimate combinations
- Develop positioning habits that maintain ability effectiveness while minimizing risk
No reproduction without permission:SeeYouSoon Game Club » Overwatch 2 – Lifeweaver Hero Guide Master Lifeweaver's complete kit with advanced positioning, ability combos, and strategic support techniques