TL;DR
- Junkrat excels at area denial and close-quarters combat with his explosive arsenal
- Master concussion mine mobility for unpredictable positioning and escape routes
- Coordinate Rip-Tire deployment with team engagements for maximum impact
- Utilize indirect fire angles to pressure enemies without direct line of sight
- Avoid common positioning errors that make you vulnerable to snipers and hitscan heroes
Mastering Overwatch 2’s chaotic demolition expert requires understanding his unique battlefield role and strategic advantages in the current meta.
Junkrat transitions seamlessly from the original Overwatch with enhanced relevance in Overwatch 2’s 5v5 format. The reduction to single-tank compositions creates more opportunities for this damage specialist to eliminate squishier targets. His area denial capabilities and burst damage potential make him particularly effective on control points and choke-heavy maps.
For comprehensive hero comparisons, consult our detailed Class Guide and tier rankings covering all damage dealers, tanks, and support heroes. Understanding where Junkrat fits in the current meta helps maximize his explosive potential.
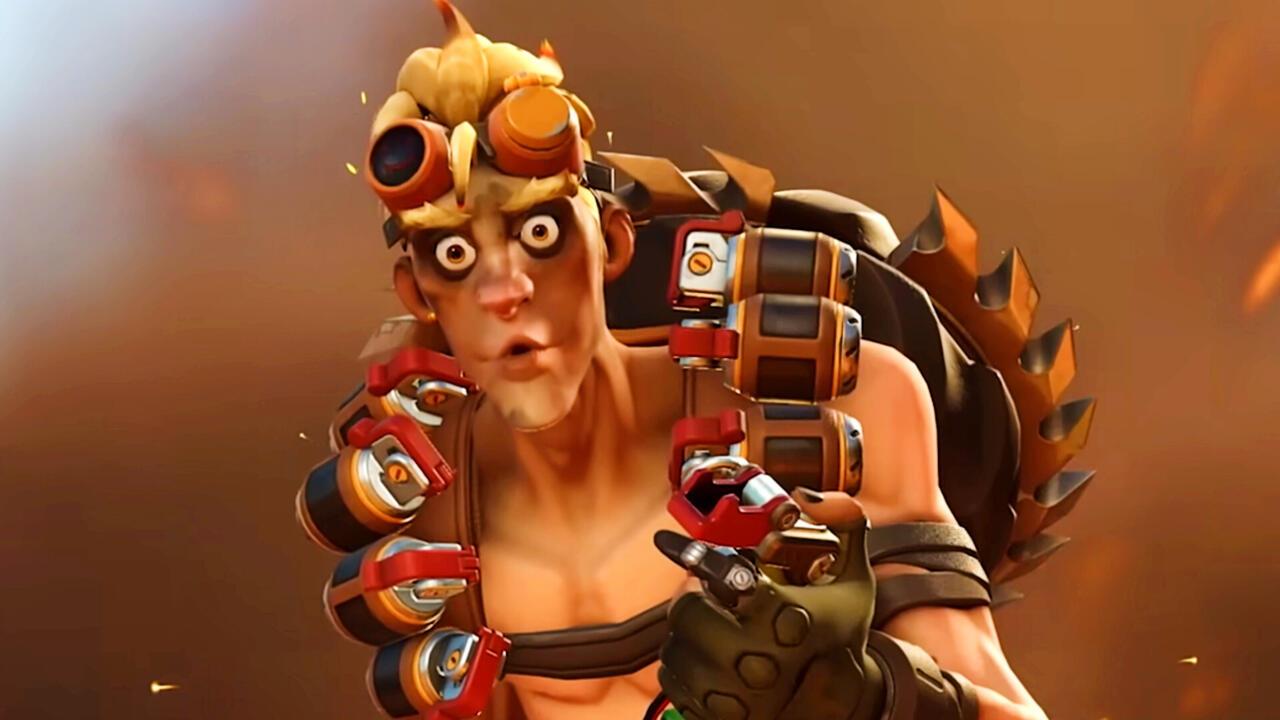
Junkrat specializes in explosive area denial, launching bouncing grenades from his Frag Launcher that excel in confined spaces. His unique Total Mayhem passive grants immunity to self-damage from explosives, enabling aggressive close-range engagements that would cripple other explosive heroes like Pharah. This defensive advantage pairs with offensive tools including dual Concussion Mines for environmental kills or mobility, a Steel Trap that immobilizes and damages enemies, and his devastating Rip-Tire ultimate—a remotely controlled explosive device that demands strategic positioning and timing for maximum effect.
Frag Launcher: Projectile weapon firing bouncing explosives with significant splash damage radius.
Concussion Mine: Deployable knockback device with dual functionality for mobility and disruption.
Steel Trap: Area denial tool that immobilizes enemies and reveals their position.
Rip-Tire ultimate: High-risk, high-reward remote explosive requiring precise control and timing.
Total Mayhem passive: Unique immunity to personal explosive damage coupled with posthumous grenade drops.
Advanced players should master the Frag Launcher’s bounce physics to hit enemies around corners and over shields. The Concussion Mine’s cooldown management is crucial—always keep one available for emergency escapes. Steel Trap placement should anticipate enemy routes rather than block obvious pathways.
Junkrat dominates through controlled chaos and strategic explosive placement rather than random spam. His lack of self-sustain demands intelligent positioning using Concussion Mines for vertical mobility and unexpected angles. The key is maintaining pressure while minimizing exposure to hitscan heroes who can easily eliminate you at range.
Master the ‘mine jump’ technique: place a mine at your feet and detonate to reach high ground or escape dangerous situations. This movement ability has a 8-second cooldown, so strategic conservation is essential. Since Junkrat suffers no self-damage penalty, close-quarters engagements become advantageous—use mine explosions to separate enemies from their team while landing direct grenade hits.
Angle exploitation is critical: bank grenades off walls and ceilings to hit enemies behind shields or around corners. Practice the ‘double mine’ combo: use one mine for positioning and the second for securing kills or creating distance.
Junkrat’s Rip-Tire represents his highest impact potential, capable of eliminating multiple enemies when deployed strategically.
The Rip-Tire demands careful timing and pathing—activate during team engagements when enemies are distracted. Avoid obvious approaches: climb walls and use unconventional routes to surprise your targets. The tire moves at 12 meters per second and can be destroyed with approximately 100 damage, so unpredictable movement is essential.
Advanced deployment strategy: coordinate with your tank’s engagement to force enemies into vulnerable positions. Use the tire’s climbing ability to approach from above where fewer heroes can effectively target it. Detonate early against mobile heroes rather than risking destruction.
High-level Junkrat play involves predicting enemy movement rather than reacting to it. Pre-fire common choke points and learn grenade trajectories for each map. The ‘trap and mine’ combo remains devastating: place a Steel Trap followed by a Concussion Mine to guarantee damage on immobilized targets.
Avoid these common mistakes: don’t spam randomly at long range where grenades are easily avoided; avoid predictable mine jumping patterns that snipers can anticipate; never deploy Rip-Tire without checking for enemy cooldowns that could counter it.
Map-specific advantages: Junkrat excels on Lijiang Tower, Temple of Anubis, and Eichenwalde where enclosed spaces amplify his effectiveness. On open maps like Circuit Royale, focus on flank routes and building interiors.
For weapon optimization and damage calculations, reference our comprehensive Weapons Unlock guide for similar explosive-type weapon strategies.
Action Checklist
- Practice mine jumping to reach unexpected high ground positions
- Master grenade bounce angles on 3 different map types
- Coordinate Rip-Tire deployment with tank engagements in 5 matches
- Set up trap and mine combos in strategic choke points
- Review gameplay to eliminate predictable movement patterns
No reproduction without permission:SeeYouSoon Game Club » Overwatch 2 – Junkrat Hero Guide Master Junkrat's explosive arsenal with advanced tactics, positioning strategies, and ultimate optimization techniques