TL;DR
- Genji excels as a mobile flanker who targets vulnerable supports and damage dealers
- Master Swift Strike resets and Deflect timing to maximize survival and elimination potential
- Position vertically and use environmental cover to control engagement timing
- Coordinate with Kiriko for optimal healing synergy and ultimate combinations
- Manage cooldowns strategically and avoid direct tank confrontations
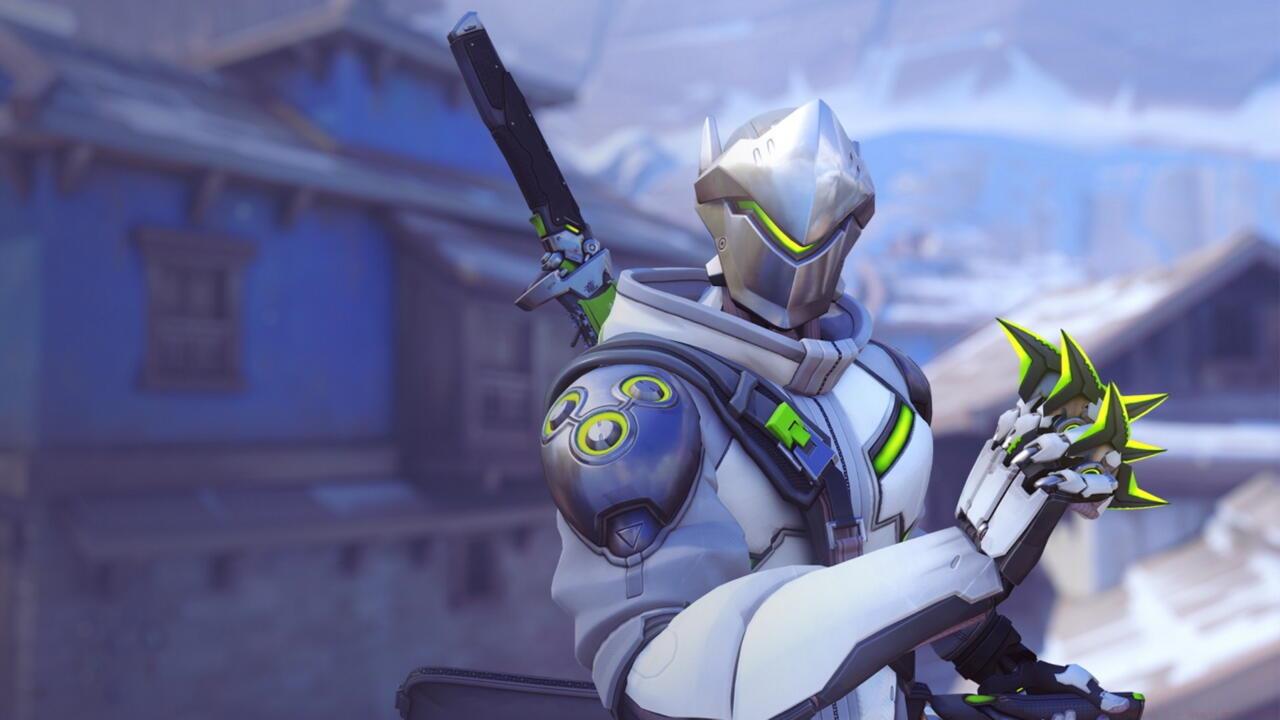
Genji represents Overwatch 2’s premier high-mobility flanking specialist, demanding exceptional mechanical skill and tactical awareness to maximize his combat effectiveness. Unlike traditional damage heroes who operate from safe positions, Genji thrives in chaotic close-quarters engagements where his agility creates decisive advantages.
Despite his enduring popularity in Overwatch 2’s damage roster, Genji presents one of the steepest learning curves among assault characters. His kit rewards precision and game sense over raw damage output, functioning more as a surgical assassin than a frontline brawler. Successful Genji players master the art of selective engagement—striking vulnerable targets then vanishing before retaliation.
For comprehensive hero comparisons, consult our updated Class Guide covering tactical roles and team composition synergies across different game modes and maps.
Genji’s shuriken excel at finishing wounded targets and building ultimate charge efficiently.
- Shuriken: Projects three precision shuriken in a tight triangular pattern ideal for medium-range poking and confirmed kills on stationary targets.
- Shuriken (Alt-fire): Releases three throwing stars in a horizontal spread perfect for close-range burst damage and hitting evasive enemies.
- Swift Strike: Genji dashes forward dealing 50 damage and passing through opponents. Eliminating any target immediately refreshes this ability, enabling rapid chain kills.
- Deflect: Activates a protective barrier that redirects incoming projectiles toward your crosshair position for two seconds, creating counter-pressure against enemy damage dealers.
- Dragonblade: Genji unsheathes his legendary katana for six seconds, replacing his primary fire with powerful melee sweeps that deal 120 damage each with generous hitboxes.
Advanced technique: Combine Swift Strike with melee attacks for 80 burst damage combos, or use Deflect to neutralize key enemy ultimates like McCree’s Deadeye or Roadhog’s Whole Hog.
Genji’s movement capabilities place him consistently among Overwatch’s top-tier damage rankings, primarily through his unparalleled vertical and horizontal mobility options. His double jump and wall climb abilities provide unique positioning opportunities that bypass traditional choke points and sightlines.
Mastering Genji’s spatial control requires understanding map geometry and enemy sightline vulnerabilities. Position on high ground to survey engagements before committing, using environmental cover to break line-of-sight during retreats. Your mobility should create unpredictable attack angles that force opponents to split their attention.
Pro tip: Use wall climbs during duels to throw off enemy aim patterns, and conserve Swift Strike for repositioning rather than solely for damage.
The most critical error new Genji players make is misinterpreting his high skill ceiling as general superiority over other damage heroes. With only 200 health and relatively slow projectile speeds, Genji cannot withstand sustained frontline combat and should avoid direct confrontations with tanks.
His mobility creates inherent challenges for support players attempting to maintain healing uptime. Kiriko’s teleport and suzu abilities provide the most reliable synergy, while traditional healers like Ana may struggle to maintain sightlines on a constantly repositioning Genji.
Strategic limitation: Genji excels at creating pick opportunities but lacks the consistent damage output to break shields or pressure tanks effectively. Focus on eliminating enemy supports and damage dealers while your team handles tank engagements.
Genji’s Deflect ability represents one of the most powerful defensive tools in Overwatch 2 when utilized with precise timing. Beyond simply blocking damage, advanced players use Deflect to counter specific enemy abilities and ultimates.
Critical timing windows: Activate Deflect just before projectile impacts rather than reactively. Against hitscan heroes, use the ability predictively when you anticipate engagement.
Common mistake: Holding Deflect too early and wasting the cooldown, or using it when no immediate threat exists. This ability should be treated as a strategic resource rather than a panic button.
Genji’s effectiveness depends heavily on proper cooldown management and ability sequencing. Swift Strike should primarily serve as both an engagement and escape tool, while Deflect protects during vulnerable moments.
Optimal engagement sequence: Position with mobility → Damage with shuriken → Secure kill with Swift Strike → Reset cooldown → Reposition or target next enemy.
Ultimate economy: Dragonblade becomes significantly more effective when combined with crowd control abilities from teammates or when the enemy has used key defensive cooldowns.
For weapon proficiency development across different hero types, reference our extensive Weapons Unlock guide covering aim training and damage optimization techniques.
Action Checklist
- Practice shuriken accuracy in training range for 15 minutes daily focusing on leading moving targets
- Master Swift Strike reset timing by focusing on finishing wounded enemies in quick play
- Learn 3 key map-specific wall climb routes on each objective type
- Practice Deflect timing against bot ultimates in custom games
- Coordinate Dragonblade engagements with support ultimates in competitive matches
No reproduction without permission:SeeYouSoon Game Club » Overwatch 2 – Genji Hero Guide Master Genji's ninja playstyle with advanced mobility tactics and strategic ability usage in Overwatch 2