TL;DR
- Augur controls the battlefield through area denial and sleep mechanics requiring constant repositioning
- Phase 2 dramatically increases aggression with faster attacks and additional environmental hazards
- Sleep countermeasures are mandatory with specific item timing and positioning requirements
- Melee characters require specialized gap-closing techniques and engagement window recognition
- Team composition must balance crowd control, burst damage, and defensive capabilities
Defeating the Augur in Elden Ring Nightreign demands a fundamental shift in approach compared to traditional Soulsborne encounters. This boss encounter functions as a tactical raid requiring coordinated positioning, ability timing, and role specialization rather than pure reaction-based combat.
Elden Ring Nightreign’s Augur boss fight operates on mechanics reminiscent of high-level MMO raids rather than standard one-on-one duels. While Augur’s direct attack repertoire appears limited, its battlefield control capabilities create persistent threats that demand strategic awareness over mechanical execution. Proper positioning, precise ultimate ability deployment, and synergistic class combinations prove more critical in this engagement than any other encounter throughout the Lands Between.
Our comprehensive Elden Ring Nightreign Augur analysis details every attack pattern with specific countermeasures, reveals the creature’s elemental and mechanical vulnerabilities, and provides optimized party configurations for consistent success.
Precision targeting becomes challenging as Augur manipulates the battlefield, requiring adjusted aiming strategies for all attack types.
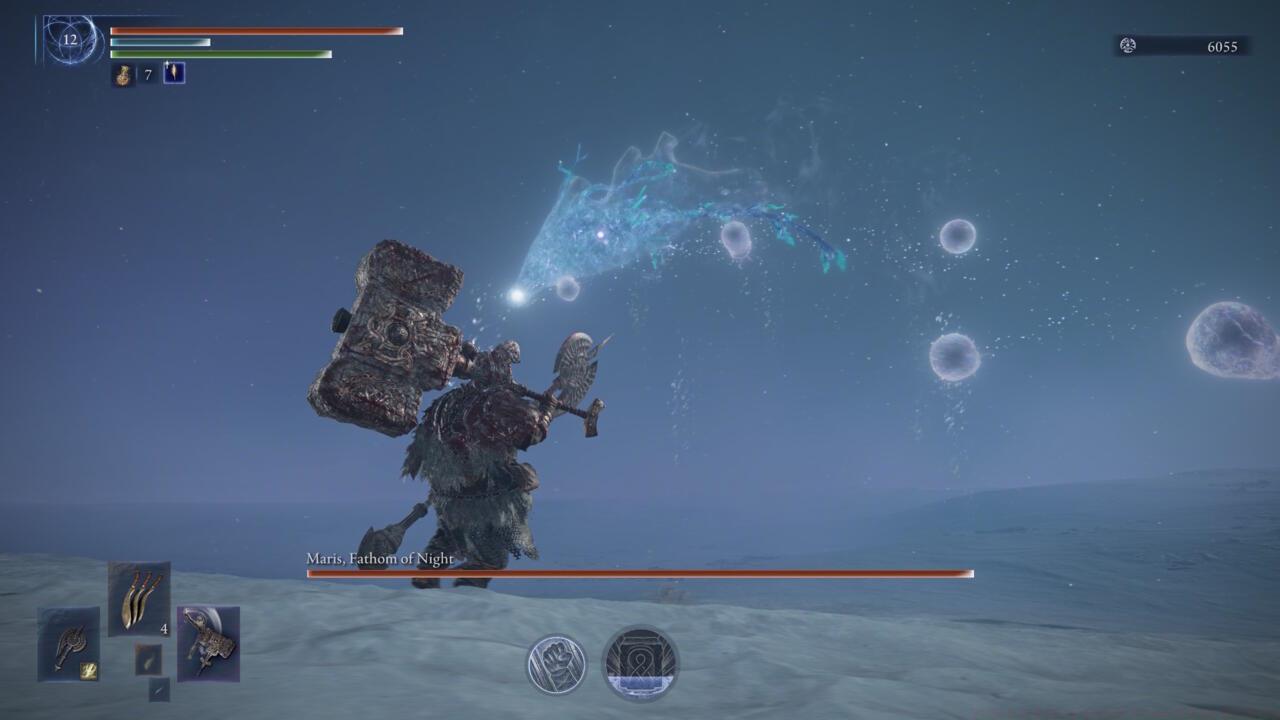
Augur employs three primary attack categories with multiple variations that frequently chain together creating complex avoidance scenarios. Understanding these patterns and their specific counters forms the foundation of successful engagement.
- Jellyfish Swarm – Tracking explosives requiring kiting and area denial
- Tentacle Spawn – Stationary obstacles demanding priority targeting
- Wave Attack – Linear area denial with predictable but wide coverage
- Exploding Sleep Egg – High-priority target that inflicts area sleep status
- Spinning Wave Attack – Rotating threat requiring circular movement patterns
- Sleep Wave – Cone-shaped sleep application needing perpendicular evasion
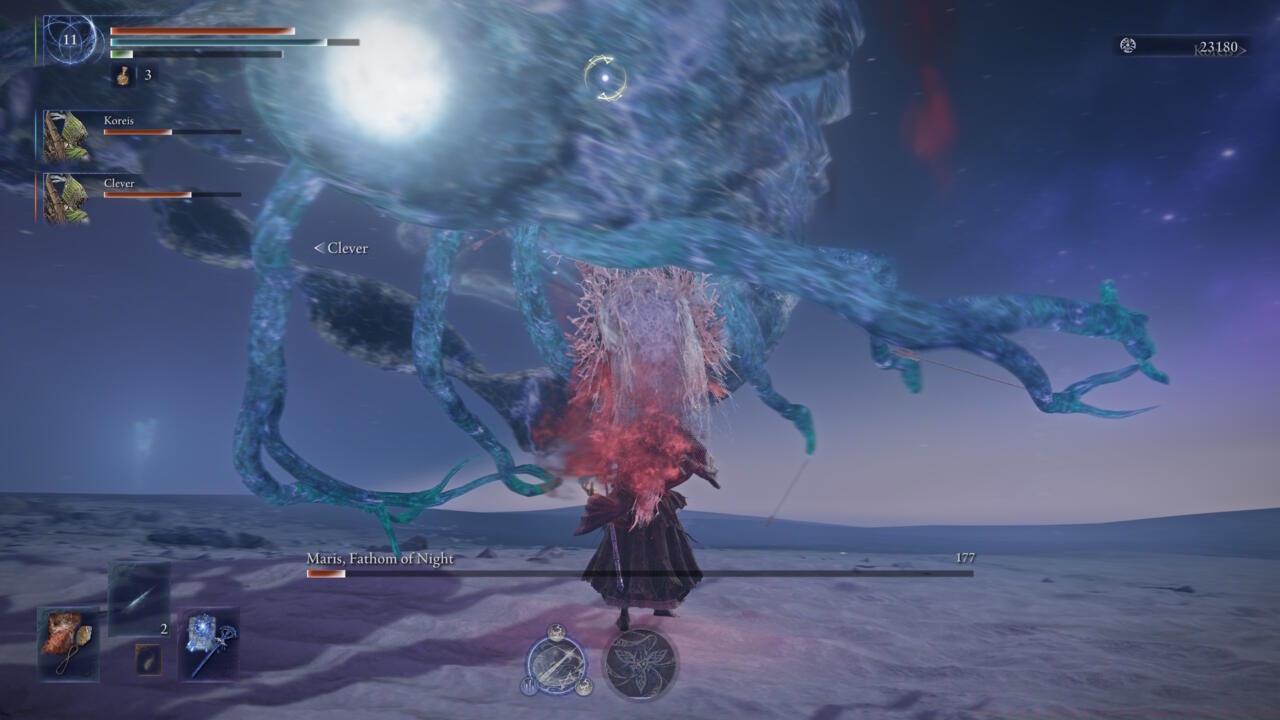
Jellyfish swarms represent the most persistent threat throughout the encounter. These egg-like constructs pursue players relentlessly before detonating after a fixed duration. Effective management involves leading them away from engagement zones while maintaining damage uptime on Augur.
Jellyfish swarms require constant positional awareness and strategic kiting to prevent area denial.
Augur utilizes just three core attack archetypes with several variations, though it frequently sequences these maneuvers in combinations that challenge safe evasion. The boss exhibits significantly increased aggression upon entering its second phase. During this heightened state, wave attacks occur more frequently, jellyfish spawning becomes nearly constant, and the creation of an exploding sleep egg presents potential party-wipe scenarios if not addressed immediately. Movement speed also increases substantially, primarily impacting melee specialists.
Sleep mechanics represent the most dangerous aspect of the Augur encounter, capable of immobilizing entire parties and enabling follow-up attacks. Implementing specific countermeasures and understanding sleep application timing proves essential for survival.
The sleep wave attack emits in a conical pattern from Augur’s position, requiring immediate perpendicular movement to avoid the status effect. Players caught in the sleep wave become vulnerable to subsequent attacks for approximately 8-10 seconds, often resulting in fatal combinations.
Sleep status application creates extremely vulnerable states that often lead to catastrophic damage from follow-up attacks.
The exploding sleep egg presents the highest priority target during phase 2, emitting a large area-of-effect sleep cloud upon destruction or expiration. Immediate focus fire on these eggs prevents area denial and protects the entire party from mass incapacitation.
Effective sleep countermeasures include:
- Consumable items like Wakebane Berries providing temporary sleep resistance
- Specific talismans that reduce sleep buildup or shorten sleep duration
- Positioning strategies that maintain safe distances from sleep application zones
- Team coordination to designate sleep egg destruction responsibilities
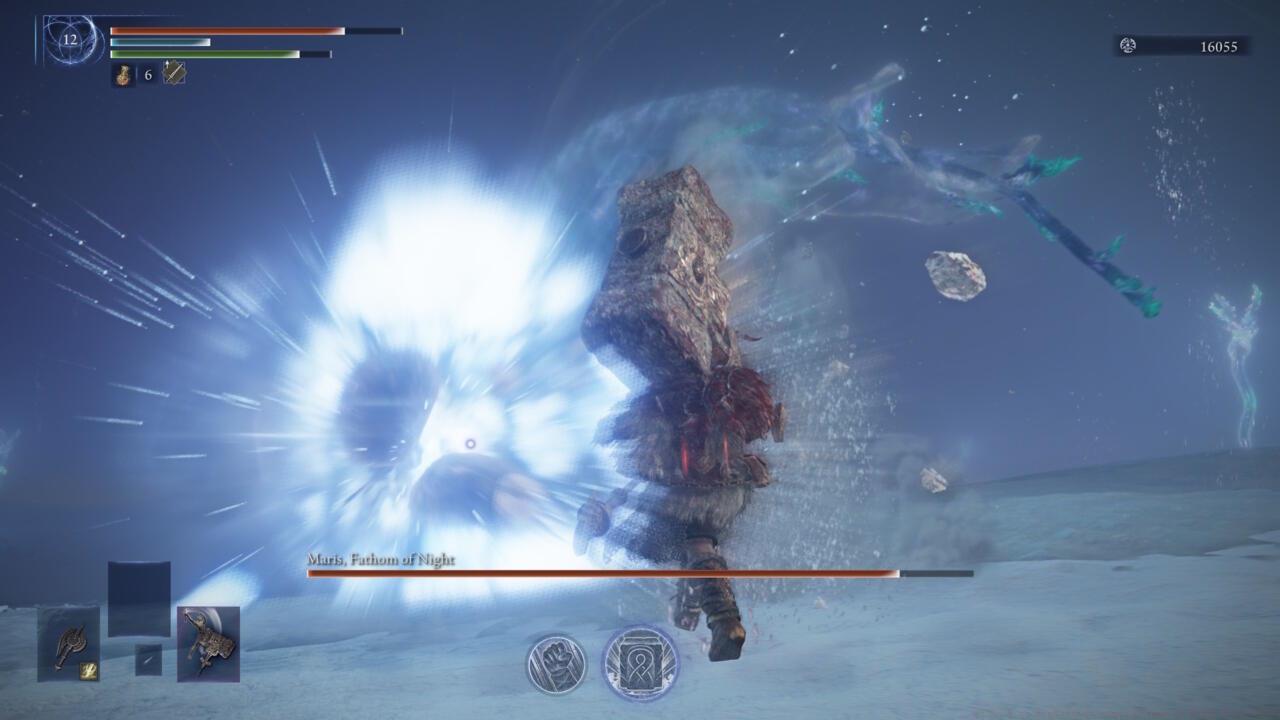
Melee specialists face unique challenges against Augur due to increased movement speed in phase 2 and persistent area denial effects. Successful close-quarters engagement requires specific techniques for safe approach and optimal damage windows.
Augur’s accelerated movement during phase 2 creates significant difficulties for melee builds attempting to maintain consistent damage output. The key lies in recognizing specific engagement opportunities rather than continuous aggression.
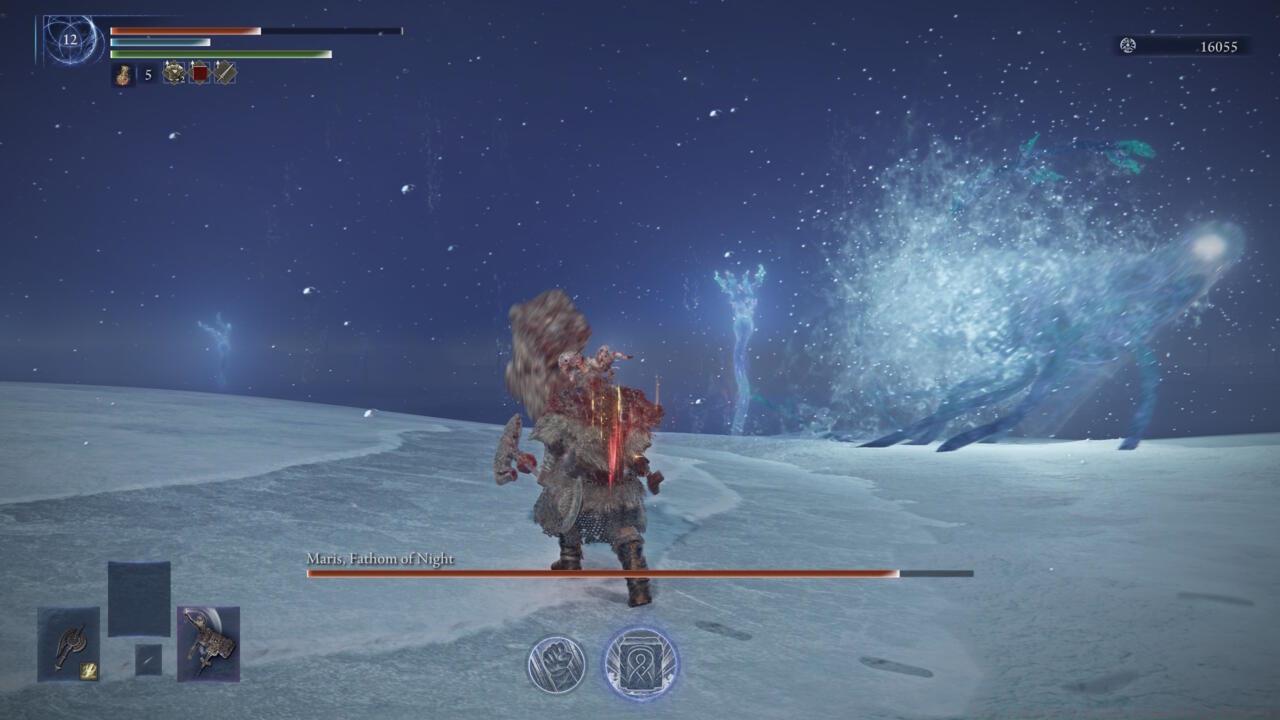
Eliminating tentacle spawns in your immediate vicinity creates temporary safe zones for engaging Augur directly.
Advanced melee techniques include:
- Gap-closing weapon arts that provide quick engagement without prolonged exposure
- Positioning near recently cleared tentacle spawn locations for temporary safety
- Timing attacks during Augur’s recovery animations following major ability casts
- Using terrain and environmental features to block line-of-sight for certain attacks
- Coordinating with ranged party members to create distraction opportunities
Critical engagement windows occur after Augur completes its wave attack sequences and during jellyfish swarm management phases when its attention divides between multiple threats.
Successful Augur engagements demand carefully balanced team compositions that address all major threat types while maintaining consistent damage pressure. Understanding role synergy and ability coordination separates successful raids from repeated failures.
Effective party configurations typically include:
- One dedicated tank specializing in aggro management and survivability
- Two flexible damage dealers capable of switching between add control and boss damage
- One support specialist focusing on status prevention, healing, and utility
Specific class combinations that excel include:
- Vanguard/Spellblade/Chronomancer – Balanced damage and control
- Sentinel/Arcane Archer/Apothecary – Defensive sustainability
- Berserker/Pyromancer/Shaman – Aggressive burst potential
Ultimate ability timing proves crucial throughout the encounter. Coordinate major cooldowns to align with phase transitions and sleep egg spawns for maximum impact. For comprehensive class optimization, consult our BF6 Class Selection Guide for detailed build recommendations.
Advanced teams should designate specific roles for:
- Jellyfish kiting responsibility
- Sleep egg priority destruction
- Tentacle spawn clearance assignments
- Primary Augur aggro management
Mastering Augur requires understanding phase-specific behavioral changes and implementing advanced tactical responses. These strategies separate competent groups from exceptional performance.
Phase 1 efficiency optimizations:
- Conserve ultimate abilities for phase transition moments
- Establish safe zones by systematically clearing tentacle spawns
- Practice jellyfish kiting patterns to minimize area denial
- Identify safe damage windows following attack pattern completions
Phase 2 survival techniques:
- Implement the “buddy system” for sleep egg management
- Designate primary and secondary jellyfish kiters
- Prepare for increased movement speed with pre-positioning
DPS optimization methods include:
- Weapon buff timing to align with major vulnerability windows
- Status effect application during phase transitions for maximum duration
- Resource management to ensure burst availability for critical moments
For those seeking to expand their tactical knowledge beyond this encounter, our Battlefield 6 Complete Guide provides comprehensive strategies for all game modes and challenges.
Common execution errors to avoid:
- Overcommitting to damage during unsafe windows
- Failing to prioritize sleep egg destruction
- Poor ultimate ability conservation and timing
- Inadequate jellyfish management leading to compressed safe zones
Advanced players should master environmental manipulation, using the arena’s geometry to minimize threat exposure while maintaining offensive pressure. Weapon selection proves critical for melee specialists – consult our BF6 Weapons Unlock Guide for optimal loadout recommendations.
Action Checklist
- Prepare sleep countermeasures: Wakebane Berries and sleep resistance talismans
- Establish role assignments: tank, damage dealers, support specialist
- Phase 1: Clear initial tentacles, conserve ultimates, practice jellyfish kiting
- Phase transition: Coordinate ultimate abilities for maximum impact
- Phase 2: Implement buddy system for sleep eggs, increase kiting efficiency
No reproduction without permission:SeeYouSoon Game Club » Elden Ring Nightreign Augur Fathom Of Night Boss Guide Master Augur's MMO-style raid mechanics with strategic positioning, sleep countermeasures, and optimized team compositions