TL;DR
- Activate the Call Forth Allies ability after completing the Free Orpheus quest
- Strategic ally placement can turn the tide in the final battle’s difficult encounters
- Many allies require specific moral choices and quest completion across all three acts
- Keep summoned allies alive as their deaths are permanent for the final battle
- Plan your recruitment path early as some choices lock out other options
In Baldur’s Gate 3, the journey truly becomes about the companions and allies you’ve gathered throughout your adventure. These relationships prove crucial when facing the game’s ultimate challenge.
Your campaign takes you across diverse locations where you’ll perform actions ranging from heroic deeds to morally ambiguous decisions. These choices naturally attract individuals and groups who become so invested in your cause that they pledge their support for the final confrontation. This comprehensive guide examines the Baldur’s Gate 3 Gather Your Allies quest, detailing the characters and factions that will stand with you during the climactic battle. Please note this article contains significant story spoilers.
The Gather Your Allies quest activates once you comprehend the true magnitude of the threat you’re facing. From that pivotal moment, various NPCs and organizations commit to assisting you in the endgame, though securing their aid requires making specific narrative choices throughout your playthrough.
Our detailed Baldur’s Gate 3 Gather Your Allies guide catalogs the allies we successfully recruited during extensive testing. We document their unique passive bonuses and combat applications in the final encounter, which occurs after finishing the Free Orpheus quest. The special “Call Forth Allies” ability appears directly above your weapon icons on the action bar. Activating this feature lets you summon additional combat units during the finale’s intense battles. Crucially, you must protect these summoned allies since their deaths permanently remove them from your available reinforcements.
Important strategic consideration: This compilation represents confirmed allies from our testing, though additional recruitment possibilities likely exist through different narrative branches we haven’t fully explored.
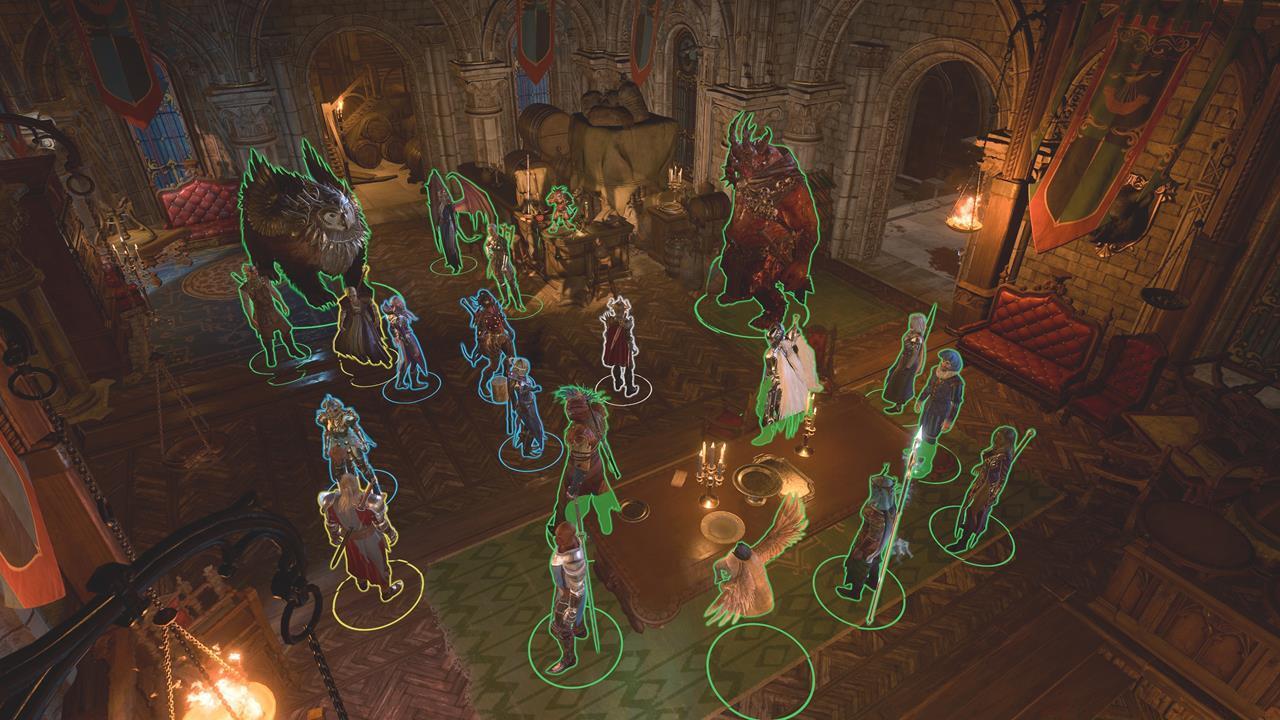
The allies you recruit can dramatically alter the final battle’s difficulty curve.
Volo the Bard
- Unlock method: Rescue Volo from the Goblin Camp during Act 1. He requires assistance again in Act 3, located in the southwestern sector of the Lower City.
- Passive: Volo’s Guide to Monsters – Provides +2 bonus to all attack rolls, saving throws, and ability checks.
- Pro tip: Volo’s passive bonus applies to your entire party throughout the final battle, making him one of the most valuable early-game recruitment targets.
Battle-Ready Owlbear and Dammon
- Owlbear unlock method – Defeat the Mama Owlbear in the Act 1 cave while sparing her cub. Later at the Goblin Camp, ensure the cub remembers your scent during the chicken chasing minigame. In subsequent camp scenes, demonstrate kindness by feeding it when it approaches.
- Dammon unlock method – Locate Dammon in the Druid Grove, where he plays an essential role in Karlach’s romance/quest. Prevent his death by rescuing the Tiefling refugees in Act 1 and ensuring Isobel survives Act 2.
- Summon: Battle-Ready Owlbear – Your formerly small Owlbear Cub matures into a fully-grown, plate-armored combatant.
- Strategic note: These two characters are interconnected. Dammon explicitly states he equipped the Owlbear Cub with its protective armor, suggesting his survival may be mandatory for this recruitment.
Barcus Wroot and Wulbren
- Unlock method (requires verification): Rescue Barcus Wroot in the Blighted Village during Act 1. Subsequently assist the enslaved gnomes when confronting True Soul Nere in Grymforge. During Act 2, speak with Barcus Wroot at Last Light Inn, and ensure Wulbren’s rescue from Moonrise Towers.
- Summon: Unknown – Awaiting confirmation through additional testing.
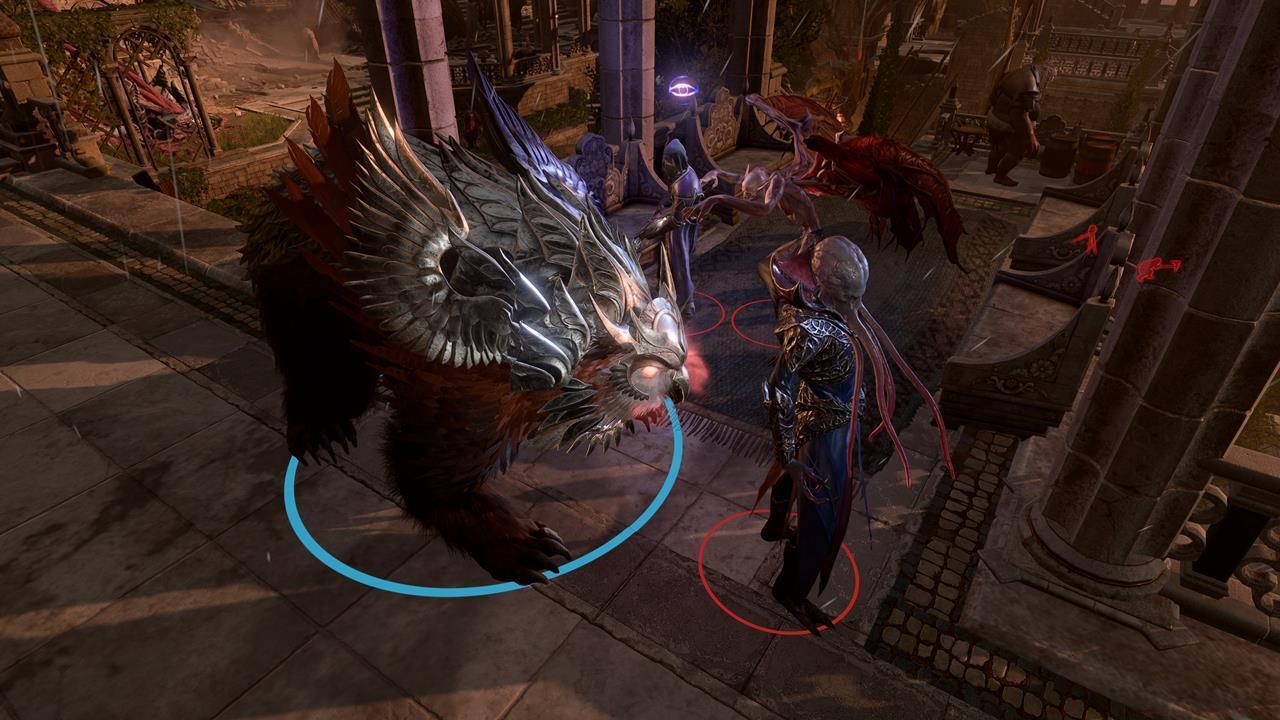
The armored Owlbear provides substantial frontline combat capabilities.
Halsin
- Unlock method: Liberate Halsin from the Goblin Camp during Act 1, then complete his full recruitment by accomplishing his Act 2 objectives, including reuniting Thaniel and Oliver’s divided soul.
- Passive: Spirit of the Land – Grants +1 to all ability scores and increases movement range by 2 meters.
- Common mistake: Many players fail to complete Halsin’s personal quest in Act 2, missing his valuable passive bonuses.
Florrick
- Unlock method: You’ll meet Counselor Florrick during Acts 1 and 2. If she survives until Act 3, she’ll be imprisoned in Wyrm’s Rock Prison. Execute a prison break to free her before her scheduled execution.
- Summon: Florrick’s Cohort – Summons highly defensive Flaming Fist warriors capable of holding strategic positions.
Isobel
- Unlock method: Ensure Isobel’s survival throughout Act 2 by:
- Successfully defending against the Flaming Fist assault forces.
- Resisting your Dark Urge when tempted to assassinate her.
- Guaranteeing that Shadowheart spares Nightsong.
- Summon: Balm of the Moonmaiden – Isobel restores 14-84 hit points for up to six allies, usable only once per battle.
Nightsong
- Unlock method: Liberate and spare Nightsong in the realm beneath the Gauntlet of Shar. Then, during Act 3, protect her from Lorroakan.
- Summon: Sword of the Silverlight – Deploy Dame Aylin, the powerful Aasimar Paladin, to devastate enemy forces.
Mizora
- Unlock method: Rescue “Zariel’s Asset” in the Mind Flayer Colony concluding Act 2.
- Summon: Mizora, Agent of Avernus – Unleashes devastating arcane magic with potential to disintegrate opponents.


Left: Halsin’s first departure from camp since Act 2; Right: Maintaining Isobel’s survival proves essential for multiple recruitment paths.
Bhaal’s Slayer
- Unlock method: Begin with the Dark Urge origin and defeat Orin the Red. When presented with the choice, embrace your destiny as Bhaal’s Chosen. Alternatively, this might function with different origins by becoming a Bhaal worshiper when meeting Sarevok in the Murder Tribunal. We haven’t confirmed this alternative path’s viability.
- Summon: Unknown – We pursued a “redemption arc” narrative for the Dark Urge instead. This alternative path grants the Slayer Form and additional combat abilities, even if you missed obtaining them during Act 2’s critical moments.
Ulma and the Gur
- Unlock method: Advance Astarion’s personal storyline and enter Cazador’s Dungeon. Have Astarion reject vampiric ascension, freeing the captive spawn. This prevents hostilities between your party and Ulma’s faction.
- Summon: Gur Huntwardens – The Gur function as mobile skirmishers and ranged combat specialists capable of disrupting enemy formations.
Vampire Ascendant Astarion
- Unlock method: In Cazador’s Dungeon, permit Astarion to complete the ascension ritual. Subsequently eliminate the arriving Gur hunters.
- Summon: Unknown – We achieved this outcome using backup saves but didn’t progress to the finale. However, Astarion as a standard companion acquires new capabilities as a Vampire Ascendant.
Inspector Valeria
- Unlock method: Finish the complete Murder Mystery storyline in Act 3 by:
- Investigating the Open Hand Temple Murders
- Completing the Murder Investigation
- Murder Tribunal– Refuse to sacrifice Inspector Valeria to Bhaal; this necessitates combat against Sarevok and additional cult members.
- Summon: The Watch – Gain tactical support from heavy weapon specialists.
Jaheira’s Harpers
- Unlock method: Complete Jaheira’s The High Harper quest sequence:
- Obviously, you must recruit Jaheira during Act 2.
- Continue forward and ensure you recruit Minsc in Act 3.
- Additionally avoid scenarios where either character might perish or become hostile. Examples include Isobel’s death causing Last Light to lose its protective blessing, accidentally killing Minsc rather than incapacitating him, sacrificing Jaheira to Bhaal, or accepting Bhaal’s blessing to become his Chosen.
- Summon: Silver Harp Squadron – Deploy Jaheira’s elite archer units to reinforce your rear positions.


Left: Viconia expresses gratitude for surrendering Shadowheart to Shar’s followers; Right: Despite previous conflicts, Yurgir remains prepared for combat engagements.
Duke Ravengard
- Unlock method: Rescue Wyll’s father from the submerged prison facility called the Iron Throne. Additional details available in our Duke Ravengard and Gondian prisoners guide.
- Passive: Rallied – Provides +30 temporary hit points to your party.
Yurgir
- Unlock method: During Act 3, perform Helsik’s Ritual and access the House of Hope. Your ultimate objective involves defeating Raphael. However, before engaging him, converse with Yurgir and succeed on the DC30 persuasion check to secure his temporary allegiance. Following the confrontation, select the initial dialogue option as your response.
- Summon: Hellstalker Yurgir – Summon this demonic Orthon who utilizes invisibility to launch surprise attacks.
Lorroakan
- Unlock method: Ensure Nightsong’s survival through Act 2. Then, during Act 3, betray her by delivering her to Lorroakan.
- Summon: Unknown – Lorroakan pledges the arcane resources of Ramazith’s Tower. We couldn’t verify this specific narrative branch’s finale, but speculate it might involve his elemental and myrmidon minions.
Viconia DeVir
- Unlock Method: Guarantee Shadowheart spares Nightsong in Act 2, then interact with her in ways that encourage abandoning Shar’s influence and embracing her Selunite heritage. Then, advance through the Sharran Lookout and House of Grief objectives in Act 3. Upon reaching the inner sanctuary, betray Shadowheart by surrendering her to the Sharran cultists.
- Summon: Unknown – Viconia confirms you’ll receive support from Shar’s devoted followers.
Shadowheart
- Unlock method (requires confirmation): Have Shadowheart execute Nightsong in Act 2, cementing her dedication to Shar’s doctrines. Then, within the House of Grief, assist her in achieving leadership status within the enclave.
- Summon: Unknown – This might represent an alternative version of Viconia’s summoned forces.
Orpheus
- Unlock method: Acquire the Orphic Hammer by obtaining it from Raphael during Deal with the Devil, or through theft within the House of Hope. Then, in the Astral Plane, prevent the Emperor or any Illithid character from consuming his brain. Subsequently liberate him by striking the two crystals using the Orphic Hammer. His presence, whether as a newly-transformed Illithid or Githyanki, provides a passive benefit.
- Passive: Orphic Favor – All allies positioned within 18 meters of Prince Orpheus gain psychic damage resistance, plus +3 bonuses to Intelligence, Wisdom, and Charisma saving throws.
Strategic planning across all three acts significantly impacts your available ally roster for the final confrontation. Many recruitment opportunities have narrow windows that close if specific conditions aren’t met at precise story moments.
Common recruitment mistakes to avoid:
- Failing to complete companion personal quests before critical story junctions
- Making irreversible moral decisions that alienate potential allies
- Overlooking seemingly minor NPCs who become crucial supporters later
- Assuming all allies provide equal combat value when their strategic applications vary dramatically
Optimization strategies for experienced players:
- Prioritize allies with party-wide passive bonuses over single-use summons
- Coordinate ally summoning timing to maximize battlefield control
- Balance your recruitment between frontline tanks, ranged support, and healing capabilities
Baldur’s Gate 3 offers extensive content with numerous secrets and branching narratives. Your adventure will undoubtedly consume substantial hours. For additional strategic guidance, explore our Complete Guide covering additional gameplay systems.
These represent the confirmed Baldur’s Gate 3 Gather Your Allies characters from our testing. Additional possibilities likely exist, so we’ll update this guide as we discover additional recruitment paths.
Action Checklist
- Rescue Volo in Act 1 and assist him again in Act 3 for valuable party-wide bonuses
- Complete companion personal quests before advancing to subsequent acts
- Ensure key NPC survival across acts (Dammon, Isobel, Florrick)
- Make strategic moral choices that align with desired ally recruitment
- Activate Call Forth Allies ability after Free Orpheus quest
No reproduction without permission:SeeYouSoon Game Club » Baldur’s Gate 3 – Gather Your Allies Guide Master the final battle by strategically recruiting allies across all three acts with expert guidance