TL;DR
- Discover 8 essential weapons across Seattle and Santa Barbara with precise location coordinates
- Learn advanced combat strategies for each weapon type including stealth and aggressive playstyles
- Master safe codes and hidden locations to unlock the High Caliber Trophy efficiently
- Avoid common weapon-finding mistakes with our detailed navigation guidance
- Optimize your loadout for different enemy types and combat scenarios
Expanding your weapon collection in The Last of Us Part 2 provides critical tactical advantages against both infected and human adversaries. Each firearm offers unique capabilities that can dramatically alter your approach to combat encounters.
Important Note: While we’ve carefully avoided major story spoilers, weapon locations and descriptions may reveal environmental details about upcoming areas. Proceed with caution if you prefer complete discovery blindness.
Exploring the devastated urban landscapes yields more than just basic crafting components. Beyond alcohol, rags, and bottles, you’ll encounter specialized firearms and tools that significantly enhance your survival capabilities. While completing the game without every weapon is possible, diverse ammunition availability ensures you remain combat-effective during extended engagements, particularly in the challenging final segments.
Our comprehensive guide pinpoints exact locations for all discoverable weapons in The Last of Us Part 2, guaranteeing you secure every tactical advantage while unlocking the coveted High Caliber Trophy. The game’s dynamic item placement means missed weapons might reappear elsewhere, but following our instructions ensures 100% acquisition certainty.
For additional survival strategies, explore our complete Complete Guide to tactical gameplay mechanics that complement weapon mastery.
The Pump Action Shotgun represents your first major firearm discovery opportunity in the open-world Seattle Downtown segment. During the mapping exploration phase, navigate to Westlake Bank at the 5th and James intersection. Inside the financial institution, proceed directly to the secured vault area.
Access requires the combination code, obtainable from a skeletal remains note nearby. For immediate entry, use vault code: 60-23-06. Upon opening the reinforced door, locate the bank robber’s skeleton inside—the shotgun remains clutched in his skeletal grasp.

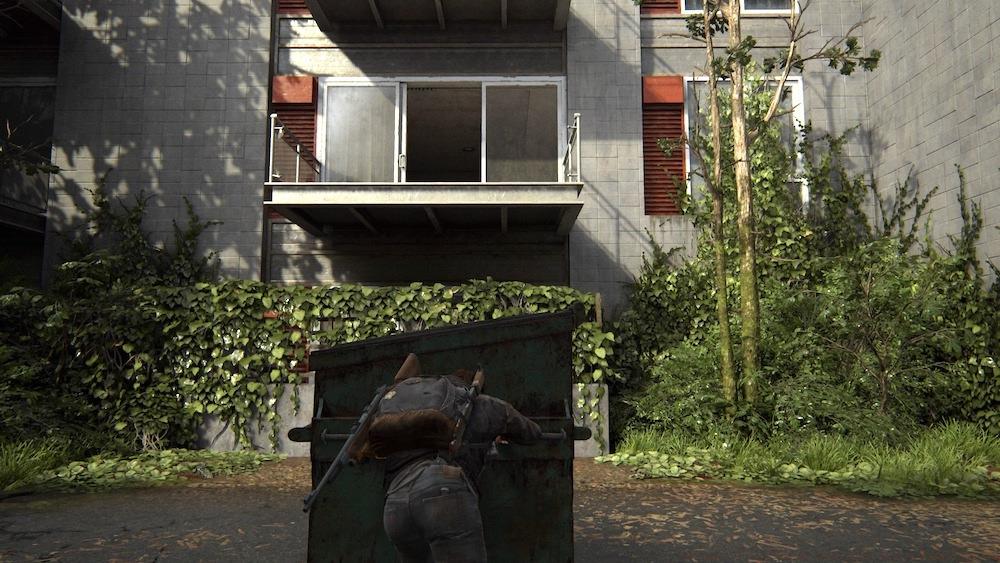
The Trap Mine functions as a craftable explosive device rather than a traditional firearm. Discovery occurs after completing the Eastbrook Elementary section on Seattle Day 1. Exiting the school leads to a residential townhouse complex, followed by a motel area.
Before progressing through the motel, identify the apartment structure with distinctive red shutters to your right. Utilize the adjacent dumpster to reach the second level entry point. Inside the apartment, proceed to the sleeping quarters where the Trap Mine blueprint awaits on a bedside table.
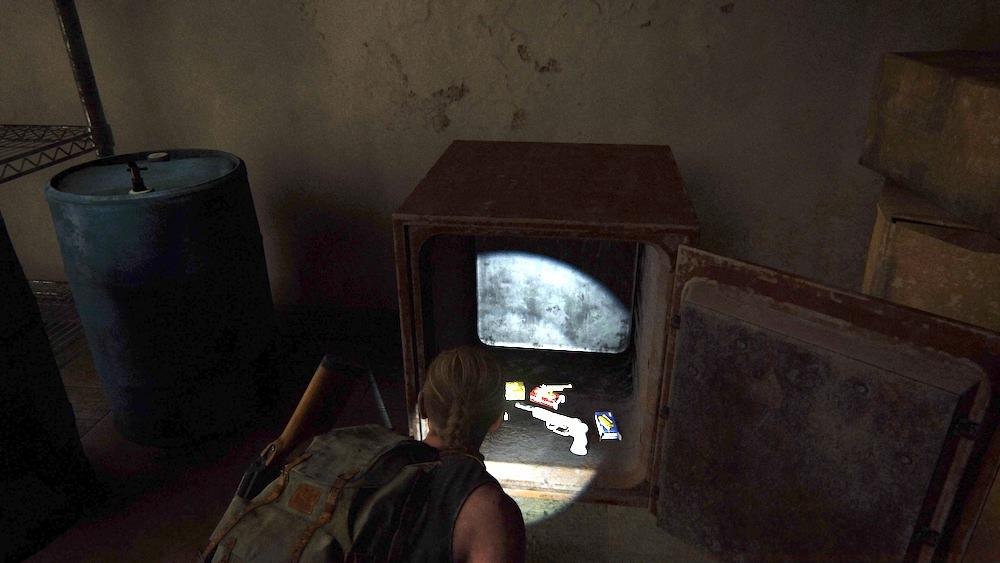
The Hunting Pistol presents another easily overlooked opportunity requiring safe cracking. After traversing the hardware store, you’ll enter a boat repair facility, eventually reaching the rooftop exit point.
Before descending to the trainyard below, locate the building on your right side. Find the wall breach near the perimeter fencing to access the interior containing the secure container. The combination code appears in a note within a nearby trailer—use code: 17-38-07 to retrieve the high-caliber pistol inside.
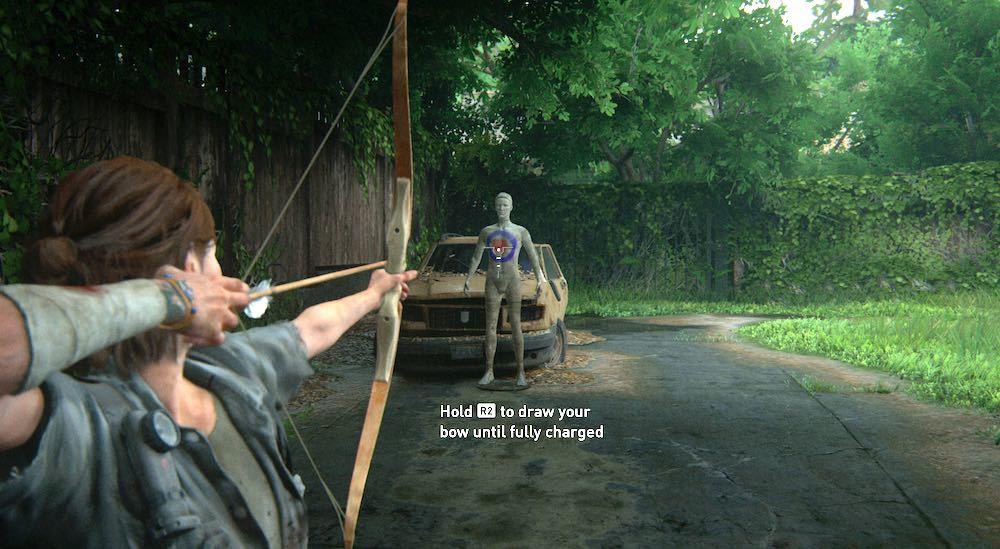
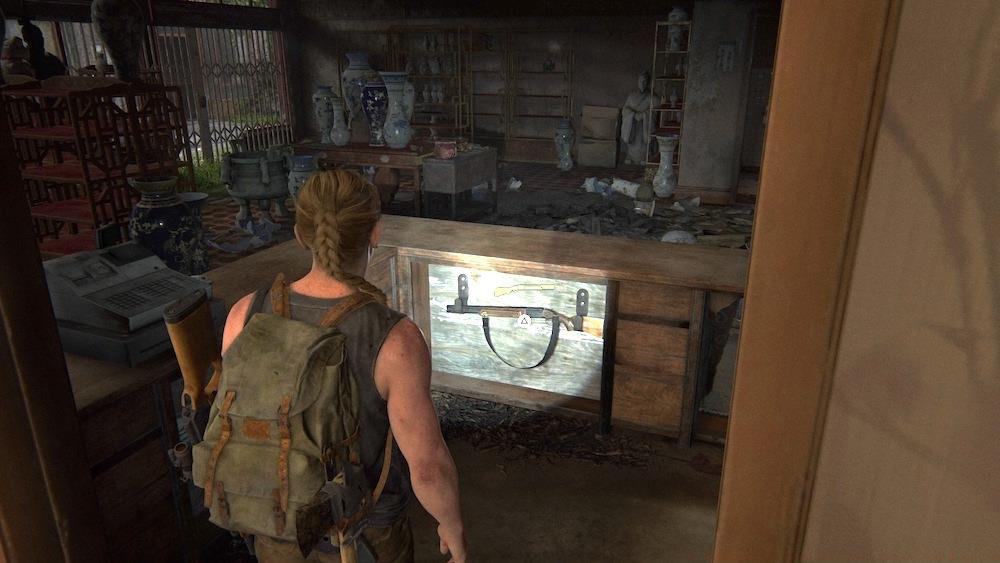
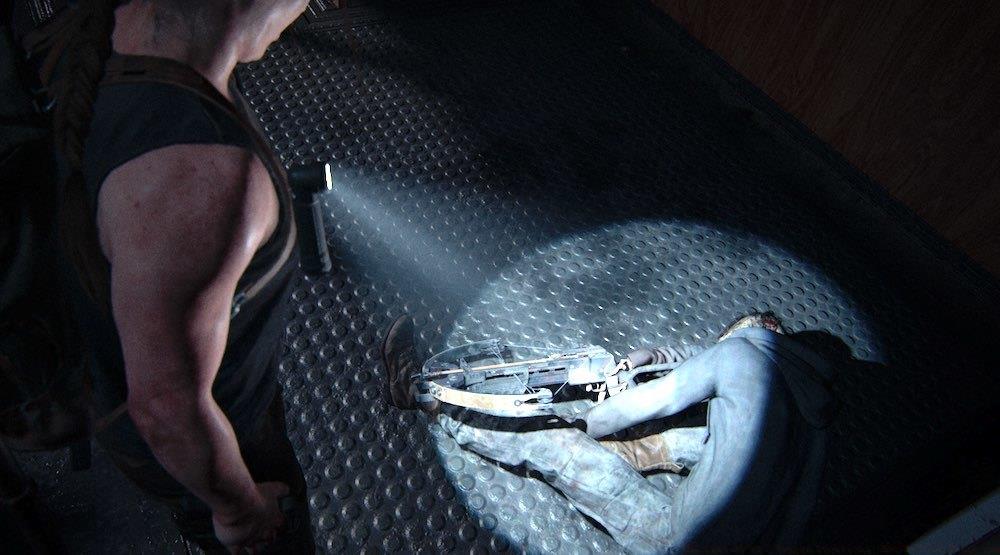
Boris’ residence in Hillcrest contains the highly versatile bow weapon. Your route naturally guides you to this location, referenced repeatedly in scattered notes and artifacts throughout the district. Thorough exploration of the property yields the bow, an exceptional tool for eliminating threats silently at medium distances.
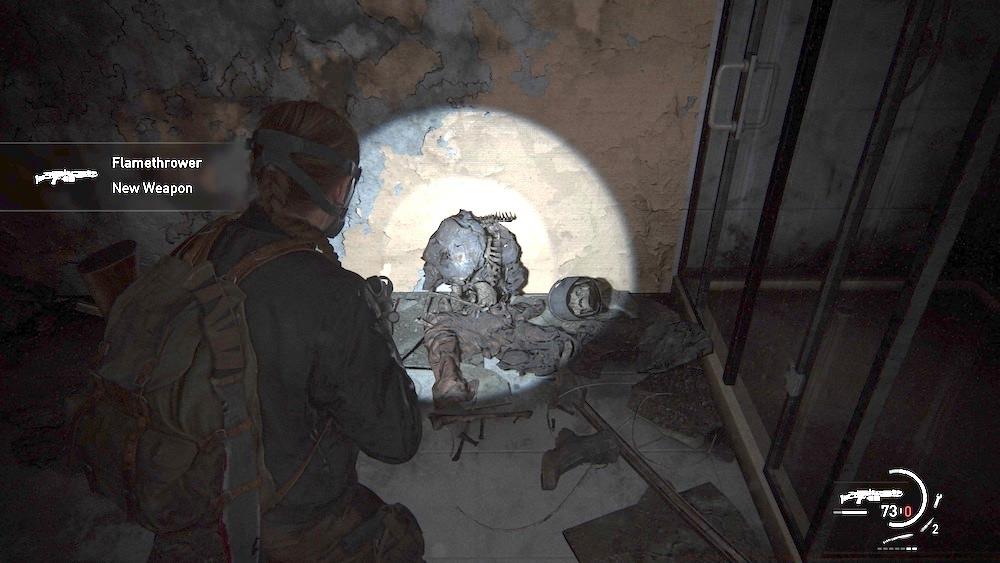
The Flamethrower becomes accessible during the descent sequence on Seattle Day 2. This area-exclusive weapon proves devastating against grouped infected enemies, though ammunition conservation remains crucial.
Strategic bow usage involves understanding arrow trajectory physics and noise propagation mechanics. For advanced stealth tactics, consult our Class Guide covering specialized playstyles.
The Silenced Submachine Gun represents your final major weapon acquisition during the Santa Barbara inland push. This specialized firearm offers exceptional utility for stealth engagements while maintaining respectable stopping power.
Endgame weapon selection should prioritize versatility and ammunition availability. The diverse enemy types in final sequences demand adaptable loadouts capable of handling both close-quarters emergencies and long-range threats.
Understanding each weapon’s situational strengths transforms random scavenging into strategic arsenal development. For comprehensive weapon modification guidance, reference our Weapons Unlock resource for enhancement techniques.
Mastering weapon transitions during combat encounters significantly enhances survival odds. The Pump Action Shotgun excels in corridor defense, while the Hunting Pistol provides precision elimination capabilities. Each tool serves specific tactical niches.
Common mistakes to avoid: overlooking secondary entry points, rushing through environmental clues, and inadequate ammunition rationing. Plan your weapon usage based on anticipated enemy types and engagement distances.
Stealth-oriented players should prioritize bow and silenced weapons, while aggressive approaches benefit from shotgun variants and the flamethrower. Always maintain at least one reliable sidearm for emergency situations.
Weapon proficiency development requires understanding each firearm’s effective range, penetration capabilities, and noise characteristics. The Trap Mine serves excellently for area denial and funneling enemies into kill zones.
Optimal play involves rotating weapons based on ammunition availability rather than personal preference. This adaptive approach ensures continuous combat effectiveness throughout extended sequences.
Action Checklist
- Document all safe codes and combination sequences in your gaming notes
- Systematically explore each district using environmental landmarks as navigation aids
- Verify weapon acquisition by checking inventory after each major location
- Test each new weapon in controlled environments to understand handling characteristics
- Develop personalized loadout combinations for different combat scenarios
No reproduction without permission:SeeYouSoon Game Club » The Last Of Us 2 Weapon Locations: How To Find Every Gun Complete guide to finding all hidden weapons in The Last of Us Part 2 with expert strategies and location tips