Master ENE Corp Laboratory with elite squad locations, hidden relics, boss strategies, and Ankou Rift challenges in Shinobi Art of Vengeance
Stage Overview and Strategic Approach
ENE Corp Laboratory stands as one of Shinobi Art of Vengeance’s most intricate stages, featuring multi-layered progression systems and complex environmental puzzles. This facility demands strategic planning rather than straightforward navigation, with power management systems controlling access to different sections. The stage’s dual boss encounter provides a unique combat challenge that tests both your mechanical skills and tactical awareness.
Strategic tip: Always prioritize breaking the control PCs scattered throughout the facility, as these unlock critical pathways and enable progression to later areas. Many players make the mistake of rushing through without systematically disabling these systems, resulting in backtracking and missed content.
The laboratory’s design intentionally obscures the path to the final boss encounter, requiring players to defeat Galley and Maufry individually before their combined Twin boss fight becomes accessible. Understanding this progression sequence early will save significant time and frustration during your exploration.
Elite Squad Locations and Combat Tactics
ENE Corp Laboratory houses three strategically positioned Elite Squads that reward skilled navigation with the valuable Max Kunai Boost. These encounters test your route optimization skills and combat efficiency in tight quarters.
Advanced strategy: When engaging Elite Squads, prioritize environmental advantages. The confined spaces work to your benefit when using area-of-effect techniques, but beware of getting cornered yourself. Always have an escape route planned before initiating combat.
Pro tip: The laboratory’s power-down states create temporary barriers, so timing your Elite Squad hunts around power restoration sequences maximizes efficiency. Squad #2 and #3 have interconnected routing that can be optimized with proper sequence planning.
Hidden Secrets and Unlockable Content
The laboratory conceals valuable rewards behind specific progression requirements and environmental puzzles. Understanding the relationship between boss defeats and unlockables is crucial for complete exploration.
Common mistake: Many players attempt to access the Silent Wasp outfit before defeating Galley, wasting time on inaccessible areas. Always complete prerequisite boss encounters before pursuing hidden content.
Optimization advice: The Lab Key sequence involves precise platforming through hazardous areas. Practice the timing on the moving platforms before attempting the full run to minimize failures and health loss.
Oboro Relics Collection Guide
ENE Corp Laboratory contains five strategically placed Oboro Relics that reward thorough exploration and completion of specific prerequisites. These collectibles often require advancement through key stage milestones.
Collection strategy: Relics #3 and #5 are最容易 missed due to their non-linear placement. Always explore alternative paths after major progression milestones rather than following the obvious critical path.
Advanced navigation: Relic #4 presents the most complex routing with multiple enemy types and platforming challenges. Clear enemies systematically rather than rushing through to avoid taking unnecessary damage during precise platforming sections.
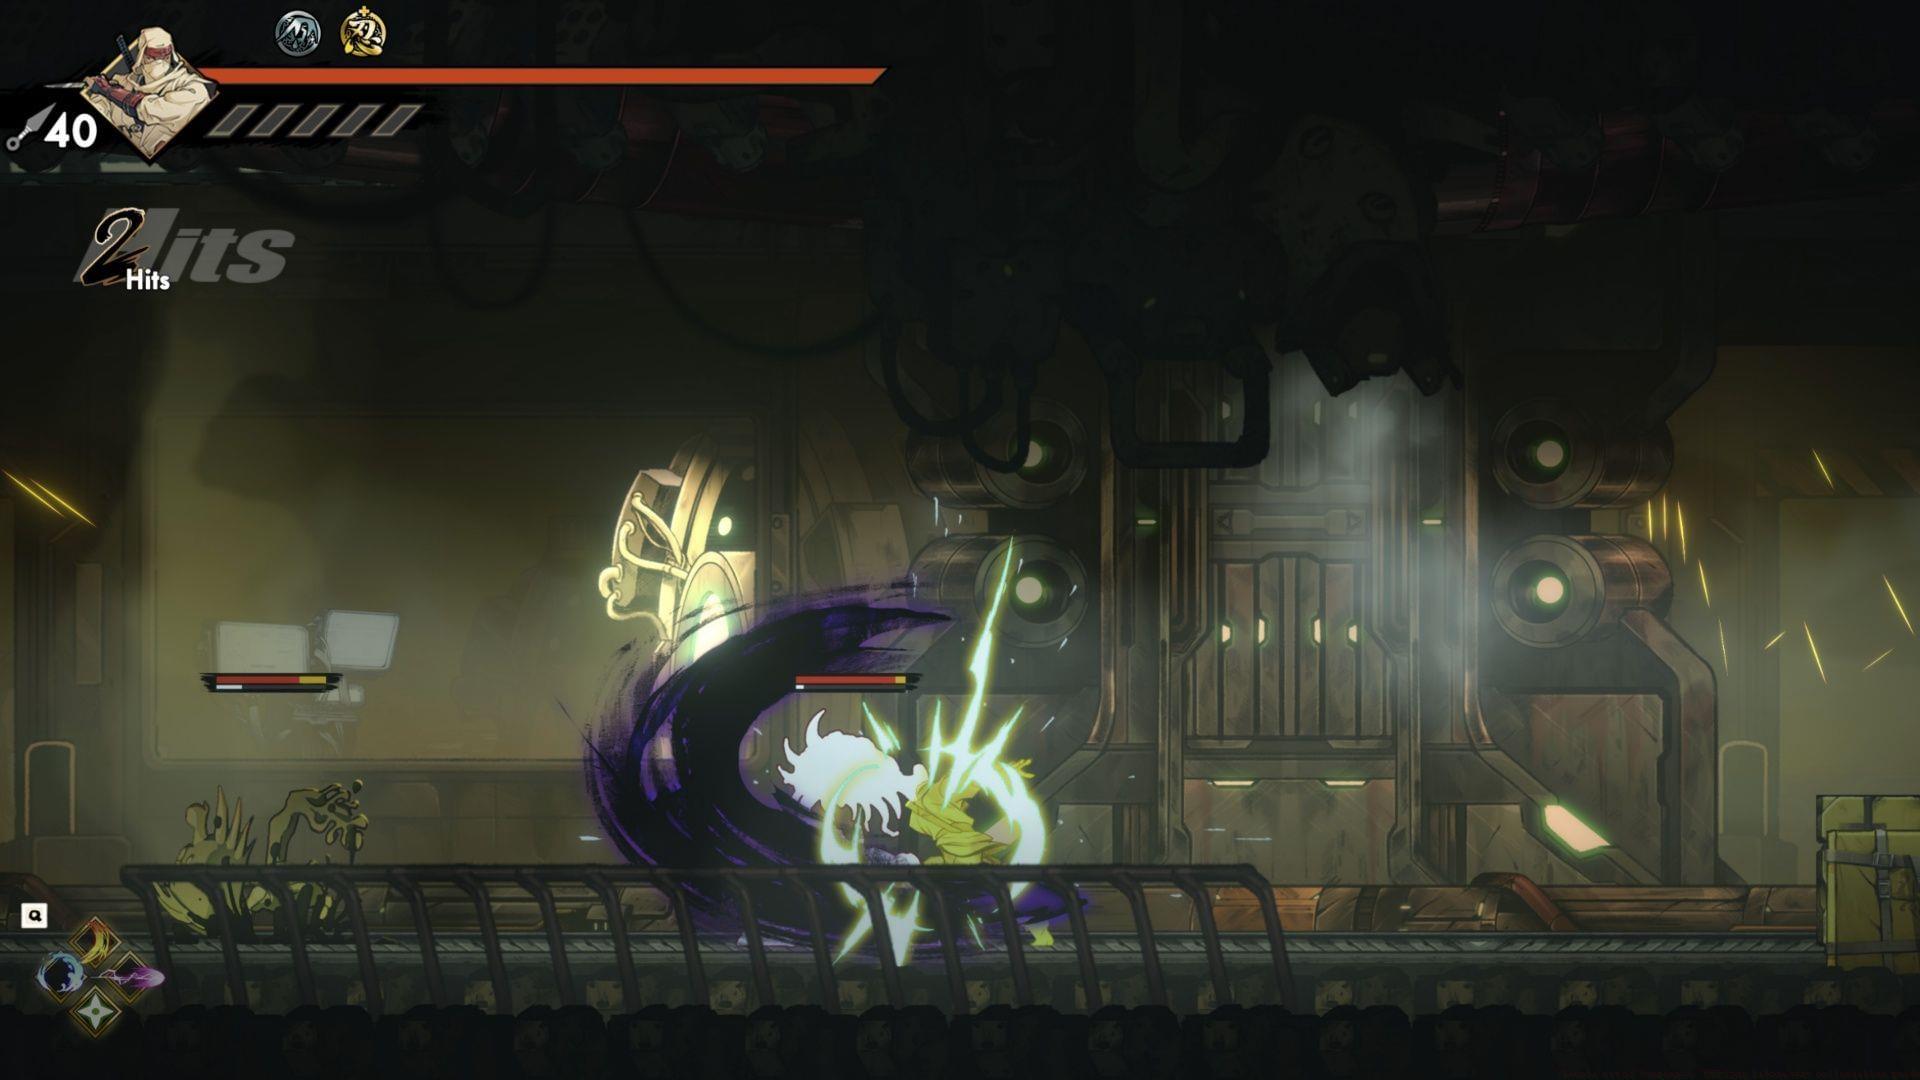
Ankou Rift Challenge and Advanced Combat
(Clip begins at 0:50)
ENE Corp Laboratory’s Ankou Rift presents an immediately accessible challenge for skilled players seeking advanced combat trials. This encounter becomes available from the stage’s inception, offering a substantial test of your execution abilities and environmental awareness.
Location access: Instead of following the conventional rightward path at stage commencement, simply move left and ascend to the next platform level. The Grim Reaper awaits to commence your next formidable trial.
This represents one of the limited battle gauntlets encountered within Ankou Rifts. Each successive enemy wave elimination triggers partial ground destruction, progressively reducing available standing territory and increasing positional pressure.
Combat strategy: This Shinobi Ankou Rift features numerous high-damage adversaries, making Execution techniques crucial whenever available. The environmental design provides compensation through abundant opportunities to dispatch foes into the bottomless abyss. Whenever feasible, utilize dive kick/heavy attack combinations to achieve environmental eliminations. Your standard reward, as typical, will be another Dark Katana fragment. By this progression point, you should be approaching completion of this collection.
Advanced technique: The shrinking battlefield necessitates constant repositioning. Master the timing between wave clears to anticipate safe zones and plan your next positioning before the ground collapses.
Shinobi Art of Vengeance represents SEGA’s newest action platforming release, scheduled for August 29, 2025, availability across PC, Nintendo Switch, PlayStation 4 and 5, Xbox Series X|S, and Xbox One platforms. Additional game information can be discovered through our comprehensive evaluation.
No reproduction without permission:SeeYouSoon Game Club » Shinobi Art of Vengeance: ENE Corp Laboratory collectibles guide Master ENE Corp Laboratory with elite squad locations, hidden relics, boss strategies, and Ankou Rift challenges in Shinobi Art of Vengeance