Complete guide to navigating The Kaiju stage, finding all collectibles, and mastering movement challenges in Shinobi Art of Vengeance
Stage Overview and Navigation Fundamentals
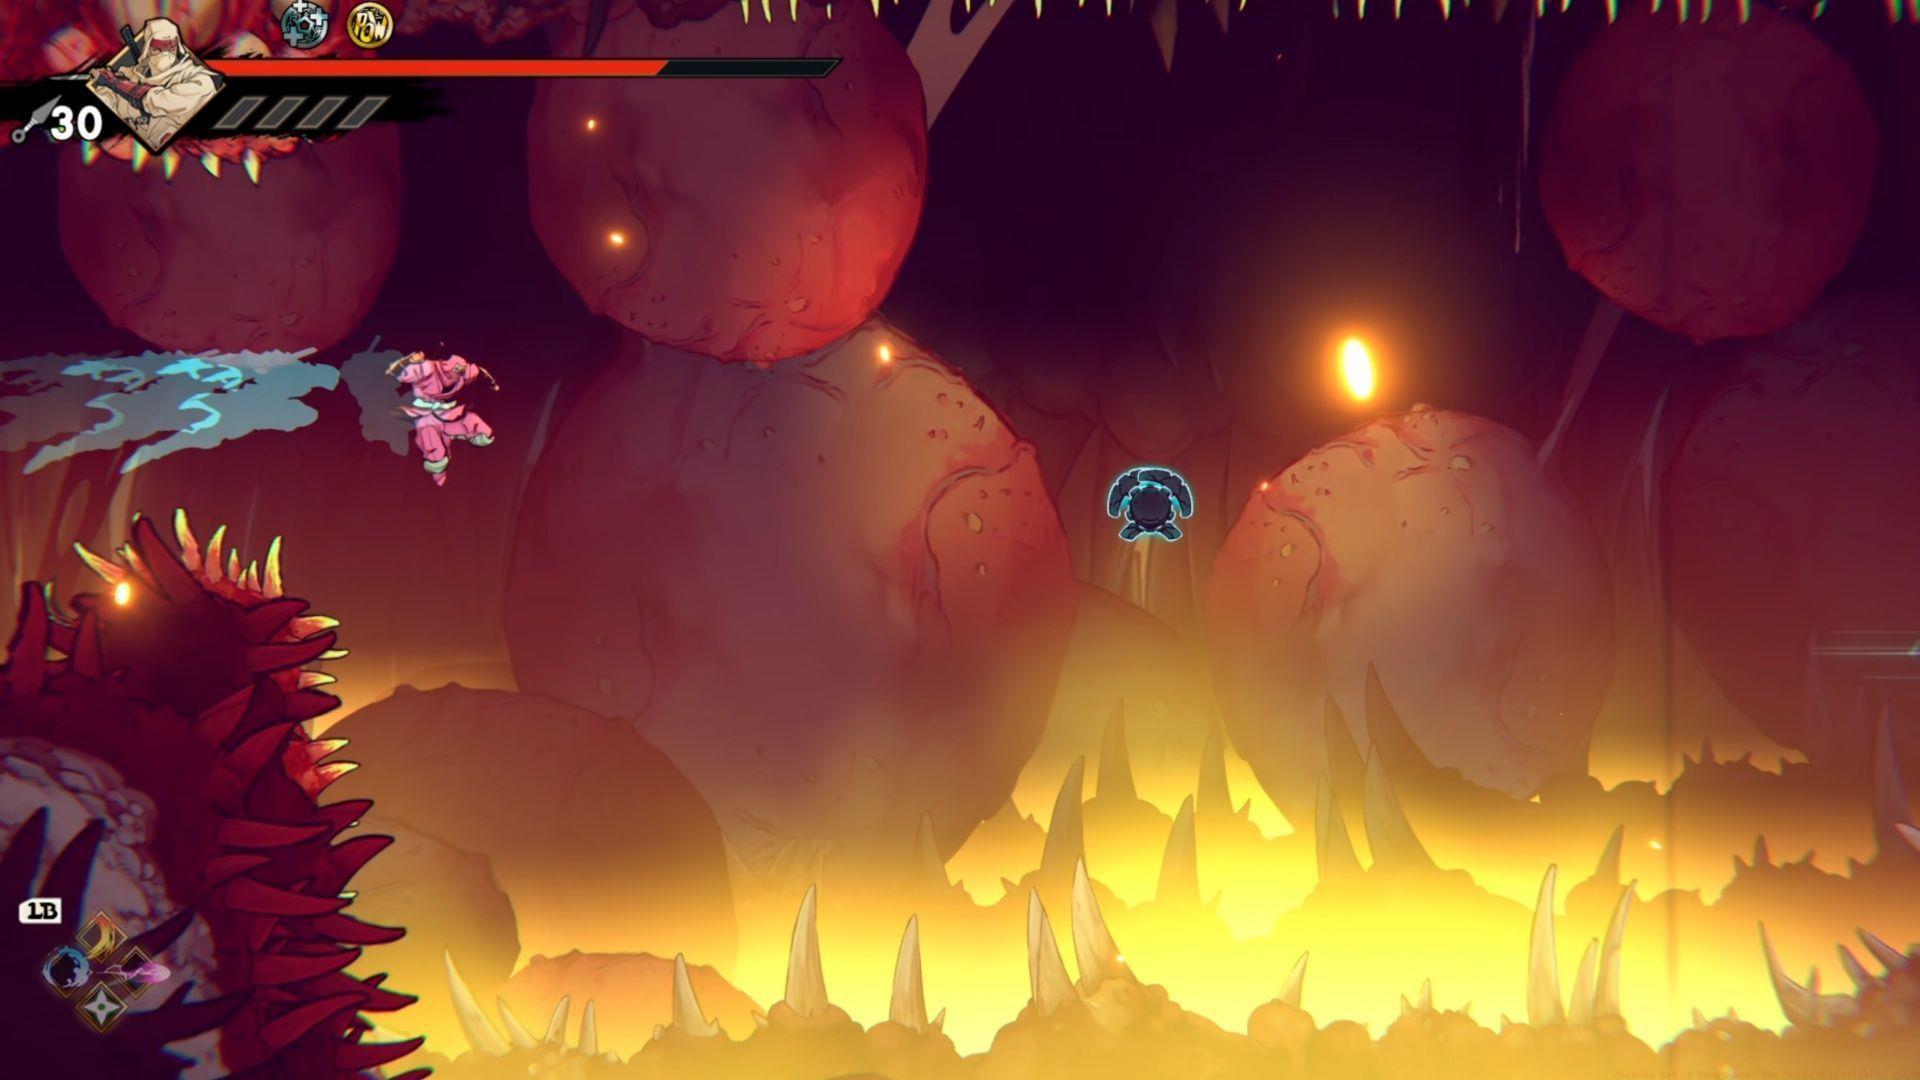
After successfully completing the Desert, Mad Train, and ENE Corp Laboratory stages in Shinobi Art of Vengeance, players encounter the formidable Kaiju stage. Rather than confronting the massive creature externally, you venture deep inside its biological structure to explore its internal organs and systems. A powerful adversary awaits discovery at the creature’s core, but reaching this destination demands exceptional platforming proficiency and movement precision. This environment thoroughly evaluates your mastery of advanced mobility techniques including precision jumping, air dashing mechanics, and glider control across hazardous terrain filled with deadly spikes and collapsing platforms.
Successfully navigating The Kaiju stage typically requires multiple attempts for completionists. The Max Health Boost collectible proves particularly elusive for most players on their initial run. While other items remain reasonably accessible with skilled movement, survival demands constant awareness and quick reflexes to avoid being crushed by environmental hazards or impaled on spike traps.
Advanced movement strategy involves mastering the timing of platform sequences and learning optimal air dash distances. Environmental awareness becomes crucial as many traps activate with specific timing patterns. Successful navigation requires studying platform cycles and identifying safe positioning between hazard activations.
Elite Squad Locations and Battle Strategies
The initial Elite Squad encounter within The Kaiju stage ranks among the most demanding challenges in the entire game. Failure during this combat sequence forces complete retracing through the intricate glider puzzle sequence, requiring careful navigation back to the encounter location. This proves exceptionally frustrating, though strategic application of Water Ninpo combined with deliberate combat pacing enables success. Victory rewards players with the Rage Channeler equipment, which accelerates Rage Gauge accumulation while increasing damage vulnerability. This tradeoff demands careful consideration based on your proficiency with evasion techniques and hit avoidance capabilities.
Strategic combat preparation proves essential for Elite Squad encounters. Equip health regeneration items and master dodge timing against the Shadow Ogres’ attack patterns. For the first squad, consider using area-of-effect Ninpo to control multiple enemies simultaneously while maintaining positioning away from environmental hazards.
Oboro Relic Collection Guide
While The Kaiju stage’s Oboro Relics present moderate accessibility compared to other challenges, several remain secured behind demanding movement sequences and precision platforming sections. These collectibles typically reside off the primary pathway, though they become essential for players pursuing optional boss encounters, particularly if requiring a Lab Key purchase for progression.
Relic collection efficiency improves significantly with movement optimization. Practice dash-jump combinations for covering longer distances and master the timing of closing platforms. For particularly challenging relics, consider temporarily equipping movement-enhancing gear to simplify navigation through complex sequences.
Ankou Rift and Advanced Challenges
The concluding platforming challenge within The Kaiju stage presents extraordinary difficulty demands. The initial section alone tests players with exacting, tight jump sequences. Upon reaching this area’s summit, you’ll encounter two sets of three alternating smash pillars with a central Grapple Point. Navigating between these hazards requires careful jumping and gliding maneuvers with substantial patience and timing precision. The descent phase involves gliding toward dual Grapple Points that ultimately provide access to the valuable reward.
(Clip begins at 1:00:36)
After successfully solving the puzzle blocking advancement beyond the Second Stomach, you descend into an expansive cavernous chamber. Reach the right sector and scale the white wall structure. Leap onto the initial then secondary closing platforms before executing a Double Jump. Glide completely leftward to land precisely within the Ankou Rift zone.
While the Mad Train stage contained one of Shinobi Art of Vengeance’s most demanding Ankou Rift puzzles, The Kaiju’s challenge represents the ultimate examination of player skills. This comprehensive test integrates every movement technique mastered throughout the game, particularly those refined in previous Ankou Rifts.
The challenge incorporates miniature platforms, mobile spiked spheres, precision air dashing through confined spaces, moving platforms, and concludes with a pursuit sequence for additional intensity. This brutal examination even includes an enemy gauntlet at its conclusion, serving as the definitive assessment of movement capabilities within Shinobi Art of Vengeance. Successful completion of this tenth shard rewards players with the powerful Dark Katana weapon.
Shinobi Art of Vengeance represents SEGA’s newest action platformer release, scheduled for August 29, 2025, availability across PC, Nintendo Switch, PlayStation 4 and 5, Xbox Series X|S, and Xbox One platforms. Additional game information becomes available through comprehensive review coverage.
Advanced players should focus on mastering the rhythm of alternating pillars in the final jumping challenge. The key technique involves initiating movement just as pillars retract, utilizing the full glide duration to cover maximum distance. For the Ankou Rift, memorization of sequence patterns proves more valuable than reaction time alone.
No reproduction without permission:SeeYouSoon Game Club » Shinobi Art of Vengeance: The Kaiju collectibles guide Complete guide to navigating The Kaiju stage, finding all collectibles, and mastering movement challenges in Shinobi Art of Vengeance