Complete guide to finding all collectibles and mastering the Submarine Base labyrinth in Shinobi Art of Vengeance
Submarine Base Overview and Strategy
The Submarine Base represents Zone 3’s most complex environment in Shinobi Art of Vengeance, sharing this tier with Fish Market and Neo City. While these zones can be tackled in any sequence, experienced players often save the Submarine Base for last to leverage the powerful Sword Dive ability discovered here in earlier stages. This sprawling underwater facility spans multiple floors with interconnected pathways that initially appear overwhelming but follow a logical progression system. Each map section must be completely cleared before advancing, creating a structured approach to navigation.
Strategic planning is crucial for efficient collection. By the time you access the Submarine Base, you’ll possess nearly all essential movement and combat tools required for most collectibles. The singular exception involves returning later with the Glider ability to secure one specific Oboro Relic. Success hinges on meticulous environmental observation and systematic activation of every switch encountered throughout the facility.
Pro Tip: Create a mental map of switch locations as you progress—many hidden paths require backtracking after activating distant mechanisms. The level’s verticality means you’ll frequently traverse between B1, B2, and B3 floors, so maintaining orientation prevents unnecessary repetition.
Elite Squad Locations and Combat Strategies
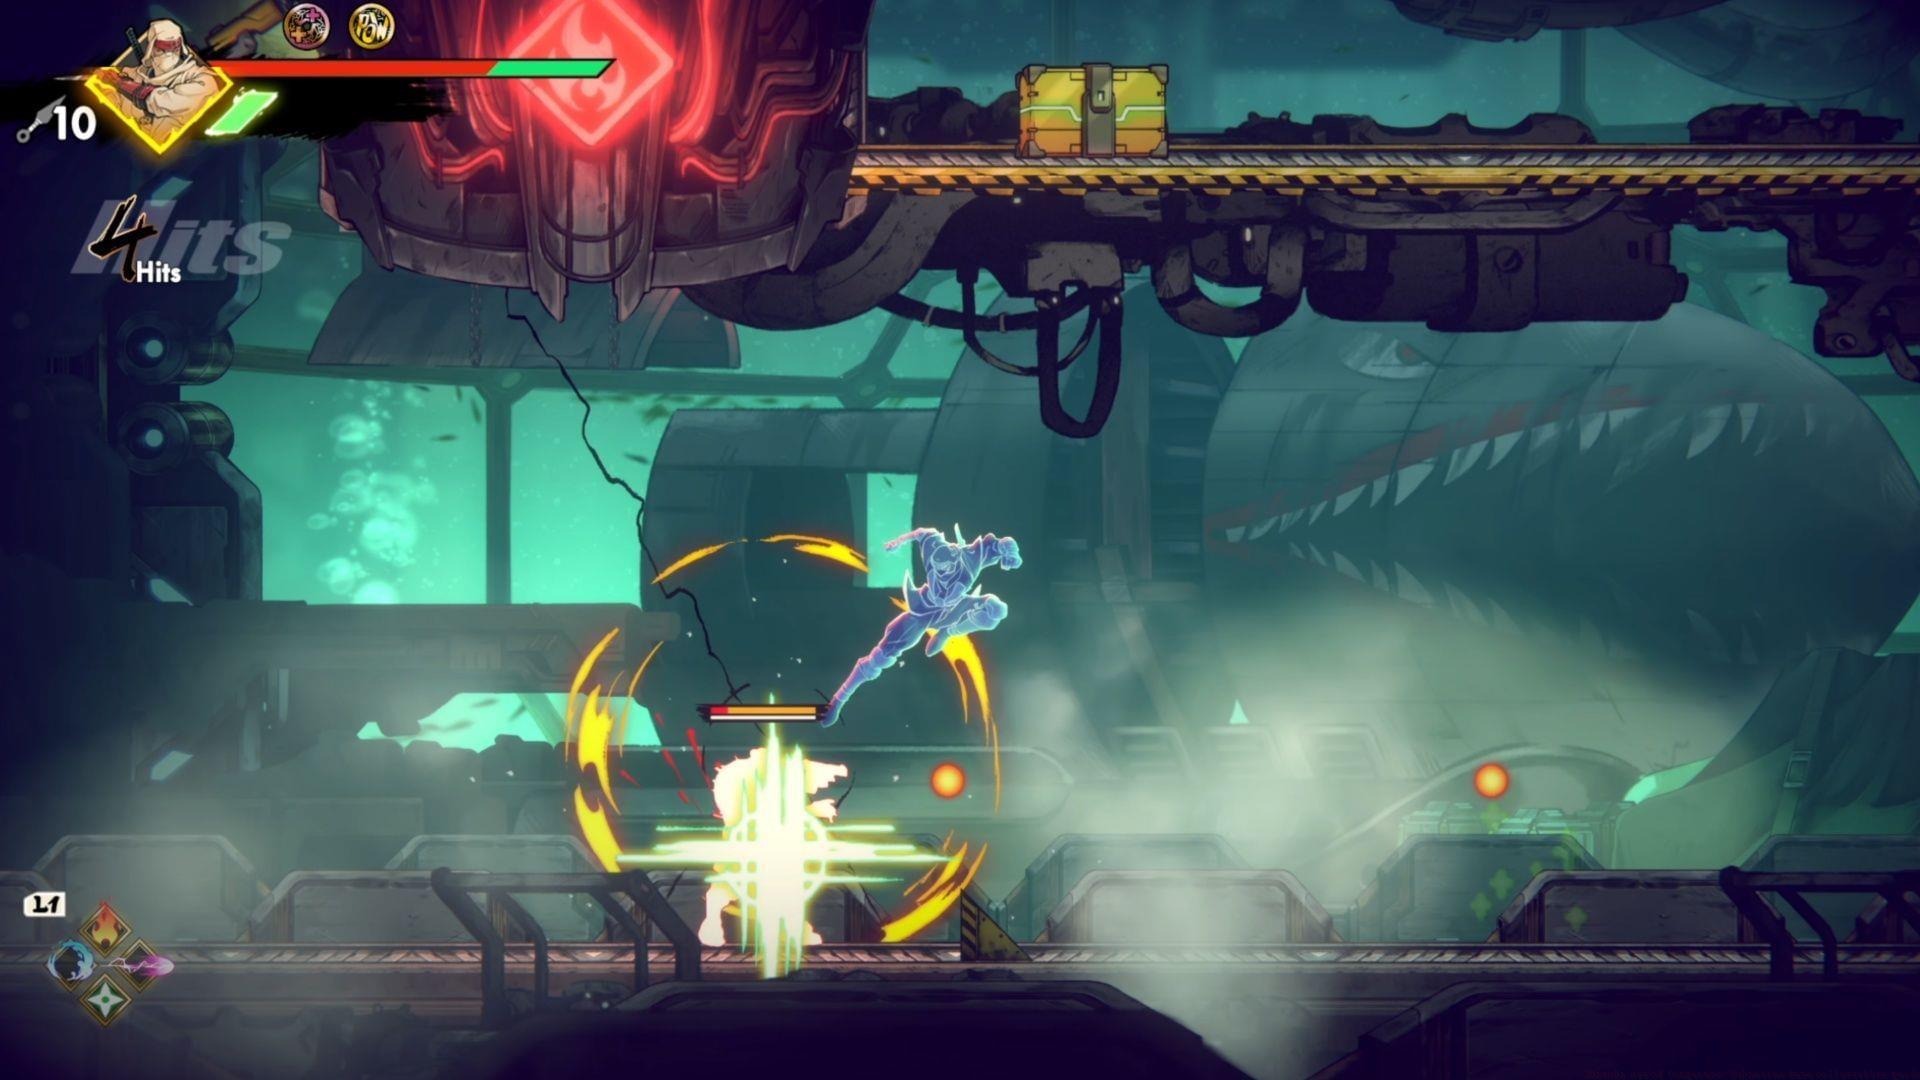
Three Elite Squad encounters await discovery within the Submarine Base’s depths, with the first two accessible during initial exploration and the third demanding advanced mobility capabilities. These challenging combat scenarios test your mastery of the game’s mechanics while rewarding valuable upgrades.
- Elite Squad #1: While navigating the left pathway on B1, progress through several puzzle chambers until you encounter a destructible computer terminal. Instead of retreating from this room, ascend via the upper left passage to confront the initial Elite Squad. Strategy: These enemies often attack in coordinated patterns—use wall jumps to create distance and pick them off with ranged attacks.
- Elite Squad #2: This encounter becomes available after unlocking the upper right passage on B2. Simply retrace your steps to this newly accessible route and follow it to its conclusion. Common Mistake: Players often miss this squad by progressing forward without checking newly unlocked backtracking routes.
- Elite Squad #3: After acquiring Oboro Relic #5, proceed left while evading spike traps and flamethrower emplacements. Descend, activate the switch mechanism, and destroy the computer terminal. Return to the Flooded Sector and take the upper left passage to locate the final Elite Squad. Advanced Tip: This encounter unlocks the valuable Shuriken Master amulet, significantly enhancing projectile capabilities.
Combat Optimization: Elite Squads typically include mixed enemy types. Prioritize eliminating ranged attackers first while using environmental cover against melee opponents. The cramped spaces favor quick dashes and aerial maneuvers over stand-up fights.
Amulets and Power-ups Guide
The Submarine Base contains several game-changing amulets and abilities that substantially enhance your capabilities. Proper acquisition order can dramatically improve your efficiency in both this zone and subsequent areas.
- Kunai Finder Amulet: Impossible to overlook, this amulet appears shortly after entering the first chamber on the right path of B1. It automatically highlights nearby collectibles, reducing backtracking time.
- Max Kunai Boost: From the Floor B3 Save Point, take the bottom right path and complete the grappling hook puzzle sequence. The capacity enhancement awaits at the puzzle’s conclusion. Puzzle Tip: Time your swings to avoid rotating laser barriers—patience outperforms speed here.
- Sword Dive: From the Floor B3 Save Point, venture down the bottom left path. Survive a demanding enemy gauntlet featuring a mobile laser obstacle, then claim the Sword Dive ability from the left-side chamber. Strategic Value: This ground-pound style attack breaks certain floors and damages multiple enemies simultaneously.
- Executioner Amulet: Arguably the most demanding challenge in the Submarine Base. From Floor B1’s Save Point, follow the lower right path continuously until reaching a chamber with oscillating flamethrowers. Take the bottom right exit into a room featuring synchronized saw blades and laser grids. Advanced Movement: Time your passage when saw blades temporarily block laser emissions—sometimes requiring jumps rather than dashes. Subsequently, navigate ascending laser walls with careful climbing and strategic dashing. One final saw/laser combination room guards this prestigious amulet. Warning: Attempt this only after mastering movement mechanics, as failed attempts cost significant time.
Ability Synergy: The Sword Dive ability synergizes exceptionally well with the Executioner Amulet, allowing you to quickly dispatch groups of enemies that would otherwise complicate precise platforming sections.
Oboro Relics Collection Mastery
Five Oboro Relics await discovery throughout the Submarine Base, with the first four obtainable during initial exploration and the final relic demanding both the Glider ability and expert movement execution. These collectibles contribute to completion percentage and unlock special rewards.
- Oboro Relic #1: Early in the stage, you’ll learn the yellow energy cell placement mechanic. After your first successful placement, ascend to the overhead platform and proceed right to locate the Treasure Box. Beginner Tip: This introduces the relic placement pattern—always check above puzzle solutions.
- Oboro Relic #2: After descending the initial elevator, drop down and activate the B1 Save Point before entering the next chamber. Head left, eliminate the enemy group, then observe the relic positioned above. Execute a wall run up the right surface followed by a double jump and air dash leftward to reach the Treasure Box. Movement Practice: This sequence tests basic aerial maneuver proficiency.
- Oboro Relic #3: On Floor B2, take the lower left route and grapple across the gap. Navigate through laser and explosive hazards, then survive the subsequent flamethrower chamber. Use the yellow platform to reach the ceiling’s white wall, activate the switch, and access the Treasure Box. Timing Critical: The yellow platform movement requires precise jump timing to avoid flame bursts.
- Oboro Relic #4: From Floor B3, head right from the Save Point through the Water Rising section until reaching the Flooded Sector Save Point. Proceed left, activate the switch, then return to the platform right of the save point. The following room contains a rotating laser—quickly jump to the central platform and use it as cover before advancing to claim your reward. Cover Strategy: The central platform provides temporary safety during specific laser rotation phases.
- Oboro Relic #5: The most demanding relic acquisition. From Floor B3, scale the wall and leap to access the right path from the Save Point. This initiates three exceptionally difficult movement sequences. The first puzzle requires the Glider to bypass flames and reach the ceiling. The second combines mobile platforms with tracking flamethrowers. The climax demands a glide descent followed by an immediate air dash and subsequent re-glide to catch a wind current leading to the Sword Dive. One final jumping puzzle filled with rotating blades guards the treasure. Expert Technique: Master the glide-dash-reglide combination in safer areas before attempting this sequence.
Progression Note: The final relic’s extreme difficulty makes it advisable for post-game cleanup rather than initial completion attempts.
Ankou Rift Time Trial Challenge
(Clip begins at 5:30)
After acquiring the Sword Dive ability, return to Floor B3’s Save Point and select the upper left path. Utilize Sword Dive to penetrate the floor, revealing a complex moving platform puzzle. Descend via these platforms while evading laser obstructions until reaching the lowest level. Execute a wall jump ascent on the left side to confront the Grim Reaper.
This Ankou Rift functions as an intense race against escalating environmental hazards. Rapidly ascending flames from below force instantaneous decision-making during wall jump sequences, compounded by ceiling spike obstacles on certain platforms. The absence of intermediate checkpoints demands flawless single-attempt completion.
Time Trial Strategy: Memorize platform patterns beforehand and prioritize consistent momentum over perfect positioning. The rising fire creates psychological pressure—focus on rhythmic jumping rather than reaction speed. Successful completion rewards significant progression benefits and demonstrates mastery of the game’s movement mechanics.
Shinobi Art of Vengeance represents SEGA’s newest action platformer experience, scheduled for release on August 29, 2025, across PC, Nintendo Switch, PlayStation 4 and 5, Xbox Series X|S, and Xbox One platforms. For comprehensive gameplay analysis and advanced techniques, consult our detailed game mastery guide.
No reproduction without permission:SeeYouSoon Game Club » Shinobi Art of Vengeance: Submarine Base collectibles guide Complete guide to finding all collectibles and mastering the Submarine Base labyrinth in Shinobi Art of Vengeance