TL;DR
- Genichiro demands aggressive playstyle with constant pressure and precise parrying
- Master Mikiri Counter for thrust attacks to deal massive posture damage
- Manage vitality damage to slow posture recovery before going for deathblows
- Learn lightning reversal technique to turn his most dangerous attacks against him
- Time heals carefully to avoid arrow punishment during animation recovery
The confrontation with Genichiro Ashina represents Sekiro’s definitive skill check, separating casual players from true shinobi masters. This pivotal encounter occurs early in your journey to rescue Kuro, the Divine Heir, serving as both narrative turning point and mechanical proficiency examination.
Your initial encounter with Genichiro happens during the game’s opening sequence, where he decisively defeats you and severs your arm in a brutal display of superiority. This humiliating loss establishes the stakes and motivates your quest for vengeance. After obtaining the Shinobi Prosthetic and navigating through Ashina’s treacherous landscapes, you’ll face several intermediate bosses including the Chained Ogre, Gyoubu Oniwa, and the Blazing Bull before reaching the castle summit for your rematch.
The path to Genichiro requires conquering multiple challenging encounters, but none will adequately prepare you for the intensity and complexity of this duel. This battle fundamentally tests whether you’ve internalized Sekiro’s unique combat philosophy.
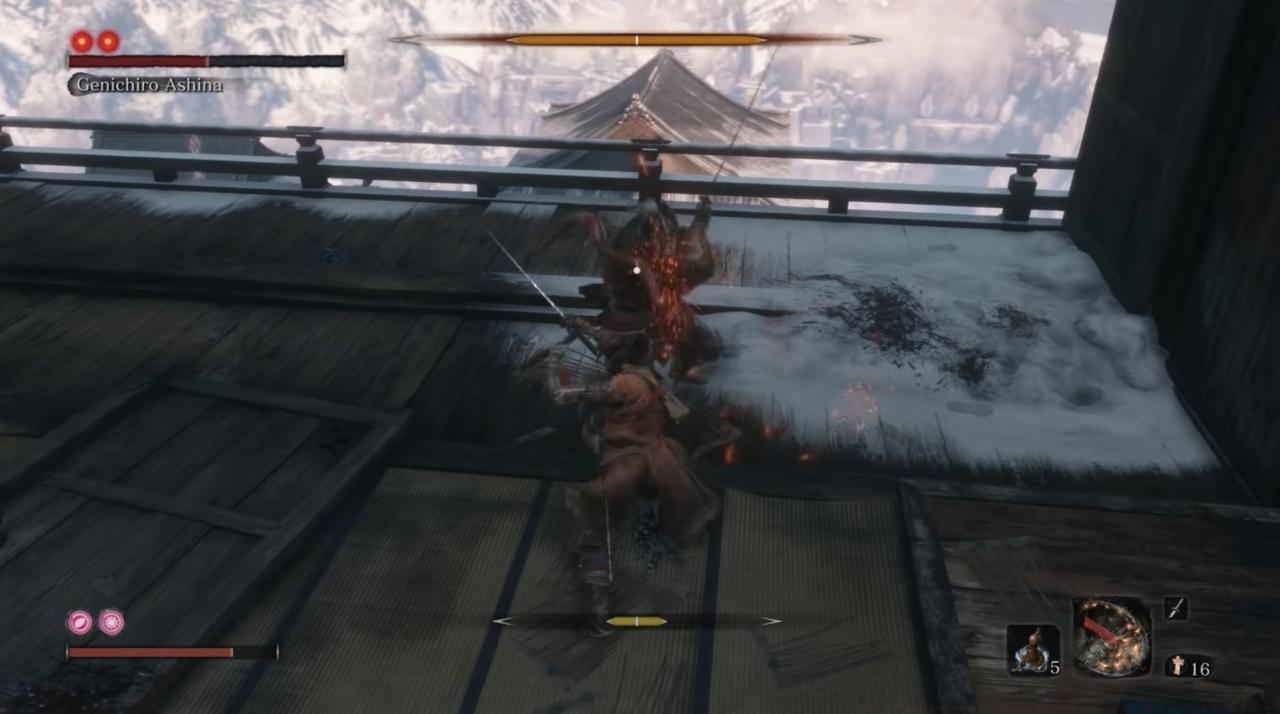
Genichiro serves as Sekiro’s combat tutorial in the most brutal sense, forcing players to abandon defensive Soulsborne habits and embrace aggressive swordplay. Unlike the methodical pacing of Dark Souls or Bloodborne, this confrontation demands constant offensive pressure combined with precise defensive timing.
Parrying forms the foundation of success against Genichiro. As an elite swordsman, he unleashes relentless combinations that can mostly be deflected, creating crucial openings for counterattacks. The rhythmic exchange of blows and deflections systematically depletes his posture bar while protecting your own vitality.
Common mistake: Many players attempt to create distance and heal, which plays directly into Genichiro’s strengths. His arrow attacks punish defensive play, making aggression your safest strategy. The fight essentially functions as an extended training sequence ensuring you’ve mastered deflection timing before progressing further.
Genichiro possesses exceptional vitality regeneration, meaning his posture recovers rapidly unless you consistently damage his health bar. Strategic vitality reduction slows his posture recovery, enabling deathblow opportunities through broken posture.
Optimal opening creation involves baiting his perilous attacks—specifically thrusts and sweeps—then capitalizing on recovery animations. His aerial jumping attacks present high-risk counterattack opportunities that can significantly advance the fight when properly exploited.
Advanced technique: Implement the ‘attack until parried’ strategy. Continuously strike Genichiro until he deflects your attack (indicated by brighter sparks and louder clang), then immediately prepare to deflect his counter-combo. This controlled aggression maximizes posture damage while minimizing your exposure.
Optimization tip: Time your dodges to occur just after his attack animations begin, not during wind-up phases. This ensures proper evasion while positioning you optimally for punishment windows.
Genichiro incorporates bow attacks at strategic intervals throughout the encounter. While these arrows arrive quickly, they follow predictable patterns and remain fully blockable and deflectable like his sword strikes.
Critical awareness: Maintain guard when observing arrow draw animations, as they frequently precede close-range assault combinations. His most dangerous ranged behavior involves charging powerful shots whenever you attempt to use healing items.
Healing strategy: The arrow punish timing aligns precisely with healing animation conclusion, allowing last-moment deflection or evasion. However, failing this timing check results in significant damage that effectively negates your healing investment.
Pro tip: Utilize environmental cover when healing. Position yourself behind pillars or other obstructions to force Genichiro to reposition, creating additional time for health recovery. This advanced technique separates consistent performers from struggling players.
Genichiro’s thrust attacks represent both extreme danger and tremendous opportunity. These moves deal devastating damage if connected but enable massive posture damage through proper Mikiri Counter execution.
Essential skill: Unlock Mikiri Counter immediately in the skill tree—it’s arguably the most valuable combat art in Sekiro. Mastering this technique against Genichiro provides essential practice for later encounters where thrust attacks become increasingly common.
Execution timing: Initiate the Mikiri Counter as Genichiro begins his thrust motion, not during the wind-up. Perfect timing yields substantial posture damage and creates extended vulnerability windows for counterattacks.
Recognition training: Learn to distinguish between his thrust (Mikiri Counter opportunity) and sweep (requires jumping evasion) perilous attacks. The kanji symbol appears for both, but the body positioning differs significantly.
After executing the first deathblow, Genichiro undergoes a dramatic transformation, discarding his armor and embracing lightning-based attacks. This second phase intensifies the combat pace significantly.
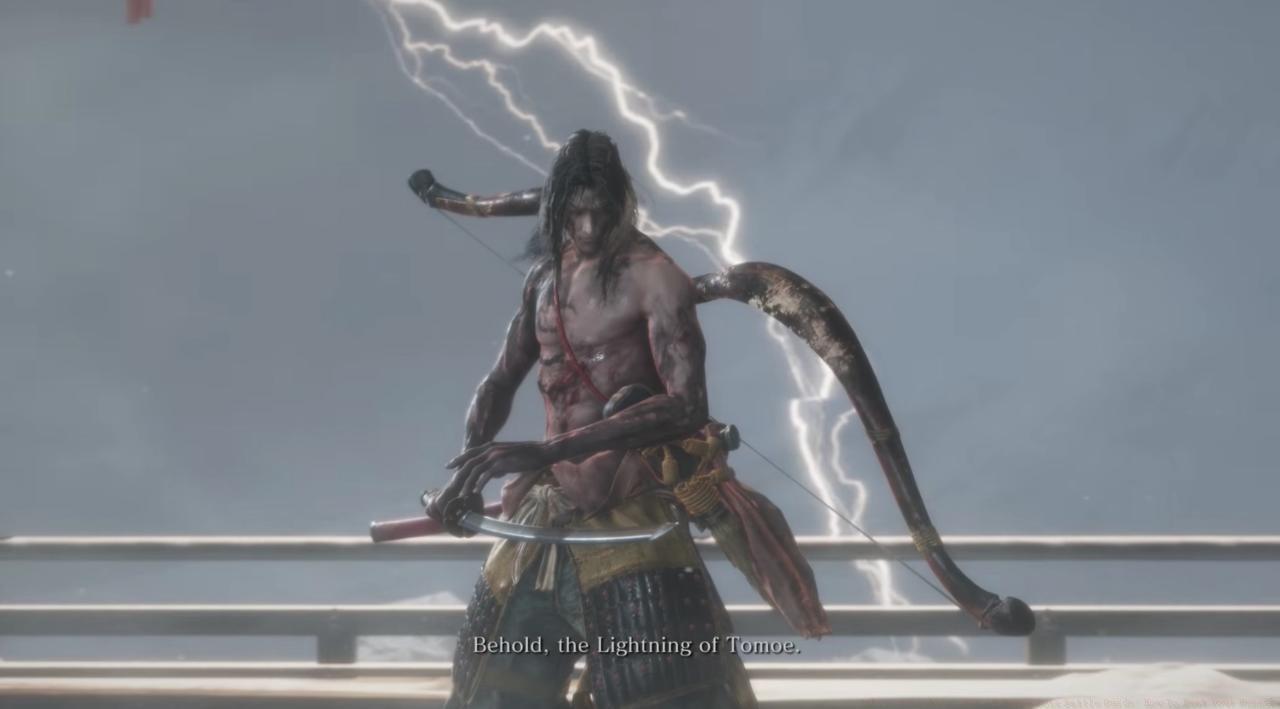
Lightning mechanics: These elemental assaults manifest as two distinct patterns: a direct arrow projectile that’s relatively straightforward to evade, and a sweeping sword arc that covers substantial area and demands precise timing.
Game-changing technique: Master Lightning Reversal by jumping and absorbing the lightning mid-air, then attacking before landing to redirect the electricity back at Genichiro. This technique deals massive vitality and posture damage while creating extended stun periods.
Execution breakdown: When you see the red kanji indicating a lightning attack, jump upward as the lightning connects, then press attack before touching ground. Successful reversal inflicts approximately 15% vitality damage and significant posture depletion.
Phase transition awareness: The shift to lightning phase occurs immediately after the first deathblow cinematic. Prepare mentally for the increased aggression and have Lightning Reversal technique ready for immediate implementation.
Action Checklist
- Practice deflection timing against earlier enemies for 15-20 minutes
- Unlock and master Mikiri Counter in skill tree before attempt
- Implement aggressive ‘attack until parried’ strategy during first phase
- Time heals behind environmental cover to avoid arrow punishment
- Practice lightning reversal 5-10 times in phase two
- Focus on vitality damage first to slow posture recovery
No reproduction without permission:SeeYouSoon Game Club » Sekiro Genichiro, Way of Tomoe Boss Battle Guide: How To Beat Your Nemesis Master Genichiro's combat mechanics with advanced parrying strategies and lightning counter techniques