TL;DR
- Navigate sewer systems efficiently while collecting essential maps, ammunition, and health items
- Master Hunter Gamma combat by targeting their vulnerable mouth interiors with specific weapons
- Locate all hidden Charlie Doll collectibles in strategic positions throughout the areas
- Utilize environmental elements and generator stuns against Nemesis flamethrower encounters
- Optimize inventory management for the challenging demolition site and gun shop sequences
Discover comprehensive strategies for navigating Resident Evil 3 Remake’s sewer systems while securing every collectible and managing Nemesis encounters effectively. This segment transitions players from Downtown Raccoon City into the complex underground networks below.
Our detailed walkthrough continues, providing precise locations for ammunition caches, medicinal herbs, weapon enhancements, and inventory expansions. We’ve meticulously documented each Charlie Doll position and essential resource to maximize your survival chances against the T-Virus outbreak and relentless Nemesis pursuit.
For additional Resident Evil 3 guidance, explore our extensive resource collection. Consult our complete Resident Evil 3 Remake walkthrough for comprehensive assistance. We also offer exhaustive lists of Resident Evil 3 lockpick-accessible containers, secure storage locations with combination codes, comprehensive Hip Pouch acquisition strategies, jewel location guides for the Kite Road Railway Monument puzzle, and tactical analysis of optimal Nemesis engagement opportunities for substantial rewards.
Important Consideration: This guide addresses Resident Evil 3 Remake gameplay across Assisted, Standard, and Hardcore difficulty settings; Nightmare and Inferno modes feature completely rearranged enemy placements and item distributions.
Access the door situated directly to your left upon entry to discover a secure chamber. Within this room resides the Sewer Map, a medicinal red herb, and two storage units containing handgun ammunition and shotgun shells. After collecting these vital resources, proceed forward through the exit.
Advance along the corridor until reaching its terminus, where you’ll encounter a electronically-secured doorway. The Increased Sewer Security document mounted on the adjacent wall provides crucial intelligence. This file details the necessity of locating a Battery Pack to advance further. Descend into the water channel and glide down the inclined surface. A fragmentation grenade awaits within debris along the right-side pathway. (Temporarily bypass the ladder in this area, as the upper-level doors remain inaccessible currently.)
Hunter Gamma creatures present significant durability challenges when targeting their exterior membranes, but their oral cavities offer highly susceptible weak points. Incendiary rounds launched from grenade launchers demonstrate exceptional effectiveness against these biological threats.
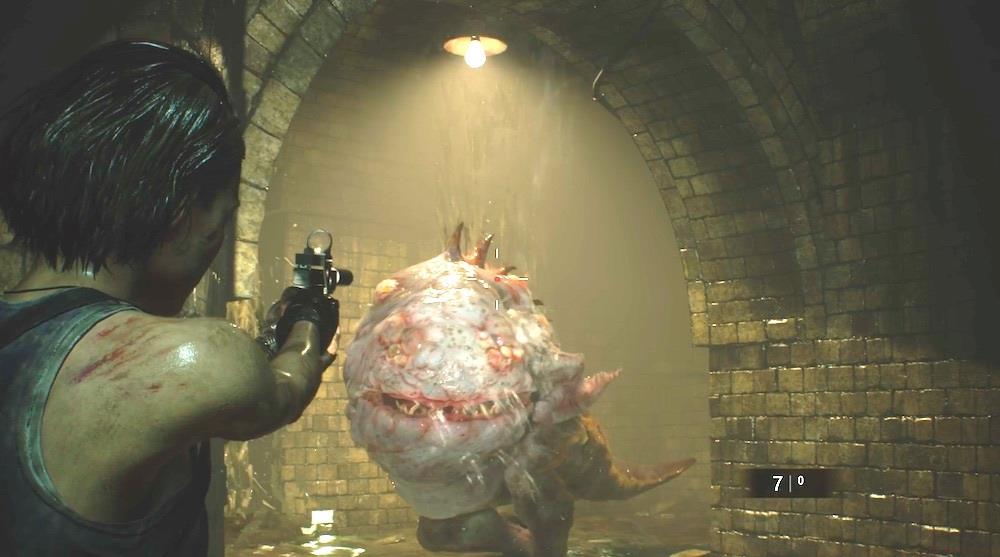
The Hunter Gamma is tough to kill if you shoot its skin, but the inside of its mouth is highly vulnerable. Grenade launcher flame rounds are even more effective, though.
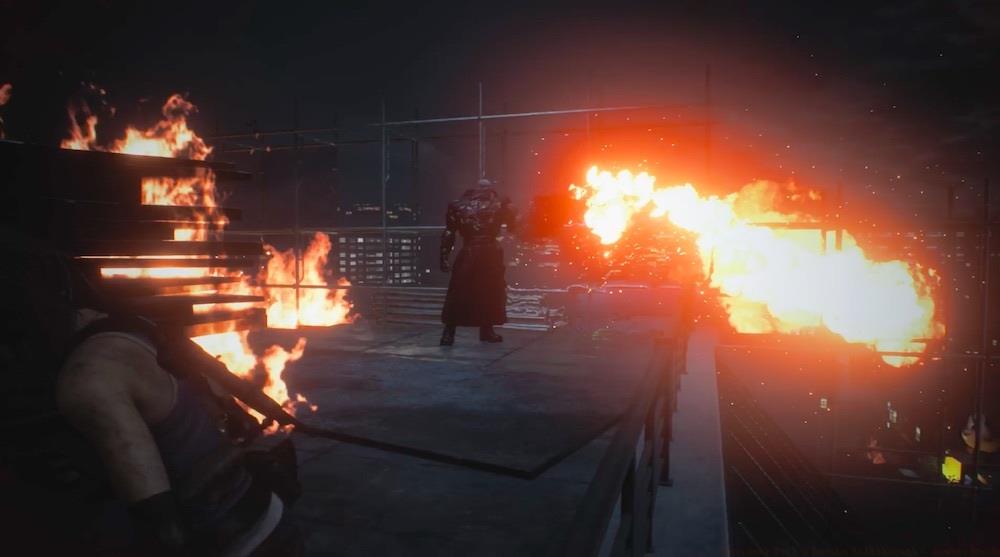
Stay clear of the Nemesis and his flamethrower and aim for the tank on his back. He’s quick and will often dodge your grenade launcher rounds, so try to stun him with the generator before laying into him.
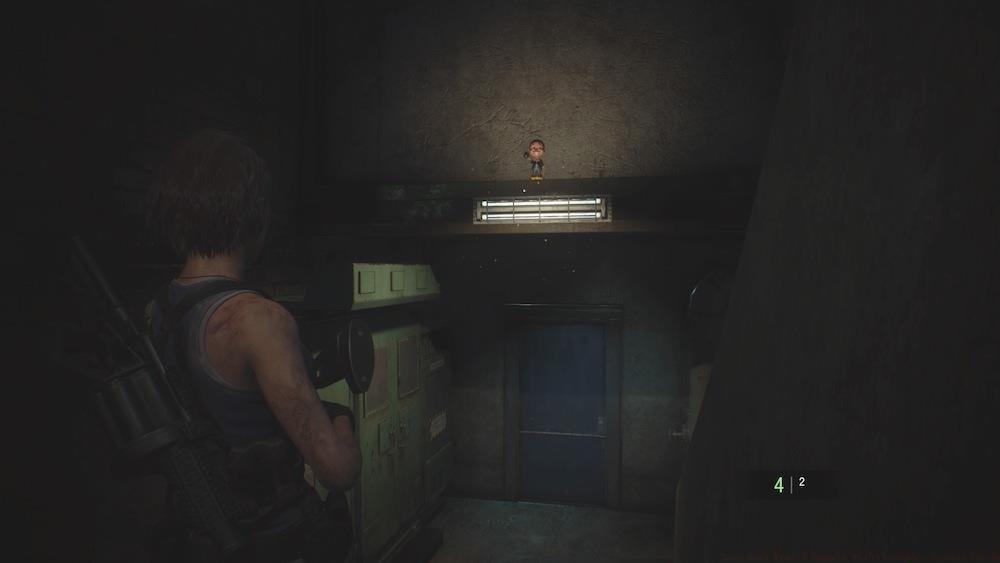
Check behind you as you exit through the final door opened with the Battery Pack to spot this Charlie Doll.
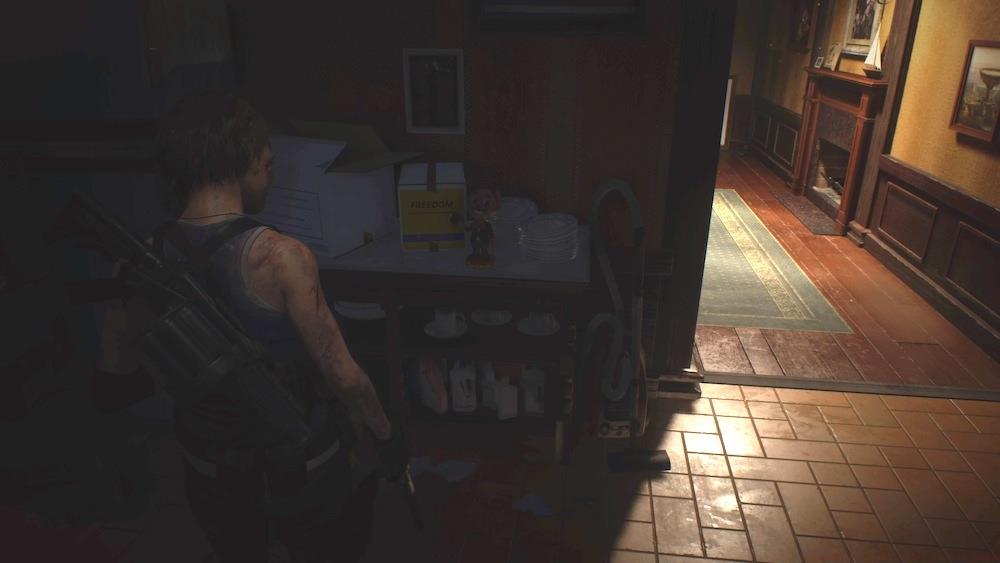
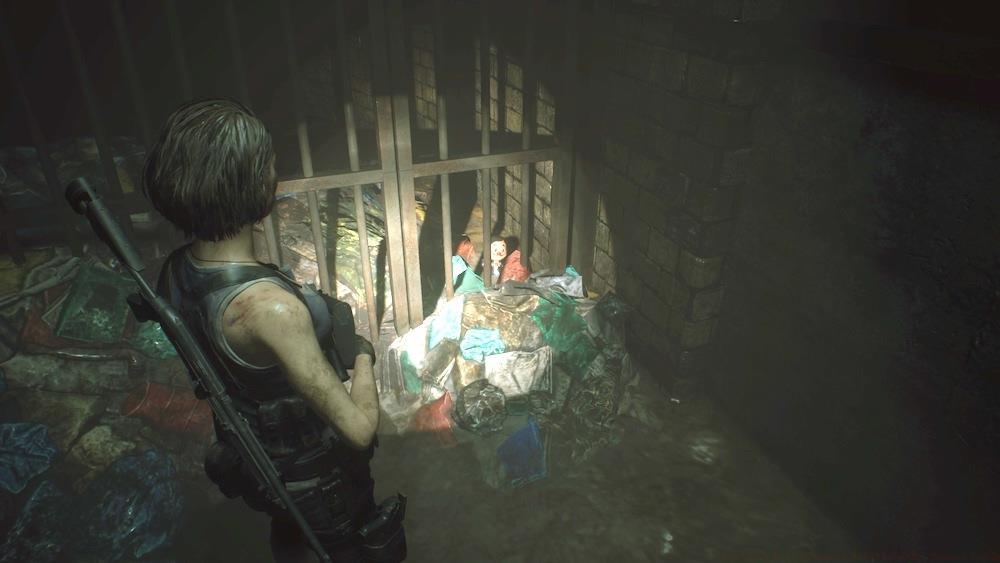
This Charlie Doll is secreted in the shadows right when you enter the house at the end of the alley behind Gun Shop Kendo.
Advanced Navigation Tip: When progressing through sewer sections, consistently monitor your environmental positioning. The Hunter Gamma adversaries typically emerge from water surfaces, providing auditory cues approximately two seconds before their attacks commence. Position yourself near ladder access points to create tactical retreat opportunities during these encounters.
Common Mistake Avoidance: Numerous players expend excessive ammunition targeting Hunter Gamma armored exteriors. Conserve your resources by waiting for their mouth-opening animations, then delivering precise handgun shots to their vulnerable interiors. This approach reduces ammunition consumption by approximately 60% compared to continuous firing.
Time Optimization: Allocate approximately 12-15 minutes for thorough sewer exploration on Standard difficulty. This timeframe permits comprehensive collection of all available resources while maintaining efficient progression pacing.
Action Checklist
- Secure Sewer Map and initial resources from left-side safe room
- Collect fragmentation grenade from right-side debris in water channel
- Implement precise mouth-targeting strategy against Hunter Gamma enemies
- Locate Battery Pack to progress through electronically-secured areas
- Collect both Charlie Dolls using strategic positioning and environmental awareness
No reproduction without permission:SeeYouSoon Game Club » Resident Evil 3 Remake Walkthrough – Sewers Guide Master the sewer navigation, defeat Hunter Gammas, and locate all collectibles in Resident Evil 3 Remake's second chapter