TL;DR
- Six Hip Pouches expand inventory by 12 slots total when collected
- Downtown area contains three pouches requiring different puzzle solutions
- RPD safe uses identical combination from Resident Evil 2 Remake
- Hospital locations become accessible during specific story sequences
- Strategic collection order significantly impacts survival efficiency
Effective inventory management represents one of the most critical survival skills in Resident Evil 3 Remake. Mastering your limited carrying capacity directly determines your ability to withstand Raccoon City’s horrors while solving environmental puzzles efficiently.
Throughout your journey, you’ll constantly juggle essential resources including multiple weapon types, ammunition reserves, healing herbs for first aid, and key items required to unlock new areas. This delicate balancing act forces strategic decisions about what to carry versus what to leave behind in storage boxes.
While progressing through the main storyline automatically grants you several Hip Pouches, the most valuable expansions require solving intricate puzzles or locating hidden safes. Each additional pouch increases your inventory by two precious slots, dramatically improving your combat readiness and resource flexibility.
Power Substation
Your initial Hip Pouch acquisition couldn’t be more straightforward. Located within the Power Substation’s control room, this expansion sits conspicuously on a stepladder positioned immediately to the right of the main control panel and typewriter save point. Its prominent placement ensures you won’t overlook this essential early-game upgrade.
Kite Bros Railway Monument
Securing this pouch demands completing the subway monument puzzle by collecting three distinctive jewels scattered throughout downtown establishments. Critical timing note: you must retrieve these gems from the Donut Shop, Grocery Store, and Toy Store BEFORE reactivating the power grid and returning to the subway terminal.
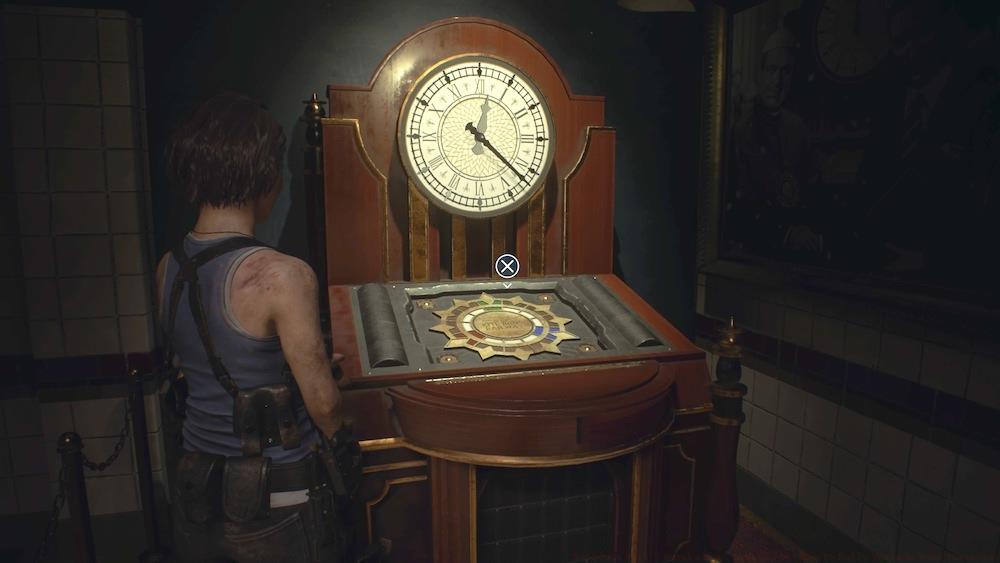
Strategic reminder: Collect all three jewels before power restoration to avoid missing this crucial inventory expansion.
Pro Tip: The Nemesis pursuit sequence following power restoration blocks access to these jewel locations permanently, making advance collection absolutely mandatory for completionists.
Sewer Security Room
After acquiring the Battery Pack within the sewer system, ascend the ladder situated near the initial waterway ramp descent point. Eliminate the Hunter Gamma ambush predator that assaults you upon reaching the upper level, then utilize the Battery Pack to energize and access the Security Room. Your reward awaits on the central desk.
West Office Safe
Carlos Oliveira can claim this inventory expansion by cracking the familiar combination safe located in the RPD’s West Office. This identical security container appears in Resident Evil 2 Remake with the exact same locking mechanism and contents.
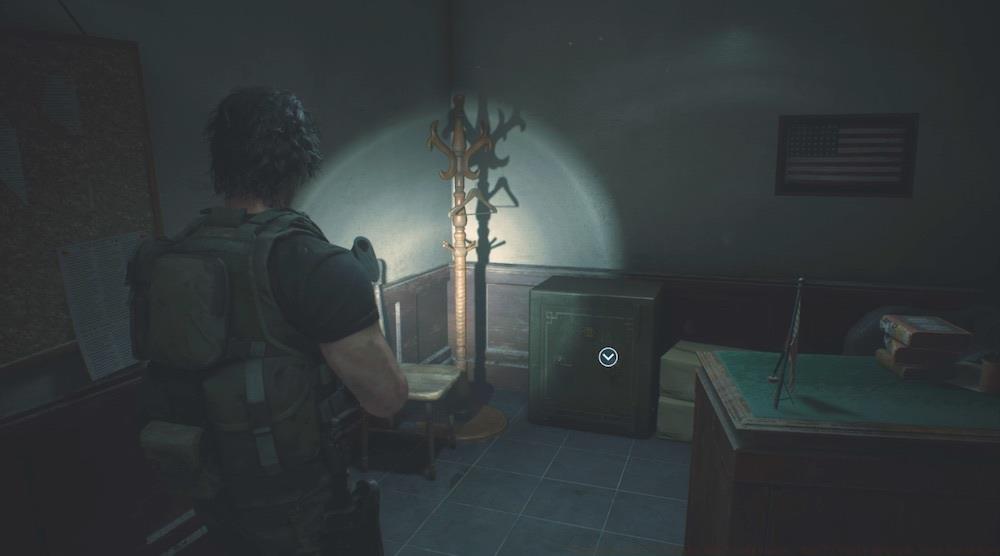
The RPD safe maintains consistency across both Resident Evil remakes, containing identical rewards for knowledgeable players.
The unlocking sequence remains left 9, right 15, left 7 for veterans who recall the combination from their previous RPD expedition. Newcomers can locate the code documentation within the Dark Room area or reference this spoiler-protected solution.
Combat Preparation: Before attempting the safe, clear the West Office of zombie threats thoroughly. The distraction-free environment proves invaluable when inputting the precise combination under pressure.
Lobby Breaker Room
Following Carlos’s vaccine retrieval mission, you’ll defend the hospital lobby against relentless zombie assaults. Mid-battle, electrical failure plunges the area into darkness, enabling a Hunter creature to breach through the chained doorway behind reception. After neutralizing this threat and restoring power, investigate the newly accessible breaker room where the Hip Pouch rests against the rear wall.
Warehouse Safe Room
Within the hospital’s underground storage facility, locate the secure warehouse room containing this final inventory expansion. Access typically becomes available during later narrative stages when exploring the medical complex’s subterranean levels.
Defense Strategy: During the lobby defense sequence, conserve ammunition by utilizing environmental choke points and melee attacks when feasible. The power outage occurs at approximately the halfway point, so maintain situational awareness for the Hunter’s entrance point.
Optimization Tips
Prioritize collecting Downtown pouches before triggering Nemesis chase sequences, as these become permanently inaccessible afterward. The Power Substation pouch should be your immediate priority upon reaching that location.
For players struggling with the Kite Bros jewel hunt, our Weapons Unlock guide offers complementary strategic frameworks for resource management that translate well to Resident Evil’s survival mechanics.
Common Mistakes
Many players mistakenly return to the subway after restoring power without collecting all three jewels first. This oversight permanently locks them out of both the Hip Pouch and associated achievements. Similarly, underestimating the RPD zombie threat while attempting the safe combination often results in unnecessary damage or death.
Expert Insight: The inventory system in Resident Evil 3 operates on similar principles to tactical loadouts in our Class Guide, where strategic slot allocation consistently outperforms brute-force carrying capacity.
Action Checklist
- Collect Power Substation pouch immediately upon arrival
- Retrieve all three Kite Bros jewels before restoring power
- Complete subway monument puzzle before Nemesis chase
- Secure sewer Security Room pouch after Battery Pack acquisition
- Open RPD West Office safe during Carlos segment
- Claim hospital pouches during defense sequence and underground exploration
No reproduction without permission:SeeYouSoon Game Club » Resident Evil 3 Remake Hip Pouch Guide: How To Fully Upgrade Your Inventory Master inventory management in Resident Evil 3 Remake with complete Hip Pouch locations and expert strategies