TL;DR
- Access the Sky Labyrinth first via Typhlo Ruins Skyview Tower for optimal progression
- Complete Tenbez Shrine puzzle to unlock fast travel before tackling other sections
- Activate all three terminals in Sky Labyrinth to reveal the Depths entrance
- Defeat Flux Construct III using strategic targeting of its weak core
- Collect the Evil Spirit Greaves for enhanced stealth capabilities
Discover the intricate three-dimensional challenge of Hyrule’s labyrinth system in The Legend of Zelda: Tears of the Kingdom. These massive structures span across Surface, Sky, and Depths regions, creating interconnected puzzles that require strategic navigation across multiple layers of the game world.
The North Lomei Labyrinth presents one of the most complex environmental puzzles in the Hebra region. Each labyrinth features unique mechanics and rewards, with the Surface version serving as your initial entry point while the Sky and Depths layers contain additional challenges and valuable gear. This guide provides expert strategies to efficiently conquer all three sections.
Strategic preparation is crucial before attempting these labyrinths. We recommend consulting comprehensive resources like our Complete Guide to understand the broader game mechanics that will aid your exploration.
Sky Labyrinth via Typhlo Ruins Skyview Tower
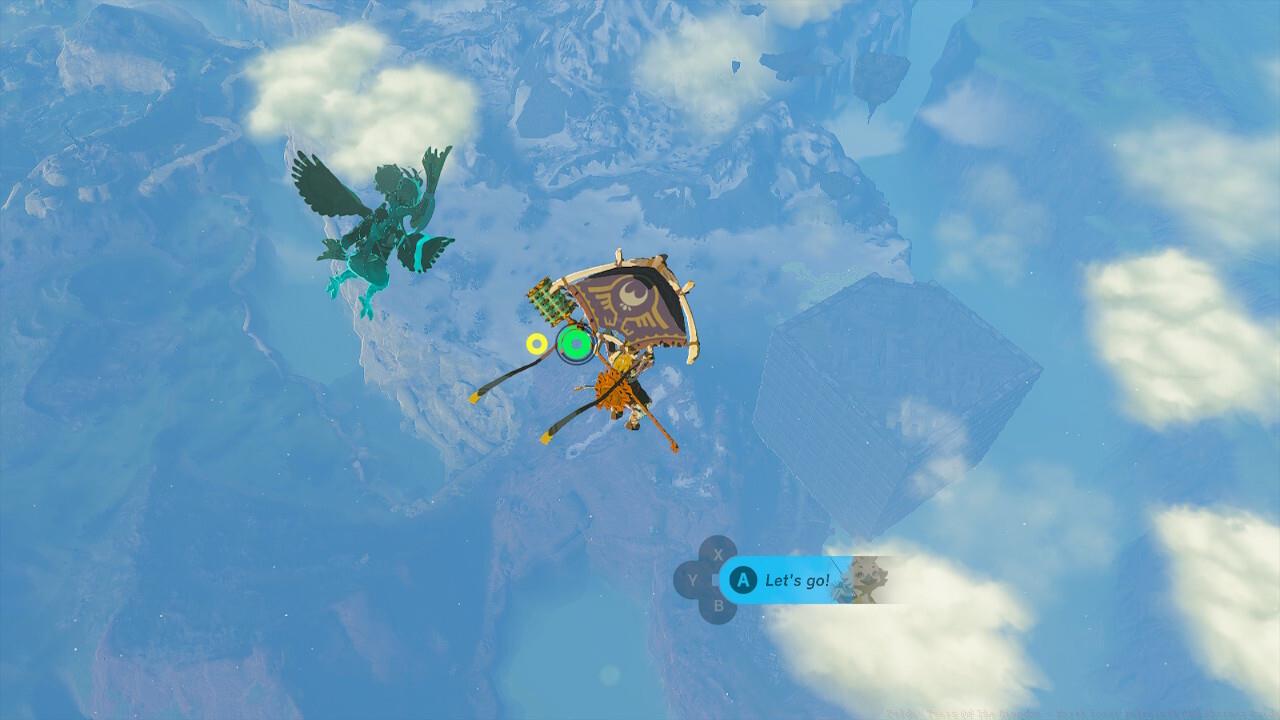
For optimal navigation, begin your journey from the Typhlo Ruins Skyview Tower. Glide westward to reach the Sky Labyrinth directly, bypassing the more confusing ground-level approach. This method saves significant time and allows you to establish a crucial fast travel point early in your exploration.
The Surface Labyrinth in Hebra’s northeastern sector requires careful navigation through its winding corridors. Unlike traditional mazes, this structure incorporates vertical elements and hidden passages that demand thorough exploration.


Left: North Lomei Labyrinth map; Right: Hidden path
Left: North Lomei Labyrinth map; Right: Hidden path
Common navigation mistakes include overlooking elevated pathways and hidden alcoves. Many players waste time retracing steps when they miss subtle environmental clues indicating alternative routes. Pay close attention to wall textures and ceiling patterns that might conceal passages.
The central terminal activation requires reaching the labyrinth’s heart. This process typically takes 15-20 minutes for experienced players, but newcomers should allocate 30-45 minutes for thorough exploration and puzzle solving.
Tenbez Shrine presents a spatial reasoning challenge that tests your understanding of the game’s physics engine. The puzzle involves manipulating environmental elements to create pathways and access restricted areas within the floating structure.
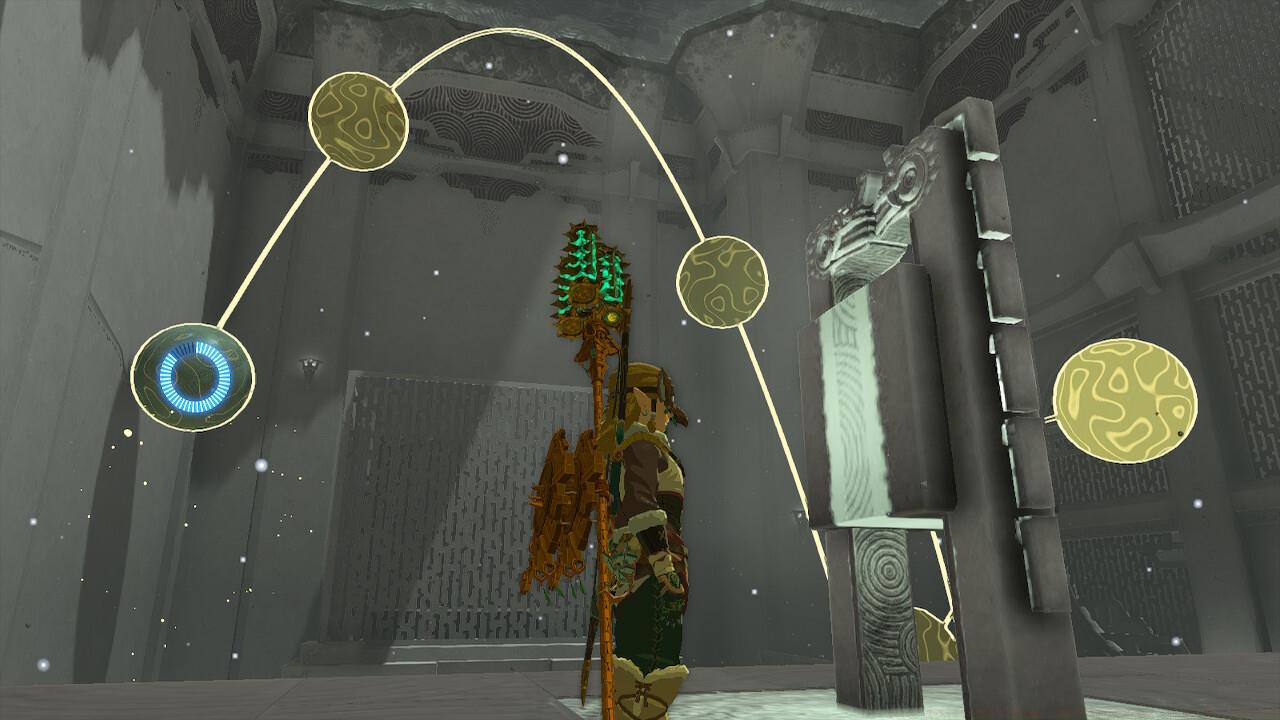
Tenbez Shrine solution
Advanced players can complete the Tenbez Shrine puzzle in under 10 minutes by utilizing specific object manipulation sequences. The key is recognizing which elements are interactive versus decorative environmental props.
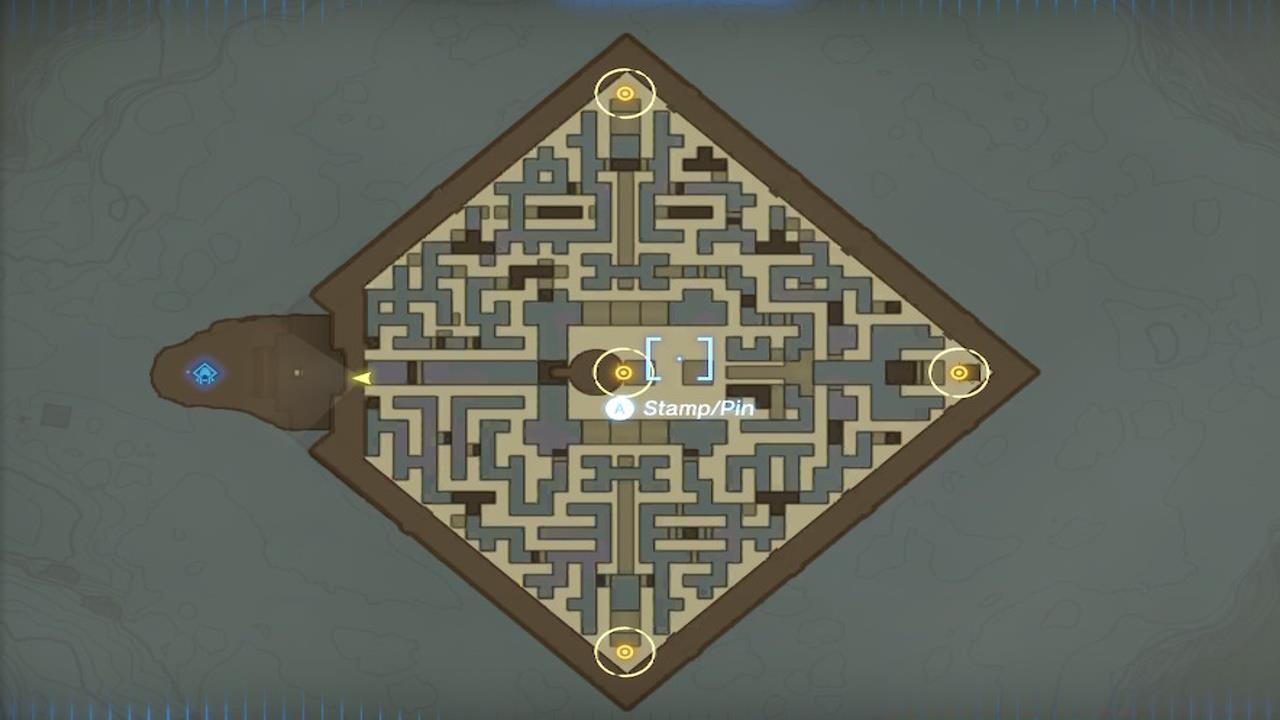
North Lomei Sky Labyrinth terminals map
The three terminals in the Sky Labyrinth are strategically positioned to require full exploration of the floating structure. Activation sequence doesn’t matter, but efficient routing between terminals can save 5-7 minutes of travel time.
Terminal locations follow a triangular pattern across the labyrinth. The western terminal often proves most challenging to locate, hidden behind a movable wall section that blends seamlessly with the environment.
Upon activating all Sky Labyrinth terminals, the Depths Labyrinth entrance unlocks below the surface structure. This subterranean arena houses the formidable Flux Construct III boss encounter.


Left: Flux Construct III boss; Right: Evil Spirit Greaves
Left: Flux Construct III boss; Right: Evil Spirit Greaves
Flux Construct III employs distinctive attack patterns involving block reconstruction and area denial. The boss periodically exposes its core weak point during transformation sequences, creating brief damage windows.
Optimal combat strategy focuses on maintaining mobility while waiting for vulnerability phases. The Evil Spirit Greaves reward provides significant stealth enhancement, complementing other armor pieces found in different labyrinth challenges. For weapon selection advice to prepare for this encounter, consult our Weapons Unlock guide for recommended loadouts.
The complete labyrinth challenge from start to finish typically requires 60-90 minutes, with the boss battle accounting for 10-15 minutes of that total. Proper equipment preparation from our Class Guide can reduce completion time significantly.
Action Checklist
- Activate Typhlo Ruins Skyview Tower and glide west to Sky Labyrinth
- Solve Tenbez Shrine puzzle to establish fast travel point
- Locate and activate all three Sky Labyrinth terminals
- Navigate to Depths Labyrinth and defeat Flux Construct III
- Collect Evil Spirit Greaves and complete the armor set
No reproduction without permission:SeeYouSoon Game Club » Zelda: Tears Of The Kingdom – North Lomei Labyrinth And Shrines Guide Complete guide to navigating North Lomei Labyrinth with expert strategies for all three layers