TL;DR
- Lockpick automatically obtained during early story progression around the subway area
- Downtown contains 8 critical lock locations including weapon upgrades and puzzle items
- Hospital section features 3 additional locks with medical supplies and ammunition
- Master of Unlocking achievement requires opening all 15 specific locks in one playthrough
- Strategic route planning prevents backtracking and maximizes resource acquisition
Jill Valentine’s unique background as a former cat burglar turned elite STARS operative gives her specialized lockpicking abilities that set her apart in the Resident Evil universe. These skills transform her into the ultimate master of unlocking, capable of accessing restricted areas and valuable resources throughout the nightmare of Raccoon City.
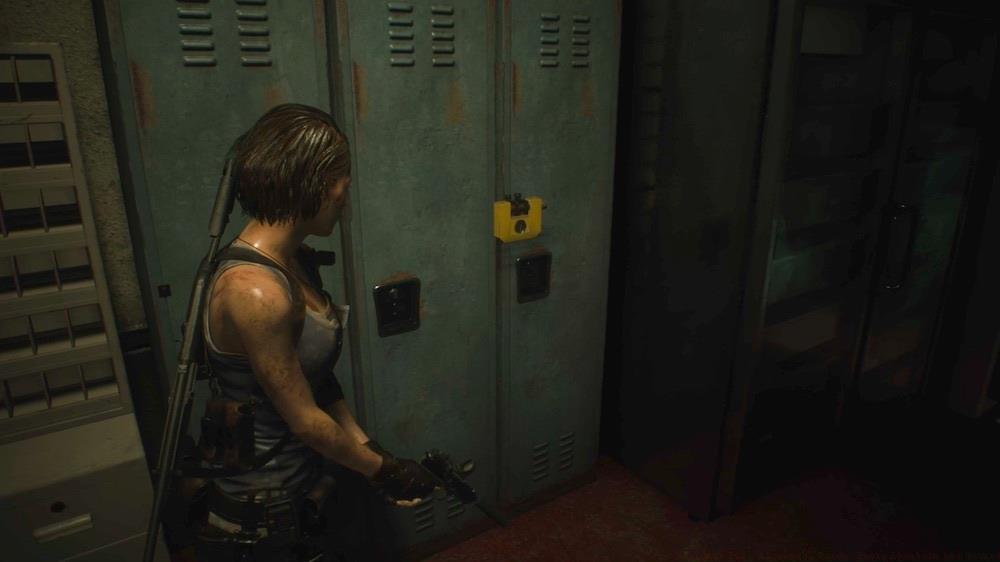
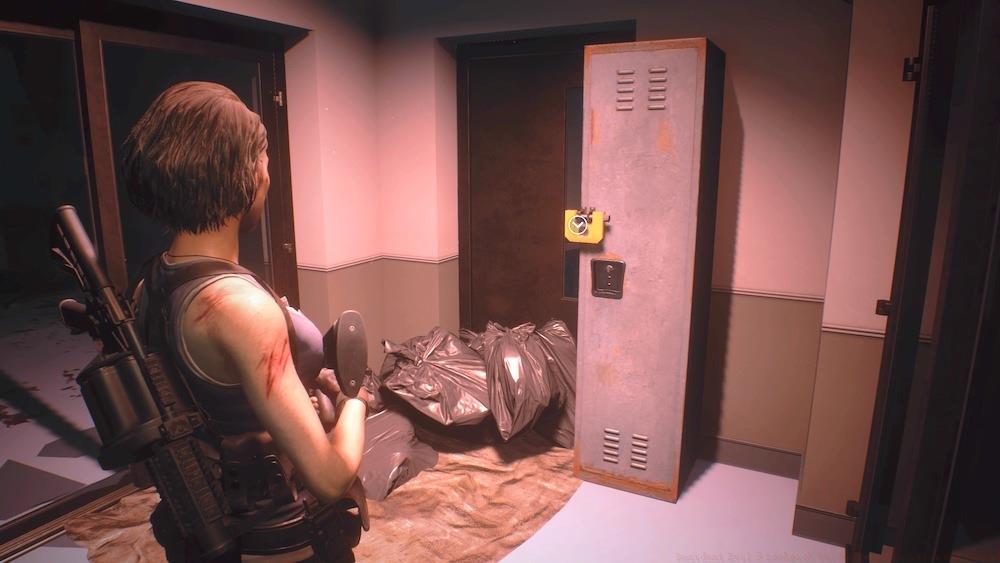
The urban landscape of Resident Evil 3 Remake is filled with secured containers—lockers protecting weapon upgrades, safes concealing ammunition caches, and doors blocking critical path progression. While you automatically receive the Lockpick through main story advancement, many players overlook crucial locking mechanisms containing game-changing equipment. Missing these opportunities can significantly impact your survival chances against the relentless Nemesis and infected hordes.
This comprehensive guide provides exact locations for every pickable lock while sharing professional strategies to optimize your resource gathering throughout the escape attempt.
Your acquisition of the lockpick occurs organically during early narrative development shortly after reaching the subway system. Unlike many utility items that require extensive searching, this essential tool becomes available through natural progression, typically within the first hour of gameplay depending on your exploration pace.
Pro Tip: Experienced players recommend delaying extensive area exploration until after obtaining the lockpick, as this prevents unnecessary backtracking through dangerous zones. The tool remains permanently in your inventory once acquired, eliminating concerns about limited usage or durability.
Common mistakes include rushing through the subway area without thoroughly checking side rooms or assuming the lockpick must be found rather than received through story advancement. Pay close attention to character dialogue and objective markers to ensure you don’t miss this pivotal moment.
The downtown district contains the highest concentration of pickable locks, with eight separate opportunities to utilize your burglary skills. Each location offers distinct rewards that can dramatically alter your combat effectiveness and survival odds.
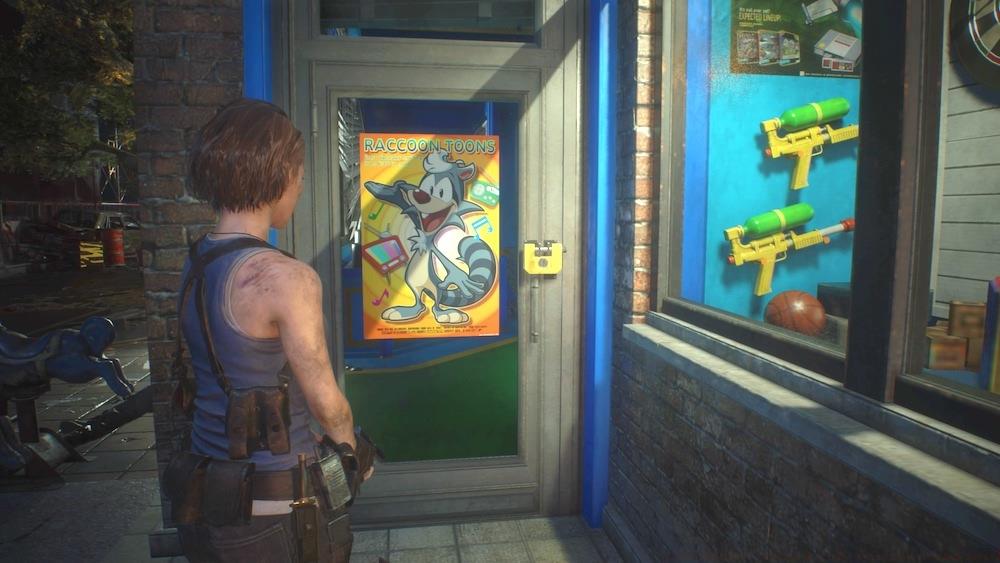
The Toy Uncle Shop door requires lockpicking but rewards you with a precious jewel essential for solving the Kite Bros. Railway Monument puzzle later in the subway system.
Power Substation features both a secured door and locker. The door provides access to circuit breakers critical for progression, while the locker typically contains handgun ammunition or healing items. Approach this area cautiously as zombies often congregate near these points.
Garage Locker offers random resources but frequently contains weapon upgrade parts. Its location makes it easily missable if you don’t explore the alleyways thoroughly.
Beneath the downtown streets, the Sewer Lab contains just one padlock but it guards valuable resources often including gunpowder or first aid sprays.
Advanced Strategy: Veteran players recommend creating a mental checklist and tackling downtown locks in geographical sequence to minimize exposure to roaming enemies. The Kite Bros. Subway Office deserves special attention as it contains both a locker and case, effectively doubling your reward potential in a single location.
The House Behind The Gun Shop case often contains rare items that complement weapons found in the adjacent establishment. This makes it a high-priority target for players seeking combat advantages.
Spencer Memorial Hospital introduces three additional locking mechanisms that test your spatial awareness and route planning. These medical facility locks typically contain supplies tailored to the increased threat level of this mid-game area.
Emergency Entrance locker accessibility depends on environmental progression—zombies must first break through the window, after which you’ll face a Hunter encounter before reaching the container.
Strategic Insight: Hospital locks often require dealing with advanced B.O.W. threats, making them higher-risk, higher-reward opportunities compared to downtown locations.
Common Pitfall: Many players miss the second-floor storage room lock by following the most direct path through the facility. Always check side corridors and previously inaccessible areas after triggering story events.
The supplies found in hospital locks frequently include specialized healing items, magnum ammunition, or weapon mods that significantly enhance your capabilities against the increasingly dangerous infected.
Earning the prestigious “Master of Unlocking” achievement requires methodical exploration and careful tracking of all fifteen specific locking mechanisms scattered throughout Raccoon City. Unlike some accomplishments, this cannot be accumulated across multiple playthroughs—all must be opened during a single escape attempt.
Pro Tracking Method: Maintain a written or mental checklist as you progress, as the game provides no built-in progress tracking for this specific challenge.
Critical Warning: Several locks become permanently inaccessible after certain story triggers, particularly following the hospital segment. We recommend consulting our Complete Guide for additional progression strategies that complement lock collection.
Time Investment: Most players require 45-60 minutes of dedicated lock-seeking beyond normal progression to ensure they don’t miss any requirements.
For players struggling with combat while exploring, our Weapons Unlock guide offers combat optimization tips that can help you survive the additional enemy encounters triggered by thorough exploration.
Action Checklist
- Progress through early story until lockpick automatically acquired in subway area
- Systematically clear all 8 downtown locks before advancing to hospital district
- Document each opened lock to track Master of Unlocking progress
- Complete all 3 hospital locks before triggering point of no return events
- Consult class specialization tips in our Class Guide to optimize your build for exploration
No reproduction without permission:SeeYouSoon Game Club » Resident Evil 3 Lockpick Guide: Every Location And Reward Master Resident Evil 3 lockpicking with complete location guide, expert strategies, and achievement tips