TL;DR
- Ramattra excels through strategic form switching between ranged Omnic and close-quarters Nemesis modes
- Master timing transitions between forms to maximize damage output and survivability
- Use Annihilation ultimate to control objectives and create team fight advantages
- Positioning and cooldown management are critical for maximizing his dual-form potential
- Advanced players combine Ravenous Vortex with form changes to create devastating area denial
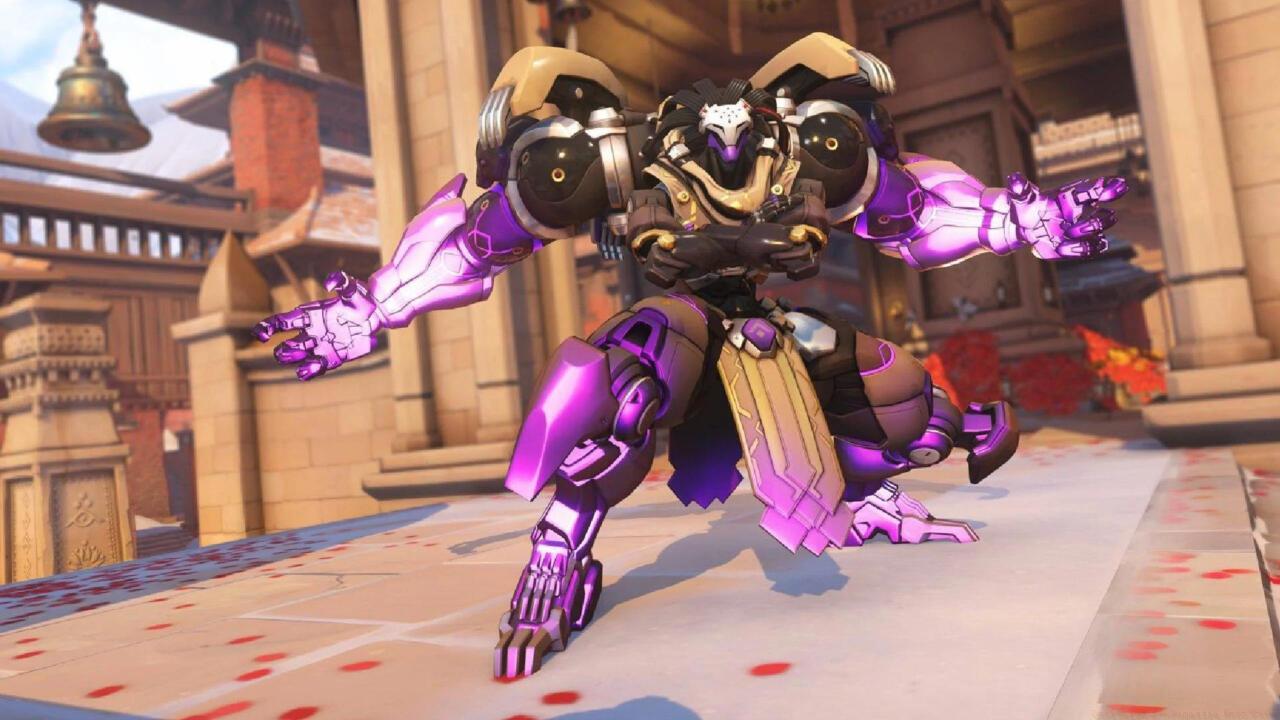
Ramattra represents a revolutionary tank design in Overwatch 2, featuring a transformative dual-form system that adapts to evolving combat situations. As an Omnic revolutionary leader, his gameplay reflects his narrative role—methodical and strategic in default form, aggressive and relentless when provoked.
Understanding Ramattra’s core identity begins with recognizing his unique position among tanks. Unlike traditional barrier-focused tanks, Ramattra provides flexible protection through temporary shields while maintaining consistent pressure across multiple ranges. His Omnic form excels at mid-range engagements and area denial, while Nemesis form transforms him into an unstoppable close-quarters brawler. This duality makes him exceptionally versatile across various map types and team compositions.
Ramattra’s Nemesis form dramatically alters his combat role, trading ranged capabilities for devastating melee power and enhanced survivability.
Strategic positioning forms the foundation of effective Ramattra play. In Omnic form, maintain high ground or choke point control where your Void Accelerator can pressure enemies safely. When transitioning to Nemesis form, identify engagement routes that minimize your exposure during approach while maximizing your impact on key targets.
Ramattra’s kit demands mastery of two distinct combat styles, each with specialized applications and strategic purposes.
Void Accelerator (Omnic): This primary fire weapon delivers consistent mid-range pressure with pinpoint accuracy. While individual projectiles deal modest damage, their rapid fire rate and tight spread enable consistent pressure on enemy shields and stationary targets. Advanced technique: Use the Void Accelerator to build ultimate charge safely before committing to aggressive Nemesis form engagements.
Void Barrier (Omnic): Deploy this 1000-health barrier strategically to create temporary safe zones rather than permanent protection. Optimal placement blocks critical sightlines or protects teammates during ability cooldowns. Pro tip: Place barriers at angles to create crossfire protection rather than straightforward shielding.
Pummel (Nemesis): These piercing energy punches ignore enemy barriers, making them devastating against shield-dependent tanks like Reinhardt or Sigma. The short-range blasts excel at breaking formations and forcing repositioning.
Ravenous Vortex: This versatile ability creates a damaging field that slows and damages enemies while disrupting mobility heroes. Strategic applications include area denial on objectives, interrupting channeled abilities, and trapping enemies in corners during Nemesis form assaults.
Block (Nemesis): Front-facing damage reduction makes Ramattra exceptionally durable during pushes. However, this ability significantly reduces movement speed, so timing is crucial. Use Block to absorb burst damage or enemy ultimates while your team follows up.
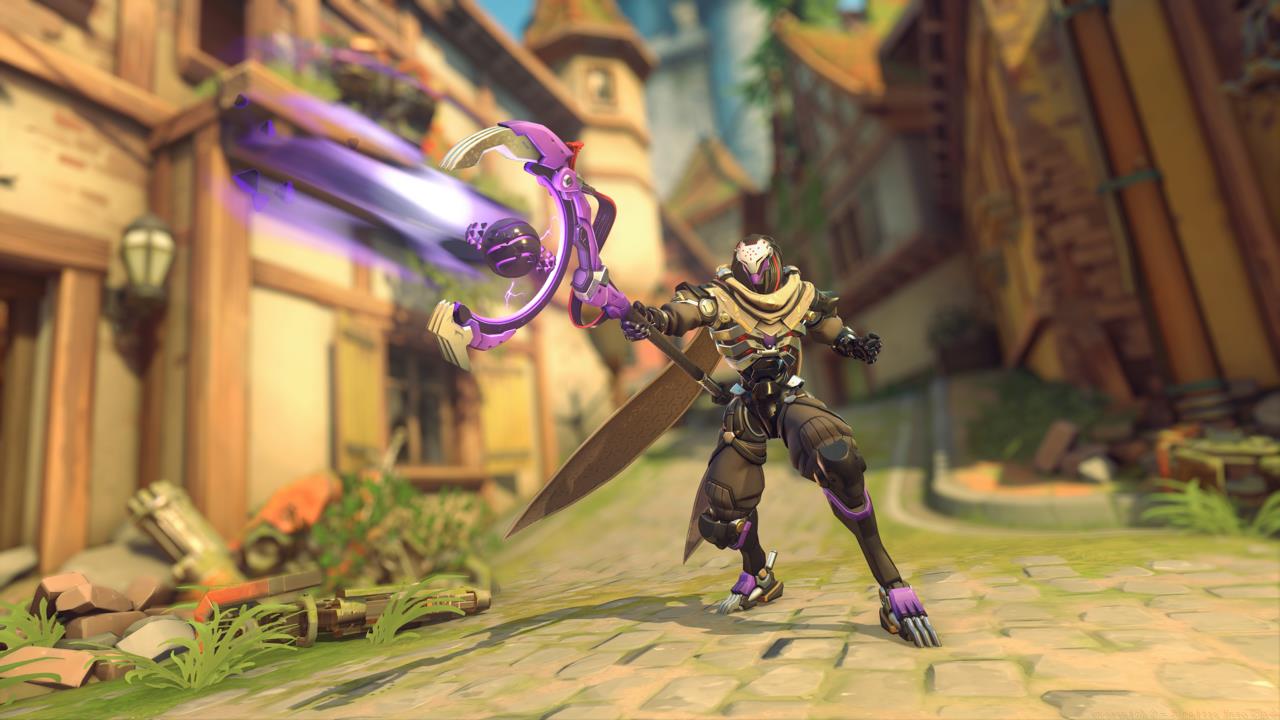
Ramattra’s Omnic form weapons provide consistent pressure rather than burst damage, making them ideal for building ultimate charge and controlling sightlines.
Mastering Ramattra’s form transitions separates competent players from true specialists. The key lies in recognizing combat phases and anticipating enemy responses.
Optimal transition timing involves switching to Nemesis form when enemies commit to close-quarters combat or when you identify isolated targets. Conversely, revert to Omnic form when you need to reposition, when your Nemesis cooldowns are active, or when maintaining distance from dangerous melee specialists.
Cooldown management becomes critical when planning form changes. Since abilities have independent cooldowns between forms, advanced players stagger their usage to maintain continuous pressure. Example sequence: Deploy Void Barrier, pressure with Void Accelerator, transition to Nemesis as barrier breaks, then use Pummel and Block aggressively.
Form synergy combinations create devastating tactical opportunities. A particularly effective combo involves using Ravenous Vortex to slow escaping enemies before switching to Nemesis form to secure eliminations. Another powerful sequence: Nemesis form engagement to draw attention, then quick Omnic form transition to deploy barrier for retreating teammates.
Annihilation represents one of Overwatch 2’s most powerful area control ultimates when executed with precision. This ability transforms Ramattra into Nemesis form while generating a expanding energy field that damages and tethers enemies within its radius.
Activation timing proves crucial for maximum impact. Ideal scenarios include: capturing objective points, disrupting enemy formations during team fights, or countering other ultimate abilities that require close proximity.
Zone control tactics with Annihilation involve positioning to maximize enemy containment while minimizing your exposure to long-range threats. The ultimate’s duration extends as long as it damages at least one enemy, making target prioritization essential. Focus on trapping mobile supports or damage heroes who cannot easily escape the field.
Counterplay awareness helps anticipate enemy responses. Common counters include: Lucio’s Sound Barrier, Zenyatta’s Transcendence, or any displacement abilities that can move you out of optimal positioning.
Advanced technique: Combine Annihilation with Ravenous Vortex to create overlapping area denial that severely limits enemy movement options. This combination proves particularly effective in enclosed spaces or on capture points.
Advanced Ramattra play requires understanding subtle interactions and avoiding common pitfalls that undermine his effectiveness.
Positioning mastery: Maintain cover access in Omnic form while identifying aggression angles for Nemesis transitions. Poor positioning remains the most common mistake—either playing too passively and wasting Nemesis potential or too aggressively and dying during form cooldowns.
Resource management: Track both your health and barrier cooldowns to time engagements effectively. Never commit to Nemesis form without an escape plan or backup from your team.
Team coordination: Communicate your form transitions so teammates can capitalize on your changing role. When switching to Nemesis form, ensure your supports are prepared for increased incoming damage.
Common mistakes to avoid: Using Nemesis form without cooldowns available, wasting Ravenous Vortex on already immobilized targets, or activating Annihilation without proper team support.
Matchup knowledge: Understand which heroes counter Ramattra’s playstyle. Mobile damage heroes like Tracer and Sombra can exploit form transition moments, while sustained damage specialists can break through his defensive capabilities.
Action Checklist
- Practice form transitions in training mode to master the 1-second switch timing
- Master Void Barrier placement on 2-3 key map chokes
- Learn 3 key ability combos for different enemy compositions
- Practice Annihilation activation in custom games with moving bots
- Study counterplay against 2-3 of Ramattra’s hardest matchups
No reproduction without permission:SeeYouSoon Game Club » Overwatch 2 – Ramattra Hero Guide Master Ramattra's dual-form tank gameplay with expert strategies, ability breakdowns, and advanced combat techniques