TL;DR
- Bastion’s rework trades permanent turret mode for temporary assault form with mobility
- Strategic ability timing creates devastating damage windows while managing vulnerability
- Positioning and map awareness are critical due to limited mobility and large hitbox
- Master grenade bouncing and artillery prediction for maximum area denial
- Coordinate with teammates to mitigate counters and create optimal engagement opportunities
Bastion represents a unique damage archetype in Overwatch 2, balancing immense firepower against significant mobility limitations. The robotic hero underwent substantial changes from his original incarnation, gaining tactical flexibility while losing his signature permanent sentry mode. Understanding these modifications is essential for maximizing his combat effectiveness.
The transition to Overwatch 2 brought fundamental adjustments to Bastion’s core mechanics. His reconfiguration ability now provides temporary assault mode windows rather than indefinite turret form, creating strategic decision points throughout engagements. This redesign addresses previous balance issues while maintaining his identity as a premier damage dealer. For comprehensive hero comparisons, consult our Class Guide to understand how Bastion fits within the damage role ecosystem.
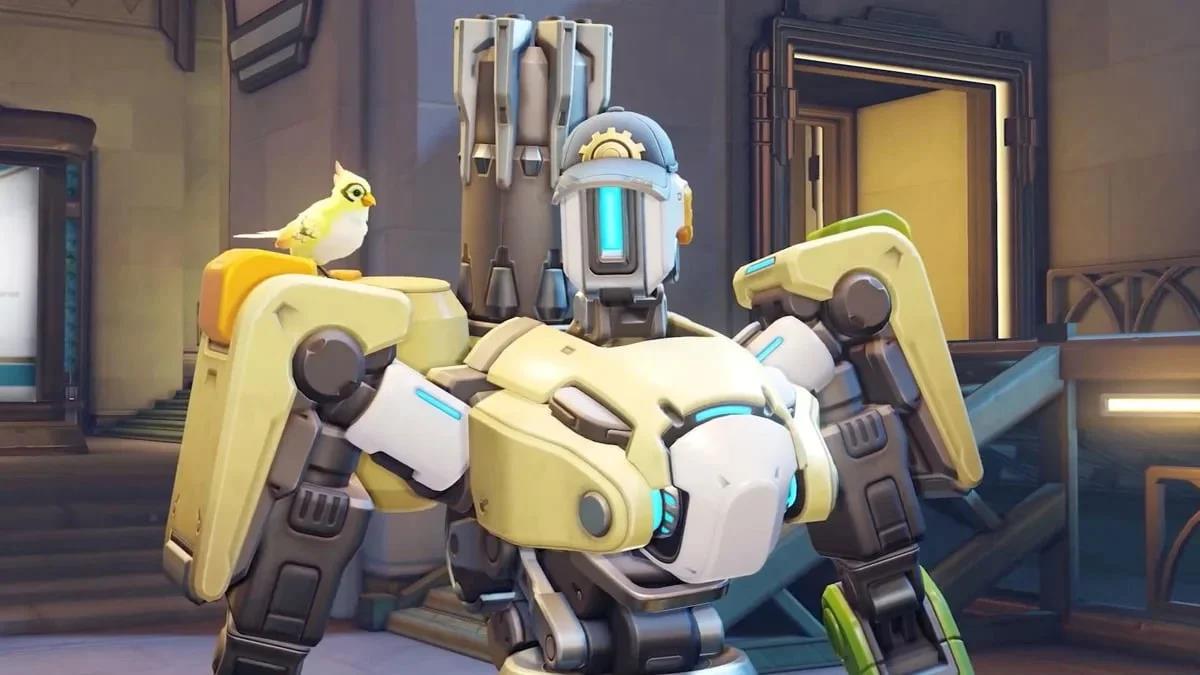
Bastion’s imposing frame delivers devastating damage output despite mobility constraints.
Bastion’s strengths center around his unparalleled sustained damage output in assault configuration, capable of melting through tanks and breaking defensive formations. However, these advantages come with pronounced weaknesses including vulnerability during ability cooldowns, limited escape options, and susceptibility to dive compositions. Mastering when to commit to assault mode versus maintaining recon flexibility separates novice from expert Bastion players.
Configuration Recon: Mobile combat form featuring a precision assault rifle with slow fire rate but high impact damage. This configuration provides Bastion’s primary mobility and should be used for positioning, retreating, and engaging at medium ranges where his accuracy shines.
Configuration Assault: Temporary transformation into a slow-moving tank configuration equipped with a high-velocity rotating machine gun. The limited duration (approximately 8 seconds) creates windows of extreme pressure that can shift teamfight momentum.
A-36 Tactical Grenade: Deployable explosive that ricochets off surfaces before detonating upon contacting enemies or terrain. This ability enables unique angle creation and area denial, particularly effective in confined spaces and around corners.
Reconfigure: Ability to temporarily transition between Recon and Assault configurations. The 12-second cooldown requires careful timing decisions about when to commit to maximum damage output.
Configuration Artillery Ultimate: Transform into an immobile artillery platform that launches up to three devastating area-of-effect shells from an overhead tactical view. Each projectile creates significant splash damage and can eliminate grouped opponents or control key areas.
Bastion’s ability kit creates a rhythm of engagement windows rather than constant pressure. The 6-second cooldown between configuration changes means players must anticipate engagement timing rather than reactively transforming.
Bastion’s combat effectiveness hinges on strategic positioning and timing rather than mechanical aim alone. His assault configuration should be deployed during predictable enemy advances or when your team creates engagement opportunities. Positioning near health packs or support sightlines mitigates his vulnerability during transformation.
The optimal assault mode deployment occurs when enemies commit to space without immediate escape options. This includes capturing objective points, pushing through chokepoints, or when their mobility abilities are on cooldown. Conversely, avoid transforming when facing highly mobile heroes with available escape tools.
Grenade utilization separates competent Bastion players from masters. The bouncing mechanic allows attacks around shields and through defensive formations. Practice bank shots off common map geometry to hit enemies taking cover. The explosion also provides minor mobility through knockback, which can create distance from closing attackers.
Artillery deployment requires predictive positioning and understanding enemy movement patterns. The overhead view reveals enemy positions but leaves you completely vulnerable, so select safe locations with cover proximity. The three-shell volley should be spaced to control areas rather than focused on single targets unless confirming eliminations.
Team coordination transforms Bastion from a vulnerable target into an unstoppable force. Combining with shield tanks like Reinhardt or Sigma provides protection during assault mode, while support from heroes like Mercy amplifies his already substantial damage output. For more team composition insights, explore our Complete Guide to synergistic partnerships.
Positioning errors represent the most frequent Bastion failure point. Avoid deploying assault mode in open areas without cover or when isolated from your team. Similarly, artillery ultimate usage requires both safety and sightline consideration to maximize impact while minimizing vulnerability.
Ability management mistakes include transforming at inopportune moments or wasting grenades on direct engagements where primary fire would suffice. The grenade excels at disrupting formations and finishing wounded targets around cover.
Advanced optimization involves tracking enemy cooldowns to identify safe transformation windows. Note when mobile threats like Genji or Tracer use their abilities, creating opportunities for uncontested assault mode pressure. This advanced cooldown tracking separates reactive from predictive Bastion play.
Counterplay awareness is essential given Bastion’s numerous hard counters. Snipers exploit his large hitbox, while dive compositions can overwhelm him during transformation. Developing escape routes and maintaining recon flexibility against these compositions preserves effectiveness. For weapon-specific strategies that complement Bastion’s playstyle, reference our Weapons Unlock guide for complementary loadouts.
Finally, communication with your team about transformation timing, target priority, and positioning needs creates coordinated engagements that maximize Bastion’s damage potential while minimizing his weaknesses.
Action Checklist
- Practice grenade bank shots on common map geometries for unexpected angles
- Master assault configuration timing – deploy during enemy advances or ability cooldowns
- Identify and memorize safe artillery positions on 3-5 key maps
- Develop cooldown tracking for 2-3 common counter heroes
- Coordinate with one support player to establish protection during transformations
No reproduction without permission:SeeYouSoon Game Club » Overwatch 2 – Bastion Hero Guide Master Overwatch 2's reworked Bastion with advanced tactics, positioning strategies, and ability optimization