TL;DR
- Master Perfect Dodge timing to create counterattack openings against Kimmy’s close-range assaults
- Learn fire burst patterns and laser sequences that activate at specific health thresholds
- Utilize Death Kick and Death Force abilities to maintain pressure while avoiding hazards
- Adapt to camera perspective changes during the final phase while maintaining spatial awareness
- Position strategically to avoid Kimmy’s submission grab and stage environmental threats
The Rank 7 confrontation in No More Heroes 3 delivers an unexpected combat scenario that will test your adaptability and reflexes.
SPOILER ALERT: Proceed with caution! No More Heroes 3 thrives on surprising players with unconventional boss encounters. We strongly advise experiencing the fight firsthand before consulting strategies to preserve the game’s most memorable moments.
Kimmy Love returns transformed, now facing Travis in an elaborate stage production. Following an intense musical exchange, you’ll engage Travis’s former admirer in an arena packed with dazzling obstacles, explosive effects, and Kimmy’s aggressive melee assaults. This guide provides comprehensive tactics to overcome this challenging opponent. For additional assistance, explore our Complete Guide to enhance your gaming proficiency.
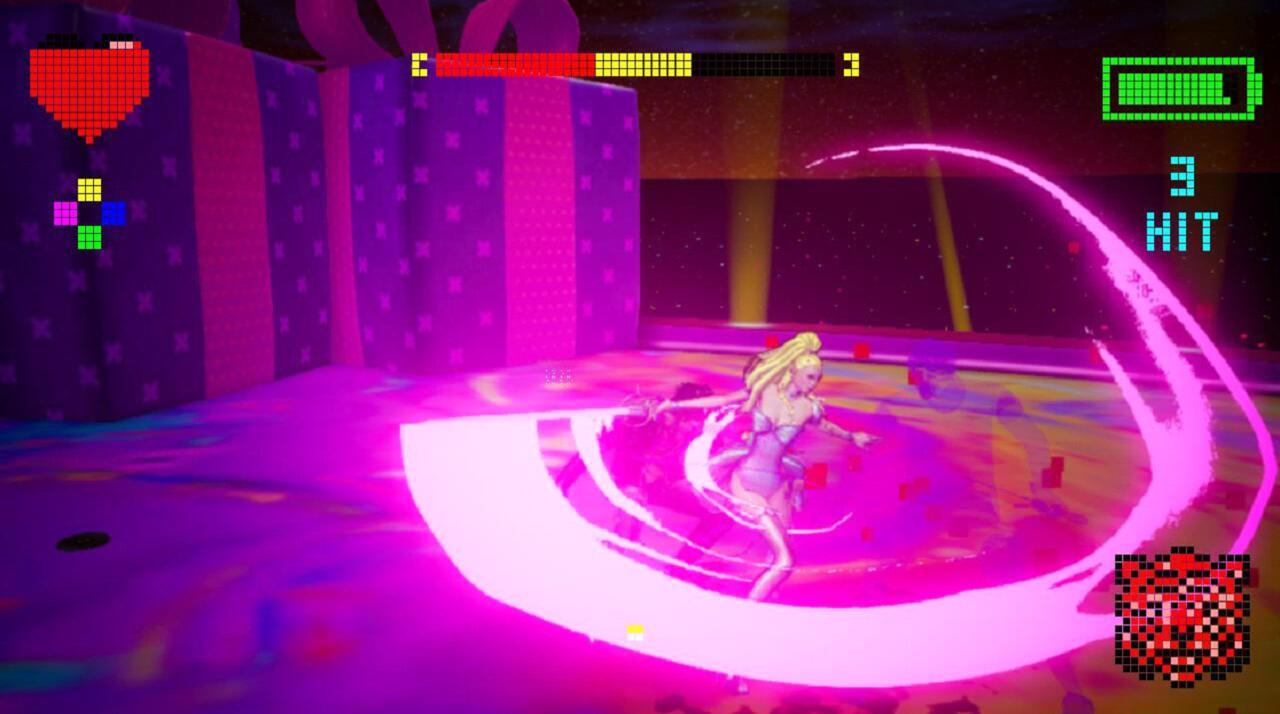
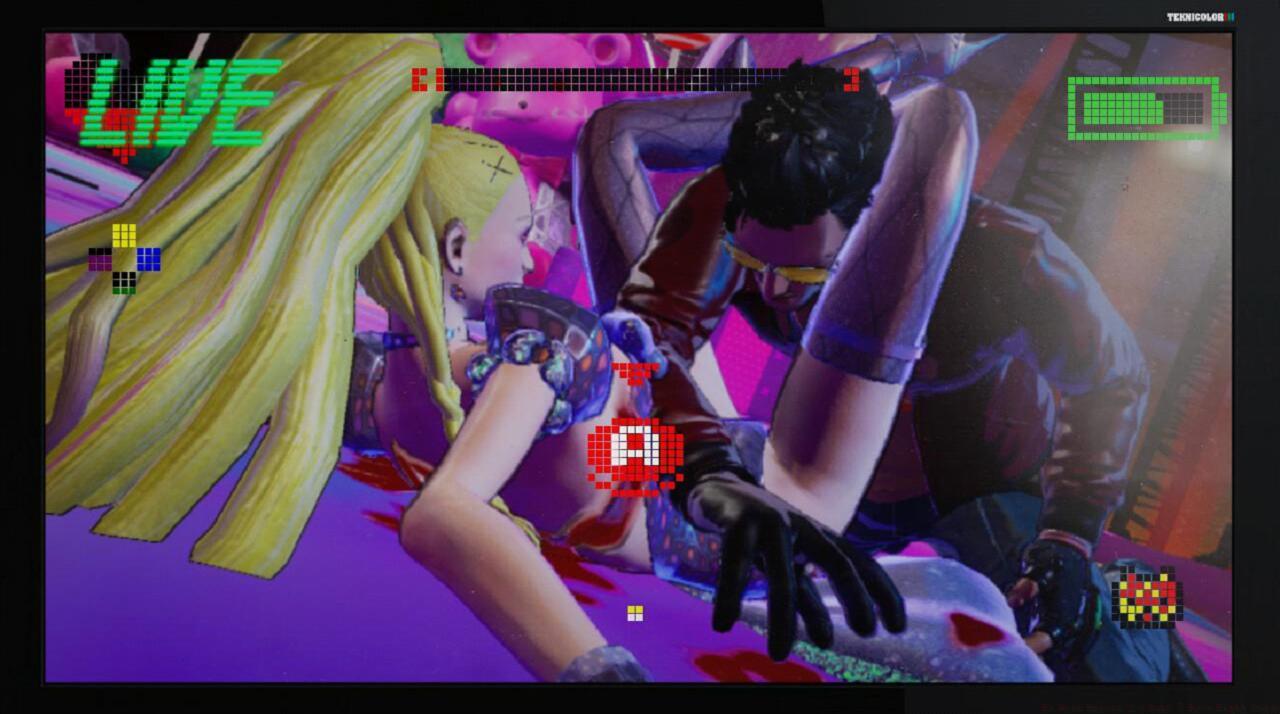
Kimmy specializes in aggressive close-quarters combat, utilizing a weapon that extends her reach beyond typical melee opponents. She executes rapid lunging maneuvers, combination swing assaults, and aerial slashing techniques. When she initiates direct aggression, time your Perfect Dodge precisely to trigger slow-motion effects, creating optimal counter-strike opportunities. Exercise extreme caution during close encounters—she can immobilize you in a powerful leg lock submission. Rapidly press the A button repeatedly to break free from this hold. Target her flanks and rear positions to neutralize this dangerous grappling technique.
Advanced Combat Insight: Many players mistakenly attack head-on, making them vulnerable to her submission move. Instead, maintain diagonal positioning—this allows you to strike while remaining outside her primary grab range. Her jumping slash has significant recovery time, making it one of your safest counter-attack opportunities.
Kimmy’s personal combat prowess presents substantial challenges, but her stage’s pyrotechnic effects prove equally threatening. After sustaining moderate damage, she disappears temporarily while fiery eruptions sweep across the performance area from visible floor emitters. She subsequently reappears, after which fire rows ignite unpredictably throughout the encounter.
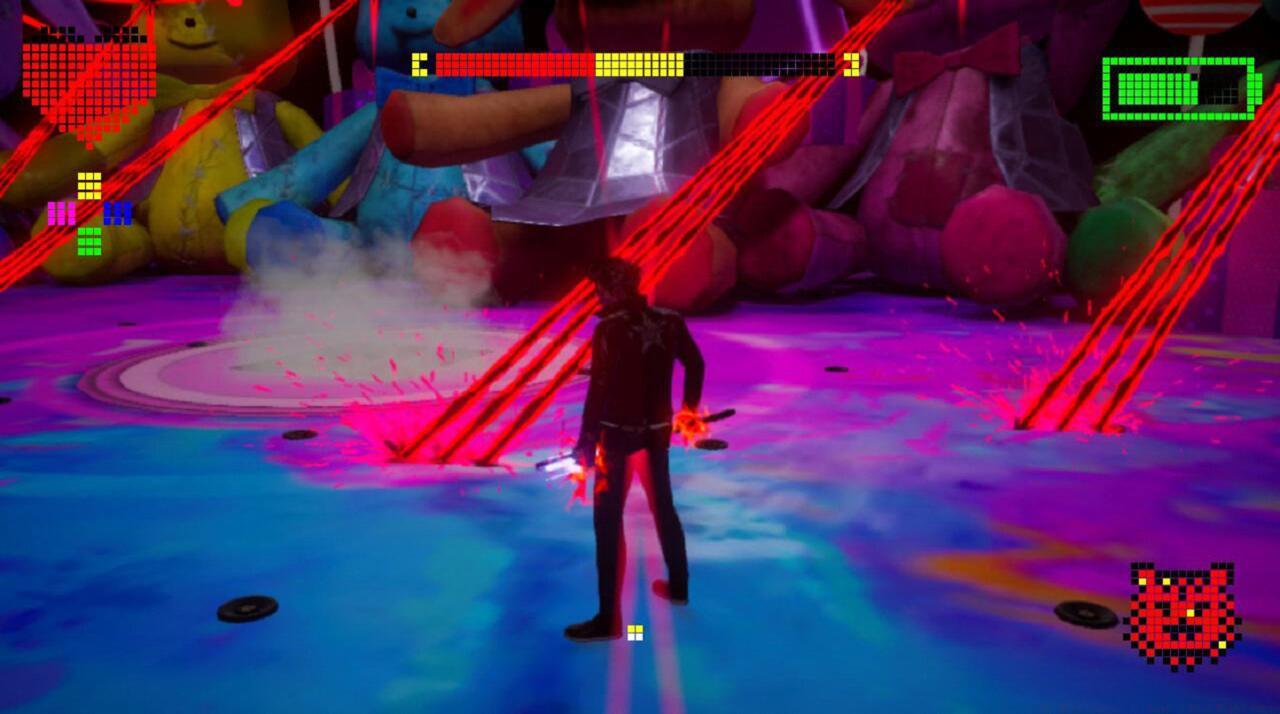
When her vitality decreases to approximately 66%, she vanishes once more, animating the plush creatures decorating her stage backdrop. These constructs project ocular lasers that scour the battlefield surface. You have limited time before the beams activate completely. Identify safe zones and carefully navigate between laser paths by observing their movement patterns. She resurfaces by emerging through the stage floor (watch for spark-emitting areas) while generating a shockwave toward Travis that can be evaded or jumped over. Subsequently, the animated figures discharge lasers that travel in linear patterns.
At roughly 33% health remaining, a complex sequence activates with simultaneous laser and fire burst activity. This phase demands exceptional situational awareness—continuously monitor the ground to ensure your intended movement path won’t suddenly erupt with flames. Both hazards intensify significantly from this point forward, requiring precise close-range engagement with Kimmy while managing the increasingly dangerous stage environment.
The confrontation introduces an additional complication during its final stages. The camera transitions from standard third-person view to multiple alternative angles, obscuring visibility and disrupting spatial orientation. This visual distortion cannot be disabled, necessitating rapid adaptation to changing perspectives. Fortunately, Kimmy approaches defeat at this juncture, requiring only brief endurance to achieve victory.
Phase Transition Strategy: The most dangerous moment occurs during health threshold transitions. Pre-position yourself near stage edges where hazard density is typically lower, and consider using Weapons Unlock strategies to maximize your damage output during these brief windows.
This high-intensity battle benefits tremendously from strategic Death Glove utilization. Death Rain proves relatively ineffective against Kimmy’s mobility, but Death Kick and Death Force excel at managing the pressure from her swift assaults combined with environmental threats. Death Slow maintains consistent utility, particularly when Kimmy becomes staggered, allowing extended combo opportunities.
Advanced Ability Timing: Activate Death Force immediately after dodging her charging attacks to create breathing room. Use Death Kick when she’s recovering from her jumping slash for guaranteed damage. For players struggling with the final phase, our Class Guide offers additional character optimization strategies that can be adapted to this encounter.
Common Optimization Error: Many players waste Death Rain during her mobile phases. Instead, reserve it for when she’s temporarily stationary during hazard activation sequences.
Action Checklist
- Practice Perfect Dodge timing against her charging attacks in the first minute
- Memorize fire burst patterns and identify safe lanes between laser paths
- Position diagonally to avoid submission grabs while maintaining attack capability
- Execute Death Kick after her jumping slash recovery frames
- Adapt to camera perspective changes during final phase while maintaining defensive positioning
No reproduction without permission:SeeYouSoon Game Club » No More Heroes 3 – Rank 7 Boss Fight Guide Master Kimmy Love's boss fight with advanced strategies, stage hazard avoidance, and Death Glove optimization techniques