TL;DR
- Master polarity mechanics by matching forcefield colors to repel Gold Joe into damage walls
- Avoid electrified arena edges while exploiting his vulnerability to stuns and throws
- Counter phase-specific attacks: dodge lasers at 2/3 health, reverse polarity at 1/3 health
- Use Death Reel activation during knockdowns for maximum damage output
- Time your dodges carefully and maintain spatial awareness throughout the battle
Confronting Gold Joe represents your second significant boss encounter in No More Heroes 3, presenting unique combat dynamics that demand strategic adaptation. While he employs distinctive techniques that may initially surprise players, developing effective countermeasures transforms this confrontation into a manageable engagement. For comprehensive gameplay assistance, explore our Complete Guide to enhance your overall combat proficiency.
CRITICAL SPOILER ALERT: No More Heroes 3 delivers numerous unexpected moments, particularly during boss encounters that frequently subvert conventional expectations. We strongly advise experiencing the battle firsthand before consulting strategic guidance to preserve the game’s most thrilling surprises!
Diverging sharply from Mr. Blackhole’s approach, Gold Joe adopts an aggressive close-quarters combat style, wielding multiple blades with precision. His sword assaults can be effectively parried or evaded, creating valuable openings to unleash devastating counterattacks. However, maintaining battlefield awareness proves crucial since the arena perimeter carries lethal electrical charges that inflict substantial damage upon contact. Exercise extreme caution when maneuvering near boundaries to prevent accidental electrocution.
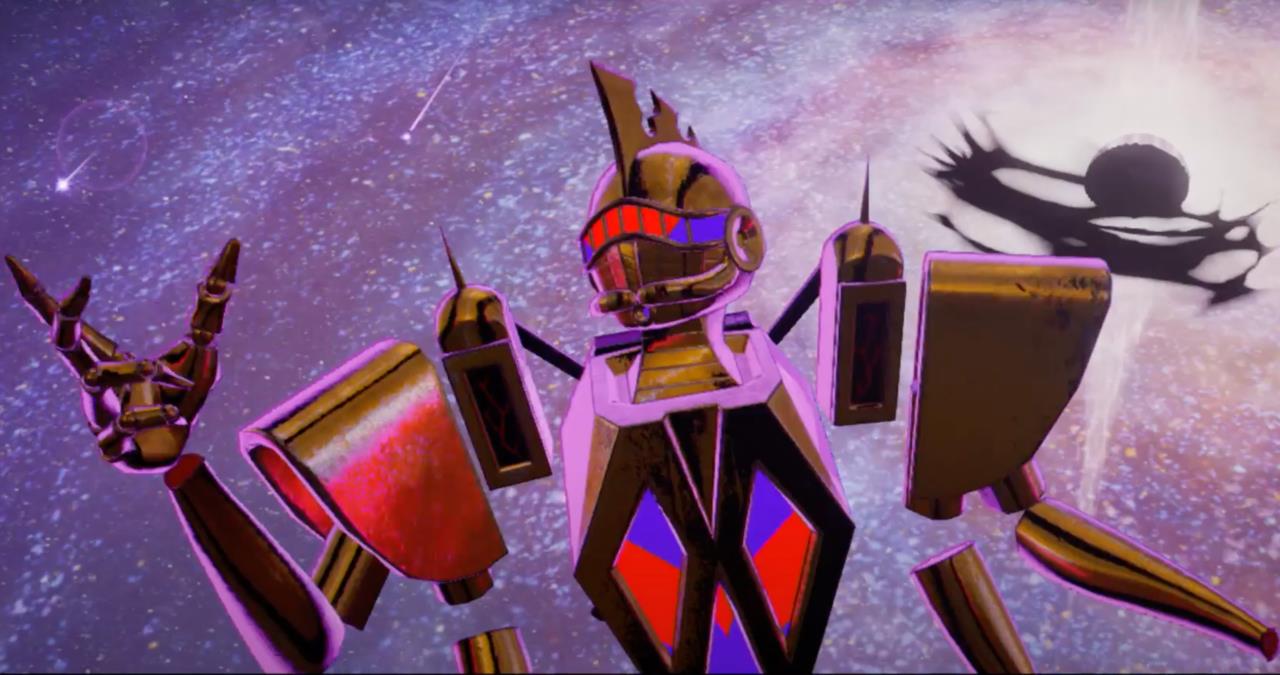
Despite his flamboyant appearance, Gold Joe presents a serious combat challenge requiring focused execution.
Many players underestimate Gold Joe’s combat capabilities due to his theatrical presentation, but this misconception often leads to rapid defeat. His polarized attack sequences demand immediate recognition and precise response timing to avoid catastrophic damage.
Gold Joe’s signature polarity assaults rank among his most lethal techniques, yet they simultaneously create prime opportunities for counteroffensive maneuvers. The combat arena features distributed blue and red polarity tiles that instantly alter Travis’s magnetic alignment when stepped upon. During polarity activation, Gold Joe generates a protective forcefield and projects a magnetic traction beam designed to pull you into his spinning blade vortex. Maintaining opposite polarity dramatically accelerates the attraction effect, making escape nearly impossible. The decisive counterstrategy involves identifying his forcefield hue, then immediately stepping on a corresponding colored tile to establish matching alignment. Subsequently, charge directly toward him to forcefully repel him backward into the electrified wall. Executing this sequence flawlessly inflicts significant damage and sends him tumbling to the ground, creating an ideal window for special attacks. Capitalize on this vulnerable state by attempting to trigger your Death Reel for maximum impact.
Advanced players should note that polarity tile activation provides brief invulnerability frames during the transition animation. Strategic tile hopping can create temporary safe zones against certain attacks, though this advanced technique requires precise timing and spatial awareness. The magnetic beam’s pull strength increases proportionally with distance, so maintaining mid-range positioning provides optimal reaction time.
Similar to most boss adversaries, Gold Joe’s offensive repertoire evolves at specific health thresholds. Upon reaching two-thirds health depletion, he introduces a new ranged assault pattern. Parallel laser formations materialize in straight-line configurations across the battlefield. Evacuate these designated zones before they discharge their energy volleys to avoid substantial damage. When his vitality drops to the final third, he implements a tactical reversal by modifying his polarity technique to repulse you toward the hazardous walls rather than drawing you inward. To neutralize this maneuver, step onto a tile exhibiting opposite polarity to his current alignment, then advance aggressively to land punishing strikes. Understanding these Weapons Unlock strategies can enhance your damage-dealing capabilities during these critical phases.
During the laser phase transition, Gold Joe becomes temporarily stationary while charging his attack, providing a narrow window for landing high-damage combos. The polarity reversal at low health incorporates a distinctive audio cue that signals the impending attack, giving alert players valuable reaction time. Phase transitions typically occur at 66% and 33% health markers, with each new pattern adding layer complexity to the encounter.
Gold Joe exhibits particular susceptibility to stunning impacts, grappling maneuvers, and knockdown effects, potentially making this confrontation less demanding than the previous engagement for certain playstyles. Consistently capitalize on offensive opportunities through precisely timed evasions and systematic polarity countering to maintain combat dominance. For players struggling with Class Guide optimization, understanding these vulnerability patterns can significantly improve performance.
Optimal combat rhythm involves baiting his sword combos, then executing perfect dodges to create openings for 3-4 hit sequences before resetting. His recovery time after missed attacks averages 1.5 seconds, providing adequate windows for special move charging. Advanced technicians can chain perfect parries into throw combinations that bypass his later-phase defensive adaptations.
Common strategic errors include overcommitting to extended combos (leaving players vulnerable to sudden polarity shifts) and inadequate arena awareness (resulting in accidental wall collisions). Successful players typically complete this encounter within 3-5 minutes when executing optimal strategies.
Action Checklist
- Study arena layout and memorize polarity tile positions before engaging
- Practice perfect dodge timing against his sword combos in early phase
- Execute polarity counter: match forcefield color, then charge to repel him into wall
- Activate Death Reel during knockdown states for maximum damage
- Adapt to phase changes: dodge lasers at 2/3 health, reverse polarity at 1/3 health
No reproduction without permission:SeeYouSoon Game Club » No More Heroes 3 – Rank 9 Boss Fight Guide Master Gold Joe's polarity mechanics and exploit his vulnerabilities for an efficient No More Heroes 3 victory