TL;DR
- Native Dancer excels at close-range katana combos but becomes vulnerable after dodging attacks
- Manage his Night Reaper clones immediately as they appear to avoid being overwhelmed
- Use Death Force to create space, Death Slow for extended combos, and Death Rain against multiple targets
- Watch for health-based phase changes including shockwaves and enhanced aggression
- Perfect your dodge timing to trigger slow-motion counters for maximum damage output
The Black Night Direction encounter in No More Heroes 3 presents an unexpected deviation from your anticipated path, introducing a formidable challenge that demands immediate adaptation.
SPOILER ALERT: Proceed with caution! No More Heroes 3 thrives on surprising players with unconventional boss encounters. We strongly advise experiencing the fight firsthand before consulting strategies to preserve the game’s most memorable moments.
Surprised by this turn of events? Your next adversary isn’t extraterrestrial but rather a cybernetically enhanced ninja from the future—proving more dangerous than previous otherworldly threats. For foundational knowledge, consult our comprehensive Battlefield 6 Complete Guide for general gaming strategies.
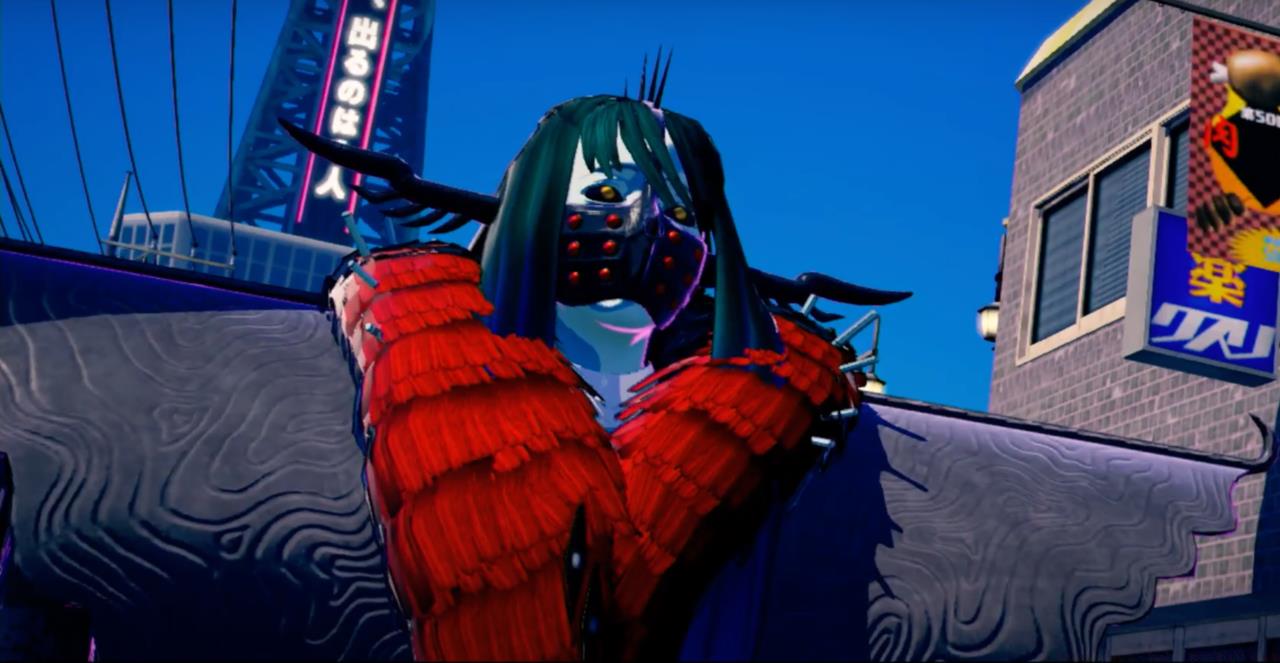
The Native Dancer boss fight requires quick adaptation to unexpected combat mechanics.
This confrontation diverges from initial expectations, demanding rapid tactical adjustment. Fortunately, the game provides three supplementary Death Glove abilities before engagement, each proving instrumental for overcoming this unique challenge.
Your enigmatic foe demonstrates exceptional speed and katana mastery, favoring aggressive close-quarters engagement with blistering attacks that can quickly incapacitate Travis. However, similar to other melee-focused antagonists, he exhibits significant vulnerability windows following successfully evaded assaults that trigger slow-motion sequences.
Precision timing during evasion creates extensive openings for devastating counter-offensives. Capitalize on these moments to inflict sufficient damage, potentially staggering him and enabling highly damaging throw executions.
Common mistakes include dodging too early against his feints or attempting to block his charged attacks instead of sidestepping. Advanced players should note his attack rhythm follows a distinct 3-hit pattern before brief recovery periods ideal for counterattacks.
Your mysterious adversary ensures the battle remains challenging through diverse combat capabilities. While specializing in close-range techniques including katana combinations and charged strikes culminating in a Shoryuken-inspired sword uppercut, he also employs ranged tactics such as kunai-style projectiles that detonate into electrical fields.
He utilizes environmental advantages by scaling the central arena structure to execute aerial diving slashes from distance. Upon reaching 50% health, he gains the ability to generate expansive shockwaves emanating from his landing position, requiring timely evasion.
The most dangerous ability emerges when he activates Night Reaper mode, summoning two duplicate copies. These clones possess reduced durability but can overwhelm you rapidly if not addressed promptly. Elimination priority should focus on the clones before resuming primary target engagement.
Phase transition timing typically occurs around 2-3 minutes into the encounter, with clone summons happening every 45-60 seconds thereafter. Proper class selection fundamentals from other games can inform your approach to handling multiple targets.
Your newly acquired Death Glove capabilities offer versatile tactical applications throughout this demanding encounter. When facing overwhelming offensive pressure, deploy Death Force to repel and floor your opponent, creating crucial breathing space.
Once he’s grounded, implement Death Slow to prolong his recovery duration, enabling extended assault combinations. Alternatively, utilize Death Rain to inflict sustained damage while he remains immobilized. Death Rain proves particularly effective during clone generation phases, as it damages all enemies within its area of effect continuously.
Skill rotation optimization suggests using Death Force defensively, Death Slow for damage amplification, and Death Rain for area denial. Resource management is crucial—these abilities share cooldowns, so strategic sequencing determines victory. This confrontation presents substantial difficulty, but methodical skill employment combined with situational awareness ensures eventual triumph.
For players struggling with weapon effectiveness, our BF6 Weapons Unlock Guide offers insights into damage optimization principles applicable across gaming genres.
Action Checklist
- Practice dodge timing against his 3-hit katana combo in early phase
- Master Death Force deployment when pressured, creating 3-4 second recovery windows
- Prioritize clone elimination immediately upon Night Reaper activation
- Use Death Rain during clone phases for efficient multi-target damage
- Memorize shockwave telegraphing animations at 50% health threshold
No reproduction without permission:SeeYouSoon Game Club » No More Heroes 3 – Rank 8 Boss Fight Guide Master the Native Dancer boss fight with advanced strategies, skill timing, and clone management techniques