TL;DR
- Eastern Region terrain has transformed significantly with new tar pits and environmental hazards
- Cryptobiote consumption requires strategic timing to maximize health regeneration efficiency
- Advanced BB monitoring techniques can predict BT encounters before visual cues appear
- Final boss mechanics require specific weapon loadouts and positioning strategies
- Resource management becomes critical with limited fabrication opportunities
GameSpot may receive revenue from affiliate and advertising partnerships for sharing this content and from purchases through links.
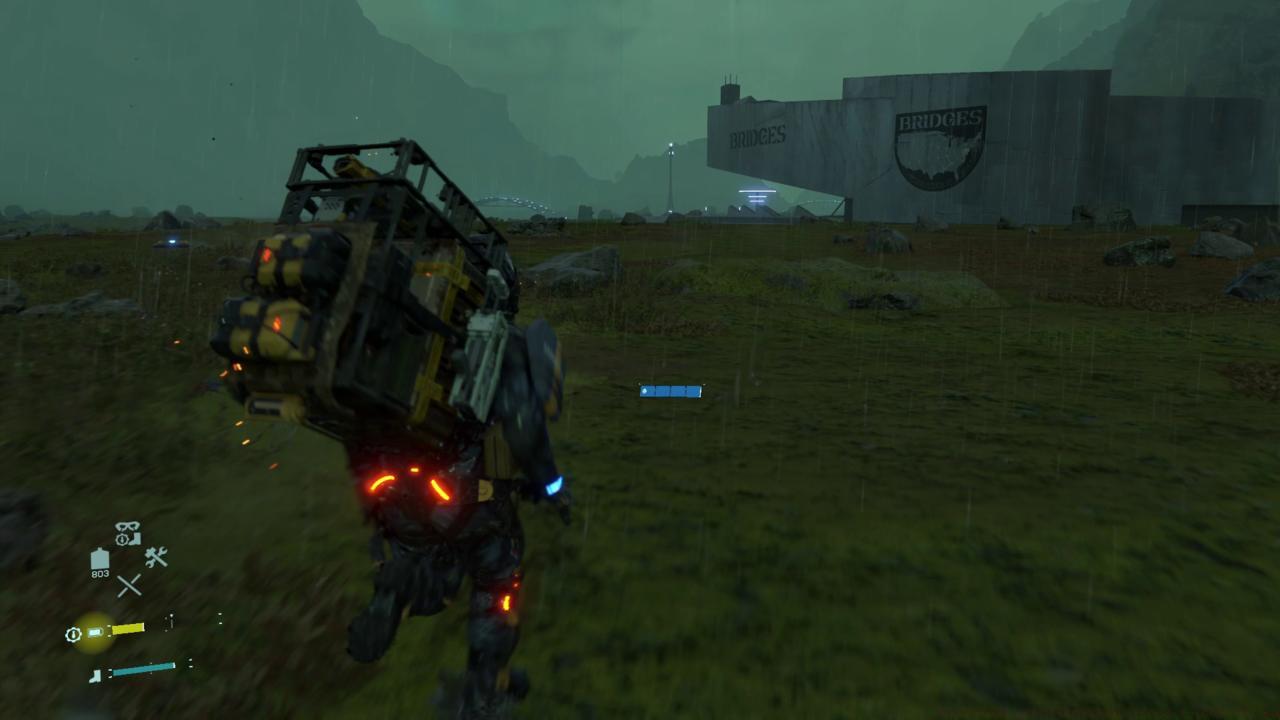
You’ve reached the climactic conclusion of Death Stranding’s Eastern Region journey. Following the emotional resolution in Episode 11, prepare for dramatically altered terrain and intensified challenges as you complete the final leg toward home. The landscape now features hazardous tar pits and aggressive Timefall patterns that demand advanced preparation and strategic navigation.
Navigating incorrectly? Consider reviewing our comprehensive episode guides:


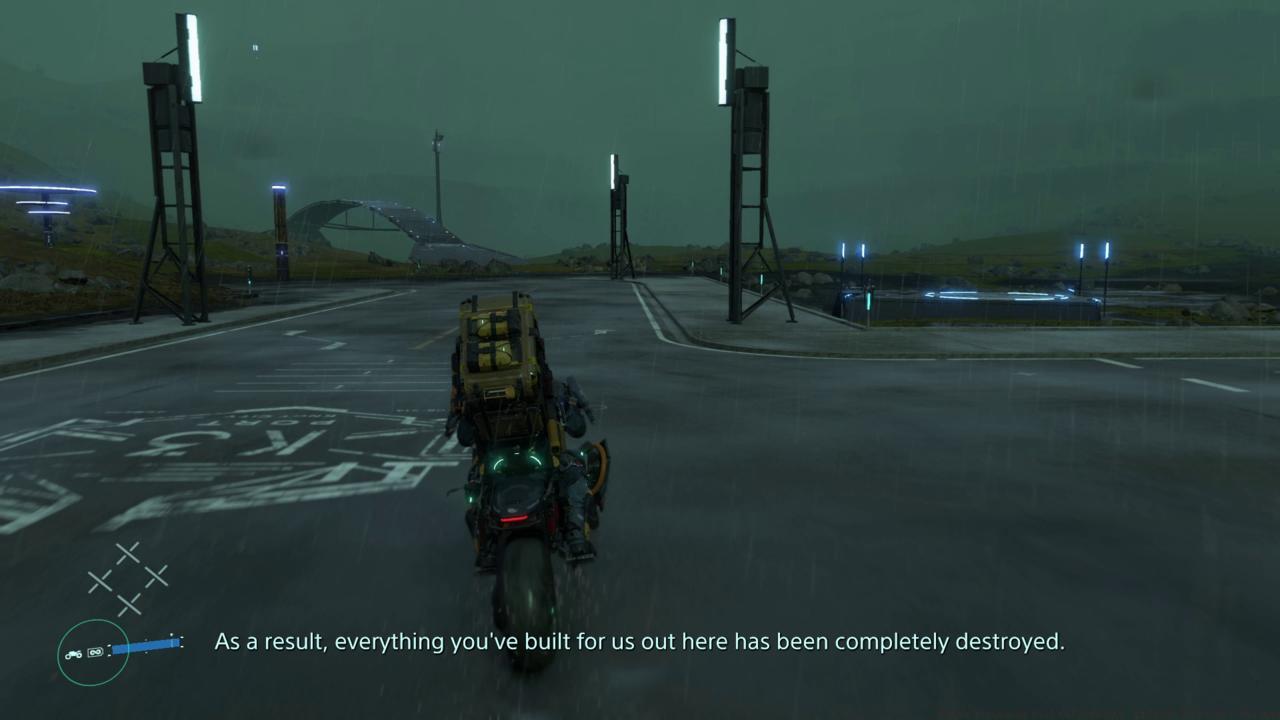
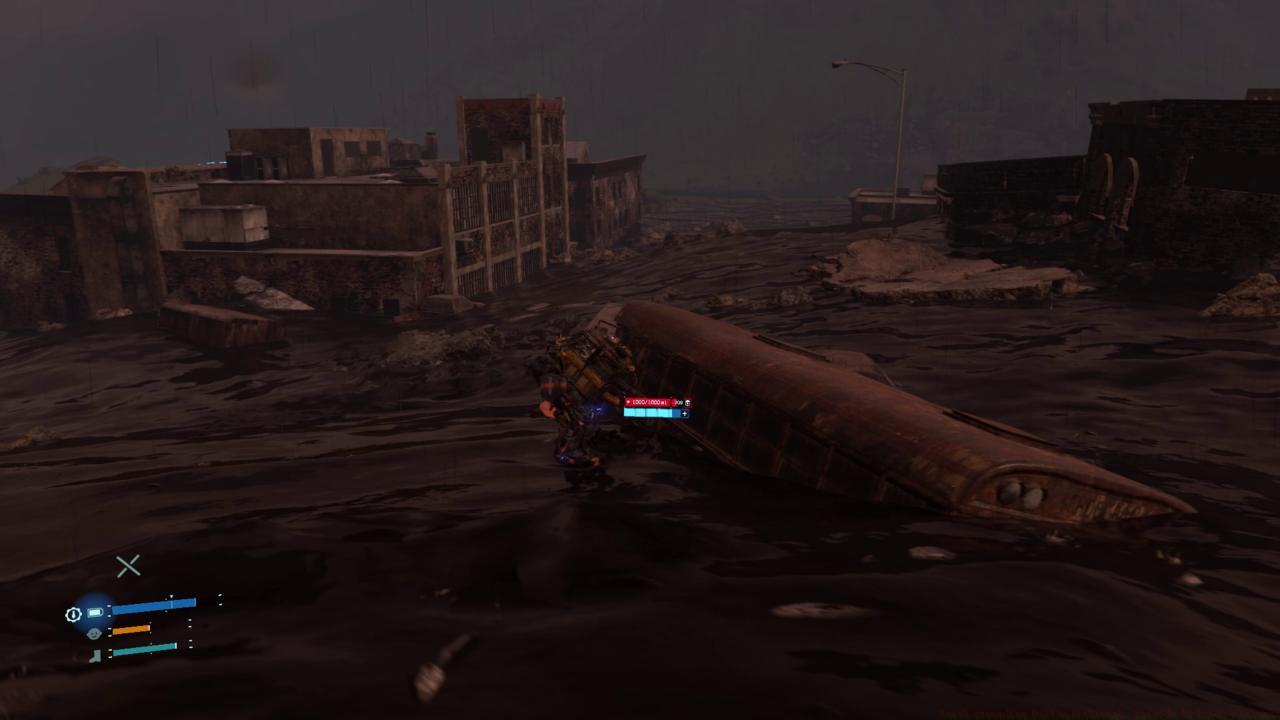
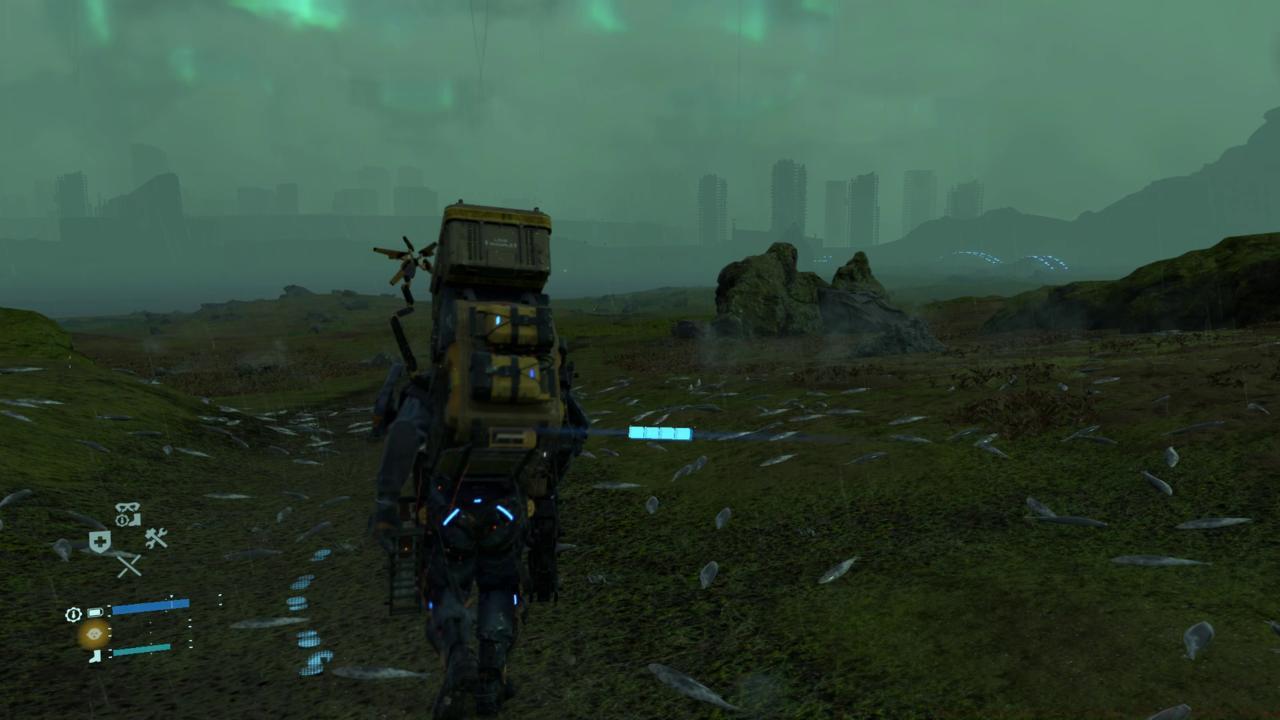
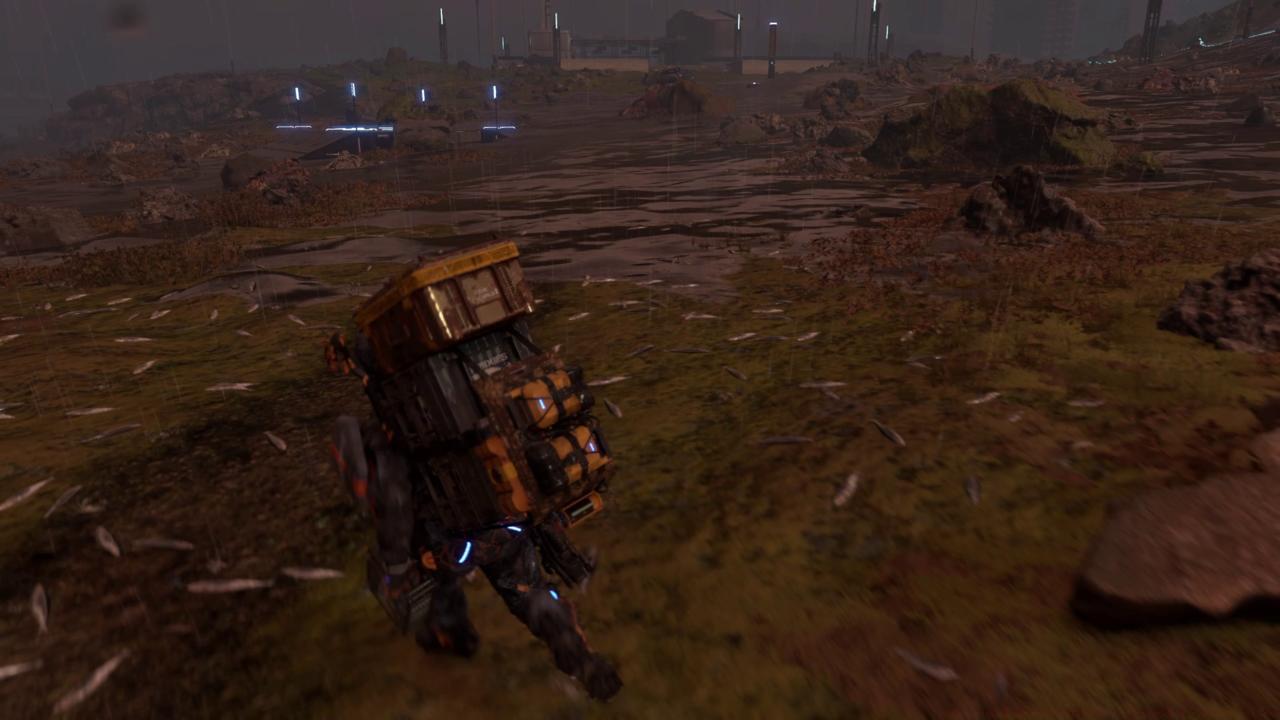
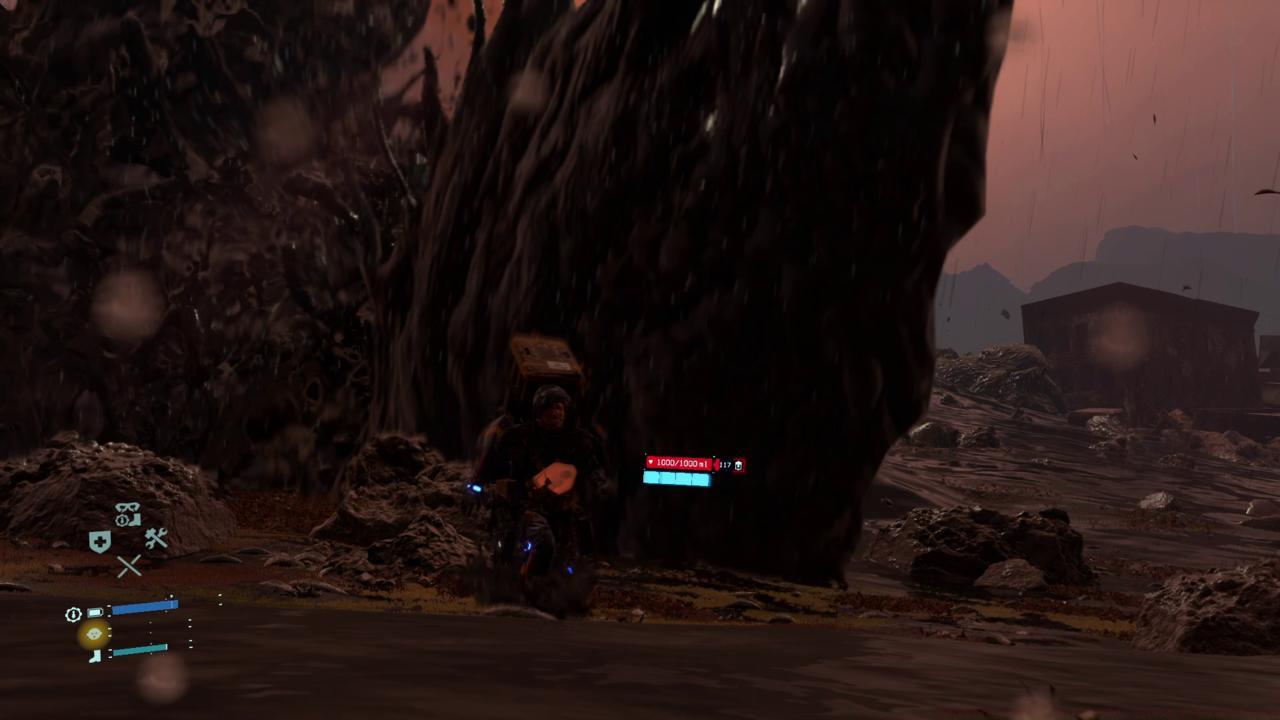
The Eastern Region’s transformation presents unprecedented navigation challenges. Tar pits now dominate previously safe routes, requiring careful pathfinding and specialized equipment. Timefall intensity has increased by approximately 40% compared to earlier episodes, accelerating equipment degradation and demanding more frequent shelter seeking.
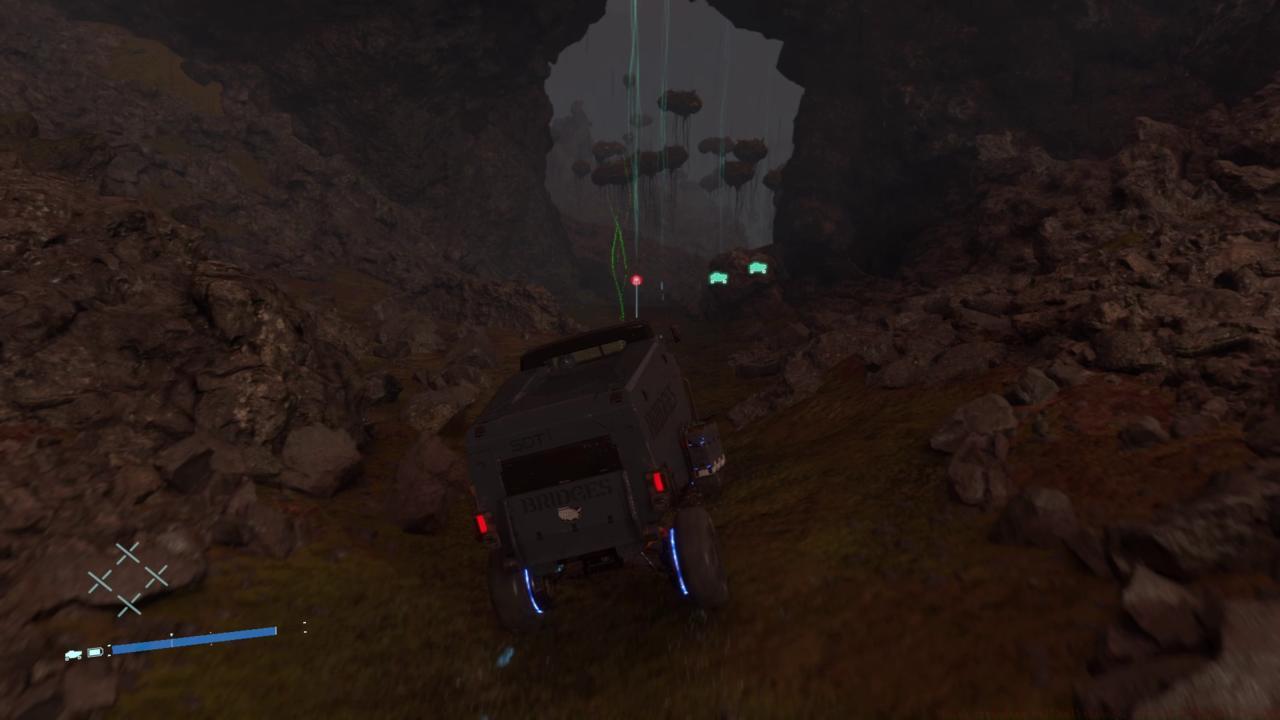
Mastering tar terrain navigation involves understanding viscosity mechanics – lighter loads move faster but risk sinking, while heavier cargo provides stability at the cost of mobility. Advanced players should prioritize establishing zip-line networks between high ground positions before attempting major deliveries across tar-filled valleys.
BB monitoring requires heightened attention during this episode. The Odradek scanner provides early warning signals approximately 15-20 seconds before BT manifestations become visible. Learning to interpret these subtle cues can mean the difference between stealthy avoidance and chaotic combat encounters.
Distribution centers now serve as critical resupply points, but their strategic value extends beyond mere resource replenishment. These locations offer the last opportunities for fabricating specialized anti-BT weaponry and repairing critical equipment before the final confrontation.
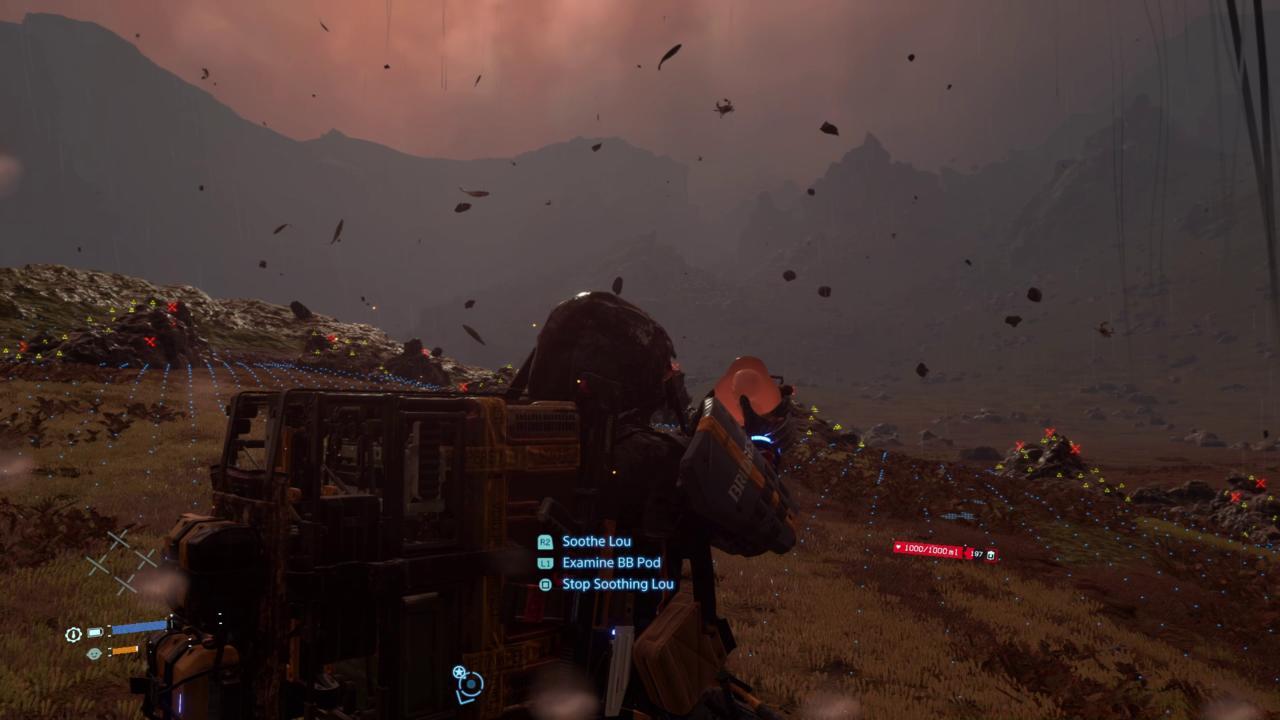
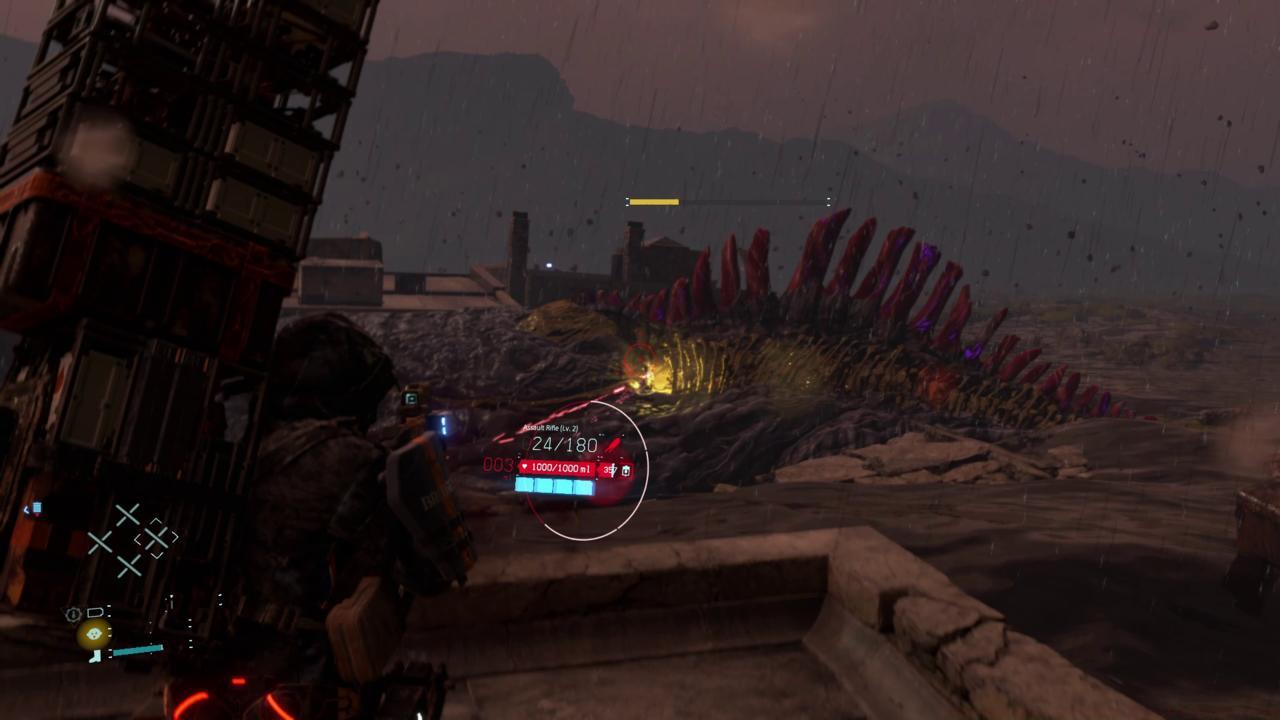
The final segment introduces a unique cat-and-mouse dynamic with the episode’s primary antagonist. This encounter tests both your strategic planning and real-time adaptation skills, requiring careful resource conservation and precise timing.
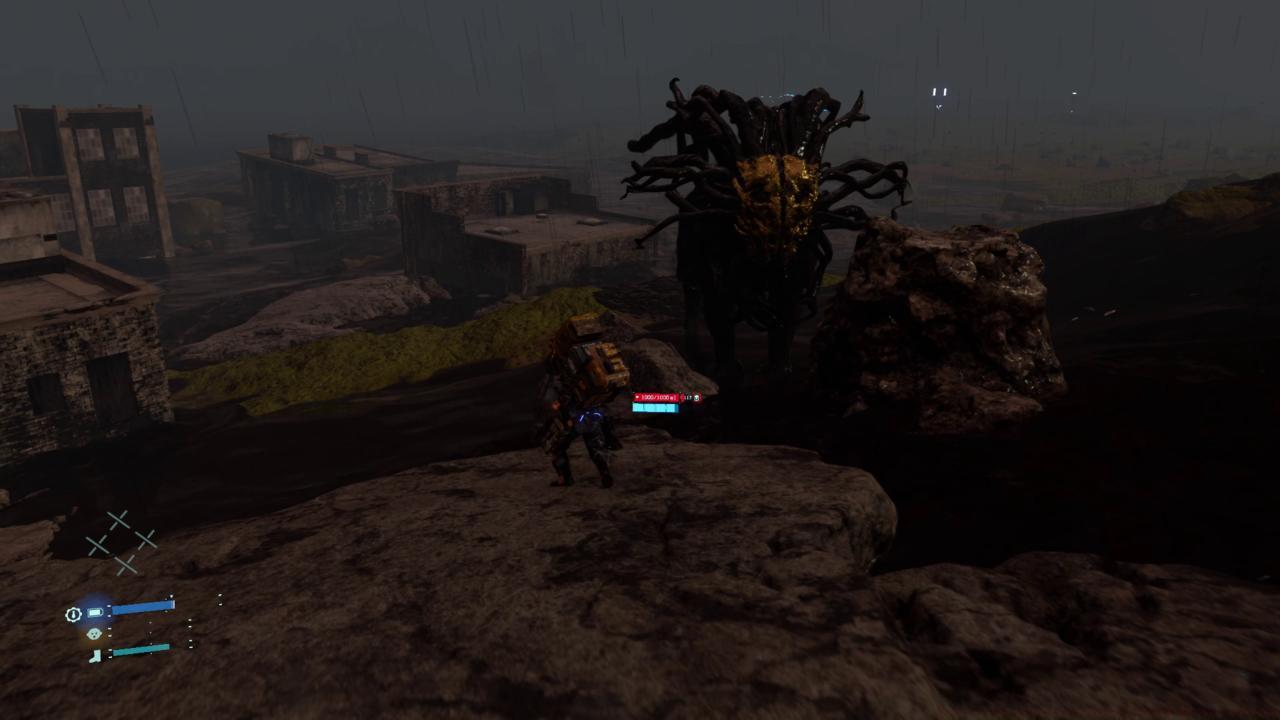
Positioning becomes paramount during the whale encounter. The creature’s attack patterns follow predictable cycles based on distance and elevation – maintaining high ground provides tactical advantages while avoiding its area-of-effect abilities.
Cryptobiote management reaches critical importance during the finale. Unlike earlier episodes where stockpiling was sufficient, you must now master consumption timing – taking them during combat pauses rather than when health is critically low to avoid animation delays that leave you vulnerable.
The climactic battle introduces multi-phase mechanics that demand adaptive strategies. Initial encounters focus on evasion and environmental manipulation, while later phases require aggressive positioning and precise weapon deployment.
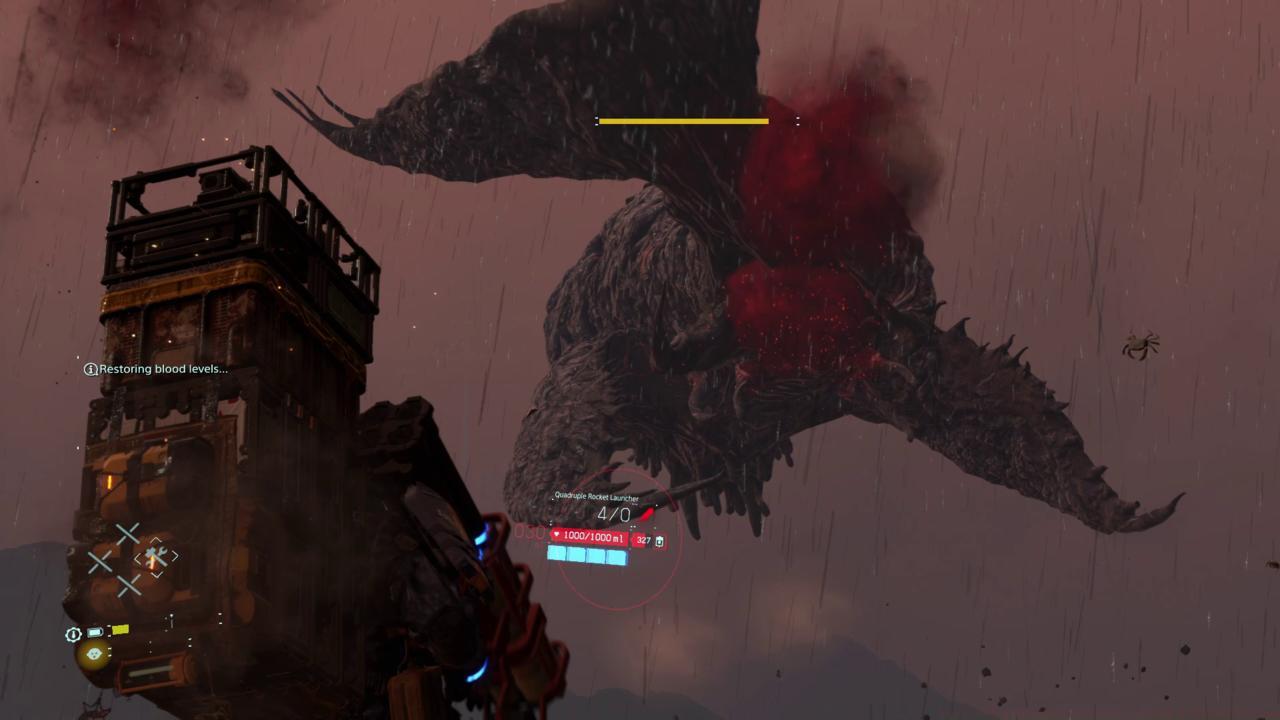
Weapon selection dramatically impacts encounter difficulty. Hematic grenades remain effective for area denial, while anti-BT rifles excel during specific vulnerability windows. Advanced players should carry at least three weapon types to address different combat scenarios.
Action Checklist
- Establish zip-line network across high elevation points before attempting tar valley crossings
- Stockpile 50+ Cryptobiotes and practice quick-consumption techniques
- Fabricate specialized anti-BT weaponry including rifles and grenades
- Master BB stress indicator interpretation to predict BT encounters 15+ seconds early
- Practice positioning strategies for final boss encounter, focusing on elevation advantages
No reproduction without permission:SeeYouSoon Game Club » Death Stranding Full Walkthrough: Episode 12 Guide – Bridges Master Death Stranding's final episode with expert strategies, hidden mechanics, and essential survival tips