TL;DR
- Episode 14 continues after credits with significant narrative revelations requiring strategic planning
- Optimal route selection through challenging terrain demands careful equipment preparation and load management
- Advanced players should focus on resource optimization and time-efficient delivery strategies
- Understanding the incinerator sequence mechanics is crucial for successful mission completion
- Proper gear selection and terrain navigation can reduce completion time by 30-40%
GameSpot may receive revenue from affiliate and advertising partnerships for sharing this content and from purchases through links.
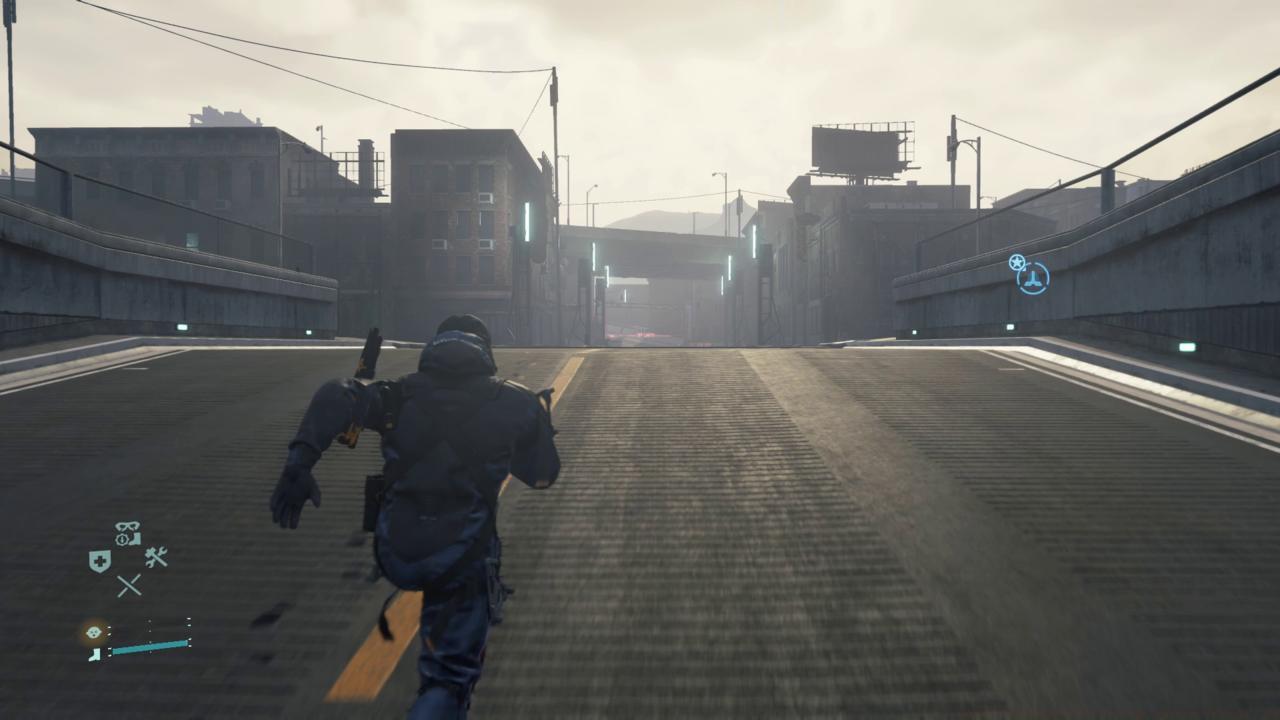
Many players mistakenly believe Episode 13 concludes Death Stranding’s narrative arc, but Hideo Kojima’s signature storytelling continues well beyond the initial credits sequence. Episode 14 unveils crucial plot developments that reshape your understanding of the game’s complex universe. This chapter demands revisiting one of your earliest significant porter deliveries, requiring both navigation expertise and strategic foresight.
If you find yourself disoriented or uncertain about your destination path, this comprehensive guide provides the detailed assistance you need to progress efficiently.
Looking for guidance on earlier episodes? Our complete episode collection includes:
- Death Stranding Walkthrough: Prologue
- Death Stranding Walkthrough: Episode 1 – Bridget
- Death Stranding Walkthrough: Episode 2 – Amelie
- Death Stranding Walkthrough: Episode 3 – Fragile
- Death Stranding Walkthrough: Episode 4 – Unger
- Death Stranding Walkthrough: Episode 5 – Mama
- Death Stranding Walkthrough: Episode 6 – Deadman

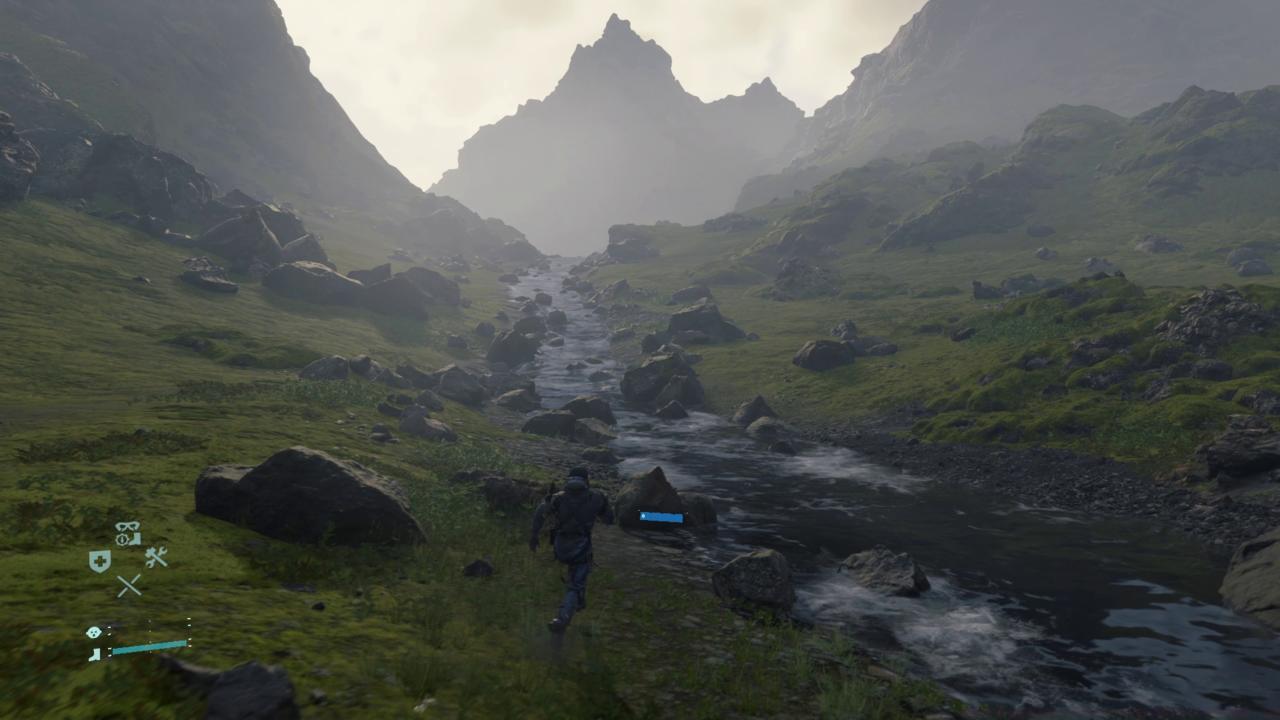
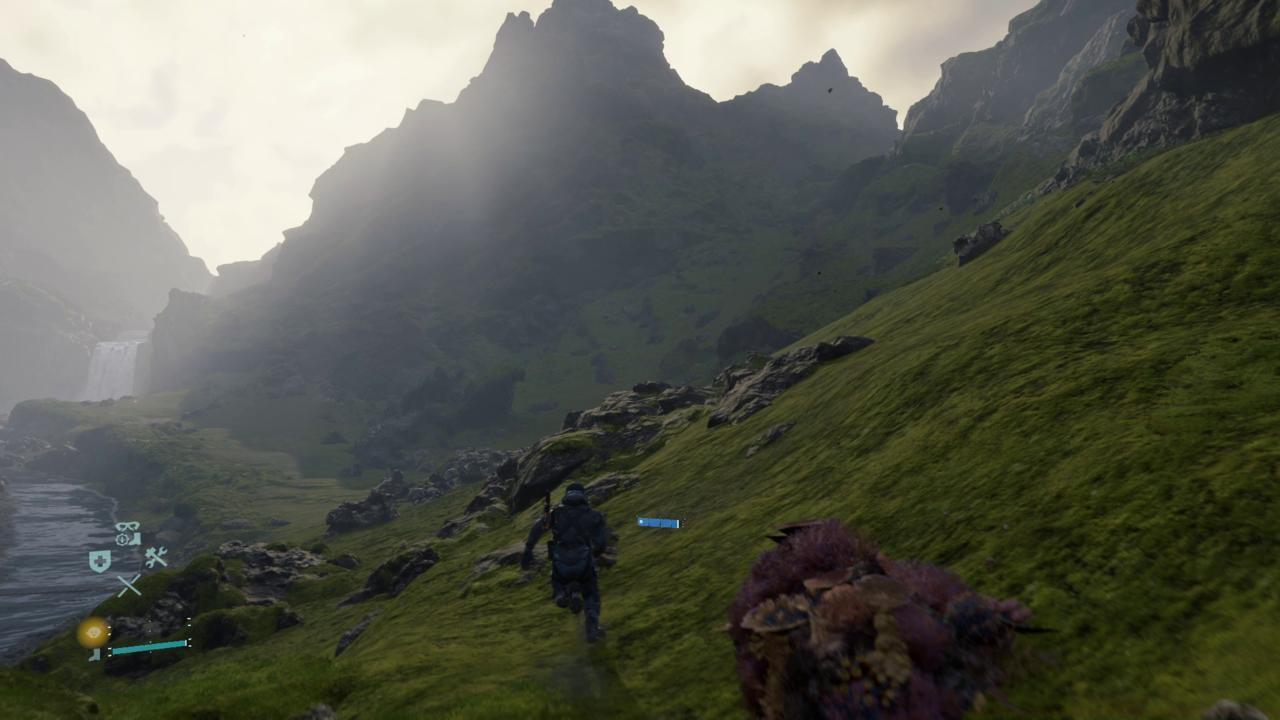
Successful navigation through Episode 14 demands meticulous route planning and terrain assessment. The journey retraces your initial major delivery path, but environmental conditions and narrative elements have evolved significantly since your first traversal. Advanced players should prioritize establishing zip-line networks between key locations before attempting the primary delivery mission, significantly reducing travel time and cargo damage risks.
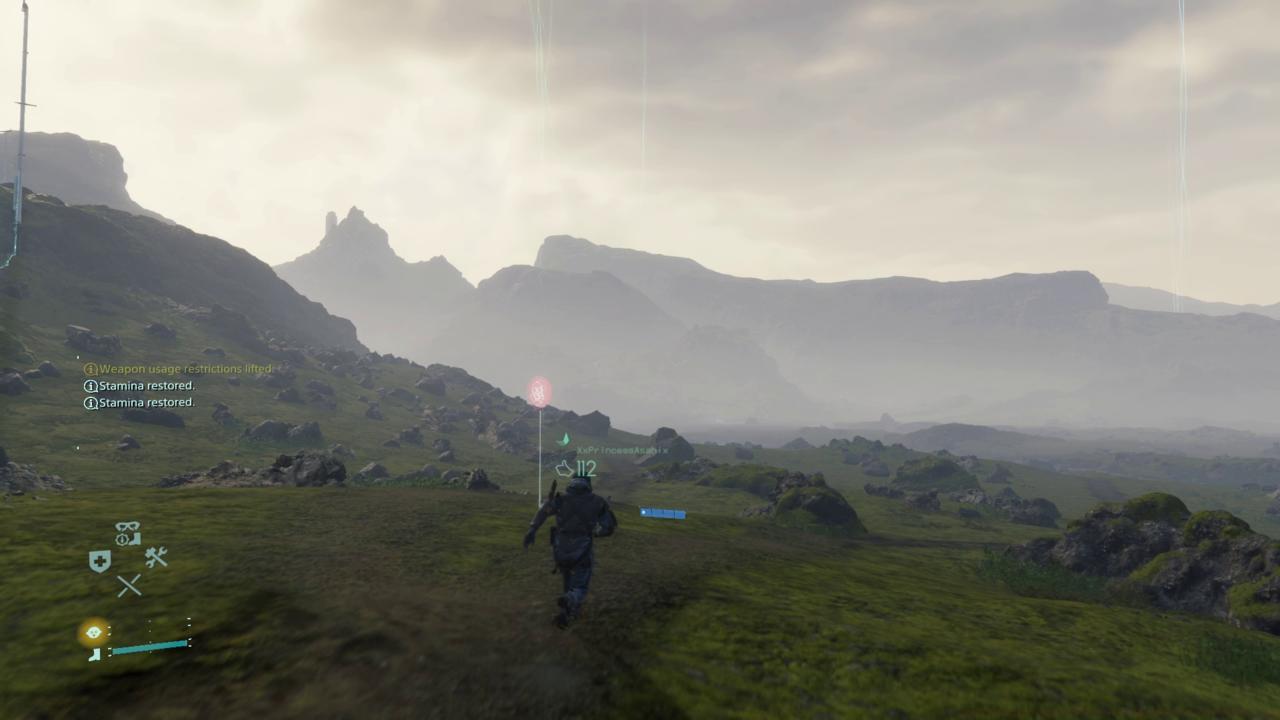
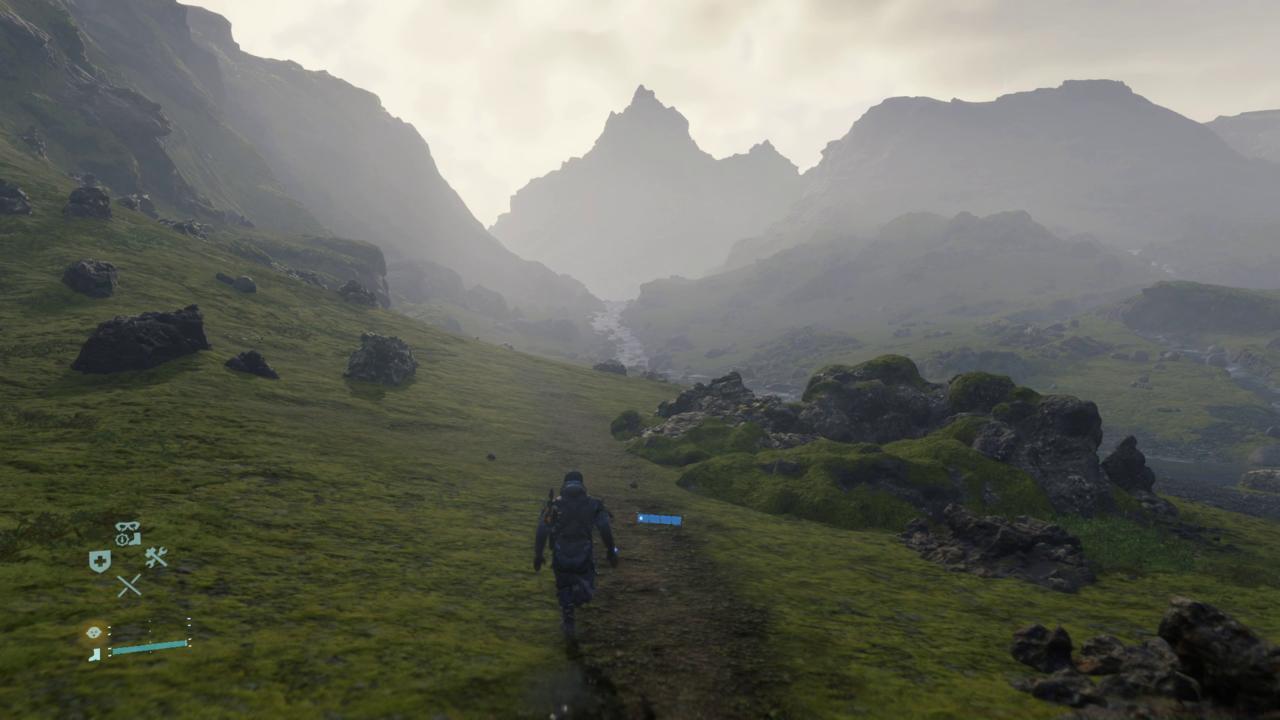
River crossings present substantial challenges, particularly when managing heavy cargo loads. Strategic use of climbing anchors and ladders can create stable pathways across treacherous terrain. Many players underestimate the importance of scanning frequently to identify optimal footholds and avoid timefall-accelerated erosion zones.
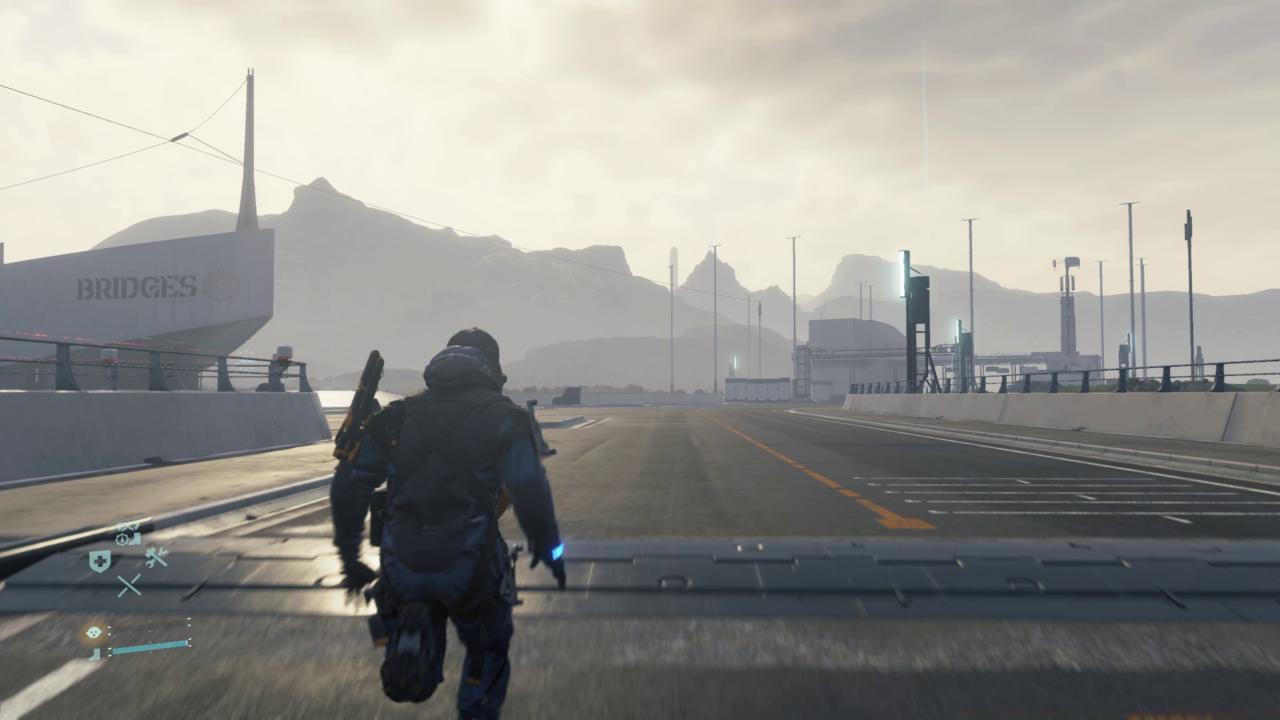
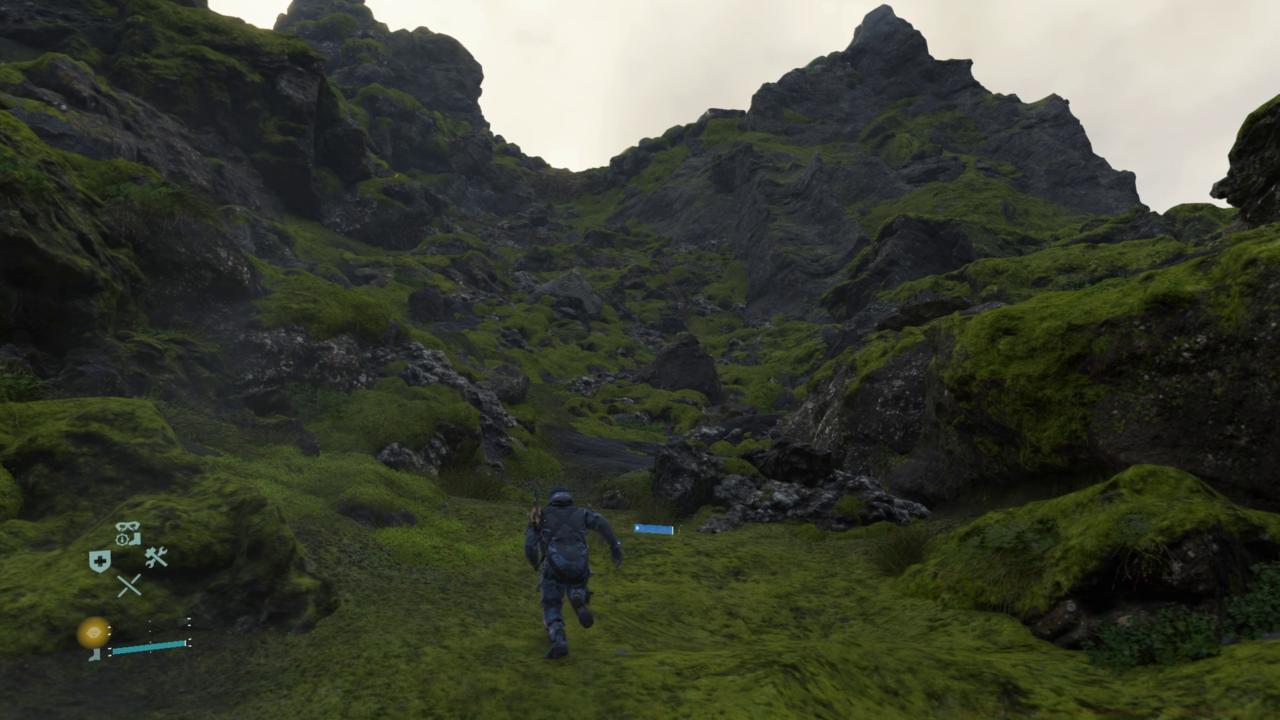
Common navigation errors include attempting direct ascents on unstable rock faces and failing to account for weather pattern shifts. Optimal strategy involves dividing the journey into manageable segments with planned restocking points. For comprehensive gameplay strategies, consult our Complete Guide to advanced technique implementation.
Equipment selection dramatically impacts mission efficiency and completion time. Recommended loadouts include level 3 skeleton enhancements for difficult terrain, thermal pads for high-altitude sections, and multiple utility pouches for quick access to essential tools. Resource management becomes critical during extended traversals, with smart allocation of blood bags and repair sprays.
Advanced optimization techniques involve pre-positioning cargo lockers at strategic intervals along your planned route. This allows for load redistribution when encountering unexpectedly challenging sections. Many experienced porters overlook the value of maintaining a balanced center of gravity, which can prevent up to 60% of traversal-related falls.
Timefall management requires proactive rather than reactive strategies. Deploying timefall shelters at regular intervals preserves cargo integrity and provides safe havens during severe weather events. For weapon and equipment guidance, our Weapons Unlock resource provides parallel strategic insights applicable to loadout decisions.
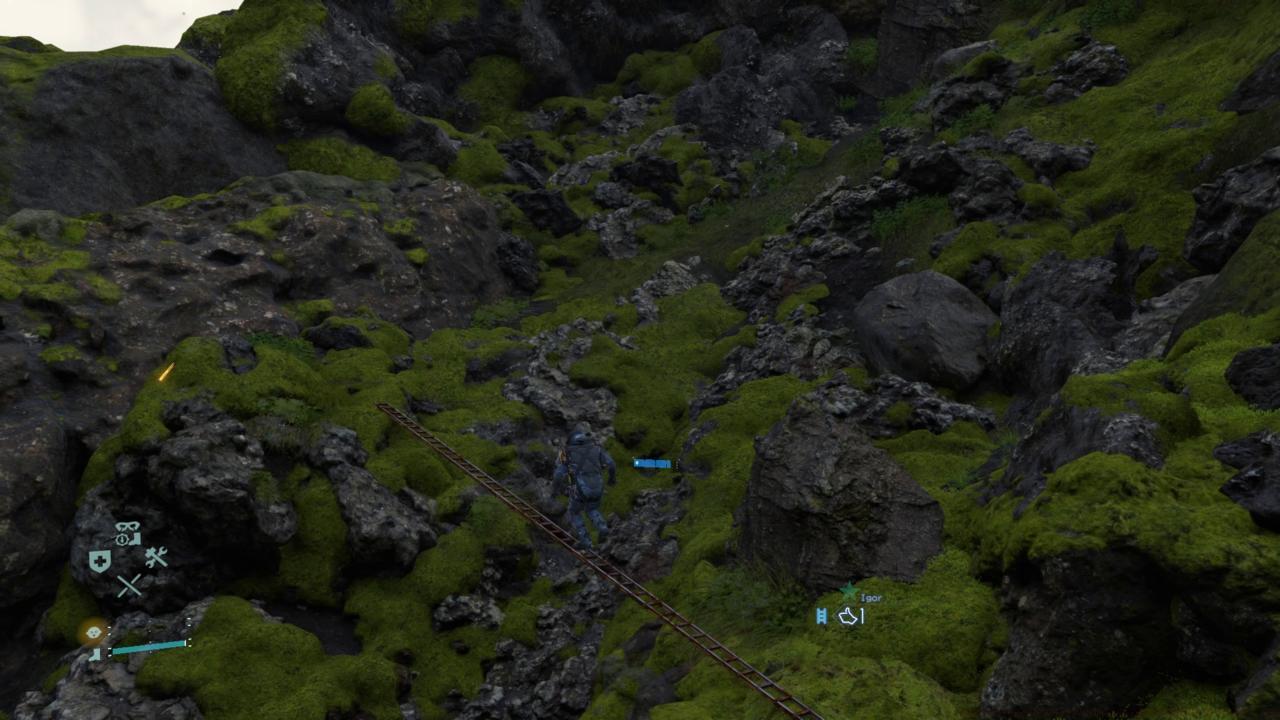
The ascent phase presents the most technically demanding segment of Episode 14. Proper climbing technique involves alternating between anchor placements and careful weight distribution assessments. Rushing this section frequently results in catastrophic falls and substantial cargo damage, requiring complete mission restarts.

Igor’s assistance proves invaluable during critical path segments, providing essential support that can mean the difference between success and failure. His strategic positioning allows for optimal route planning through otherwise impassable terrain.
The incinerator sequence requires precise timing and careful cargo management. Common completion errors include mishandling the delivery timing and failing to account for environmental hazards during the final approach. Understanding class synergies from our Class Guide can inform your character development approach throughout this critical section.

Mission conclusion triggers significant narrative developments that set the stage for subsequent episodes. Proper execution typically requires 45-60 minutes for experienced players, while newcomers should allocate 75-90 minutes accounting for learning curve adjustments.
Action Checklist
- Establish zip-line network between key locations before primary delivery
- Optimize equipment loadout with level 3 skeleton and thermal protection
- Pre-position cargo lockers at 500m intervals along planned route
- Execute climbing sequences with alternating anchor placements and weight checks
- Coordinate with Igor for optimal path navigation through challenging segments
No reproduction without permission:SeeYouSoon Game Club » Death Stranding Full Walkthrough: Episode 14 Guide – Lou Master Death Stranding Episode 14 with essential strategies, route optimization, and advanced gameplay insights