TL;DR
- Position characters strategically around the forge to control Grym’s movement patterns effectively
- Utilize the central piston mechanism by luring Grym into position for massive crushing damage
- Maintain lava flow throughout the encounter to keep Grym vulnerable to regular attacks
- Collect both Mithral Ores before initiating the boss fight for optimal crafting opportunities
- Prepare with proper party composition including crowd control and high-damage dealers
Overcoming Grym is essential to unlock the powerful crafting capabilities of the Adamantine Forge in Baldur’s Gate 3. This formidable guardian blocks access to one of the game’s most valuable equipment creation systems.
Baldur’s Gate 3 presents numerous explorable regions, with the Adamantine Forge standing out as a crucial location for gear enhancement. This specialized facility enables players to craft exceptional weapons and protective gear, but requires defeating a challenging boss encounter. Our comprehensive guide covers both the Grym boss confrontation and maximizing the forge’s potential afterward.
The Adamantine Forge resides deep within the Grymforge area, accessible only by navigating the treacherous Underdark. Understanding the journey ahead is vital for preparation:
- Access the Underdark through multiple routes: the Goblin Camp/Shattered Sanctum tunnel, Zhentarim Hideout elevator, or the magical portal concealed in Auntie Ethel’s lair.
- Upon arrival, you’ll discover various side objectives, though your primary focus should be reaching the central zone where a boat transports you to Grymforge.
- Grymforge hosts several significant encounters, including the confrontation with True Soul Nere and his adversaries.
- During exploration, watch for enclosed areas containing Deep Rothe creatures. Successful Animal Handling checks can turn these bovine hybrids against their Duergar masters while persuading them to remove obstructive debris, revealing progression paths.
- You’ll subsequently reach an environmental puzzle section where collecting equipment molds becomes possible for future crafting applications.


Left: Successful Animal Handling convinces Deep Rothe to clear pathways; Right: Platforming challenges yield valuable equipment molds.
Eventually, you’ll arrive at the Adamantine Forge proper. The vicinity near the waypoint features active lava flows and hardened volcanic rock formations. Traverse to the opposite side to shatter mineral deposits, acquiring Mithral Ore. Approaching the main forge apparatus triggers combat with Mephit enemies to your left. The adjacent compact area contains additional Mithral Ore deposits.
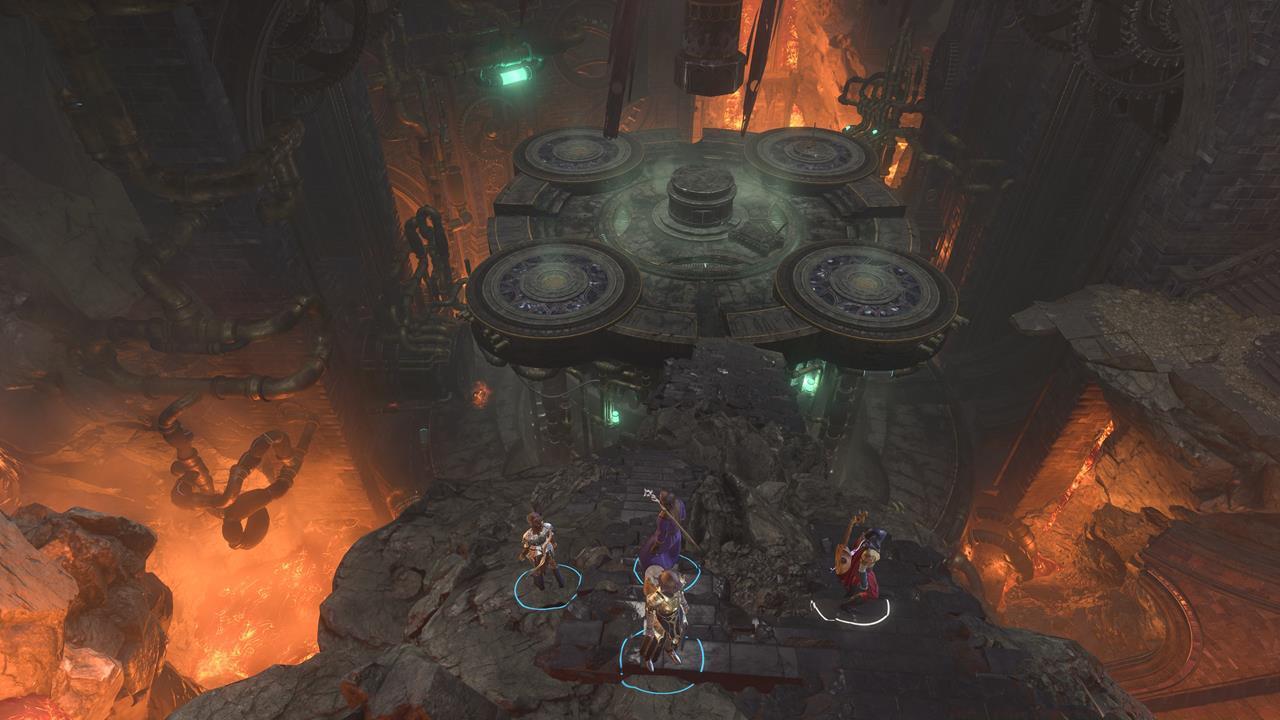
Proper positioning around the forge perimeter enables effective control of Grym’s movement patterns during combat.
The Grym encounter represents one of Baldur’s Gate 3’s most mechanically complex boss fights. This colossal automaton possesses devastating area-of-effect attacks and substantial damage resistance under normal conditions. However, strategic environmental manipulation creates vulnerability windows.
Critical Battle Mechanics:
- Grym becomes susceptible to standard weapon damage only when standing in molten lava
- The central forge hammer mechanism delivers catastrophic impact when activated with Grym positioned beneath it
- Maintaining lava flow requires periodic lever activation as it solidifies over time
- Grym aggressively targets the last character that damaged it, enabling tactical baiting
Optimal Positioning Strategy:
Distribute your party members across three key locations: one character controlling the lava flow lever, another operating the forge hammer mechanism, and two damage dealers positioned on opposite sides of the arena. This formation allows you to alternate aggression pulls, systematically guiding Grym into crushing position.
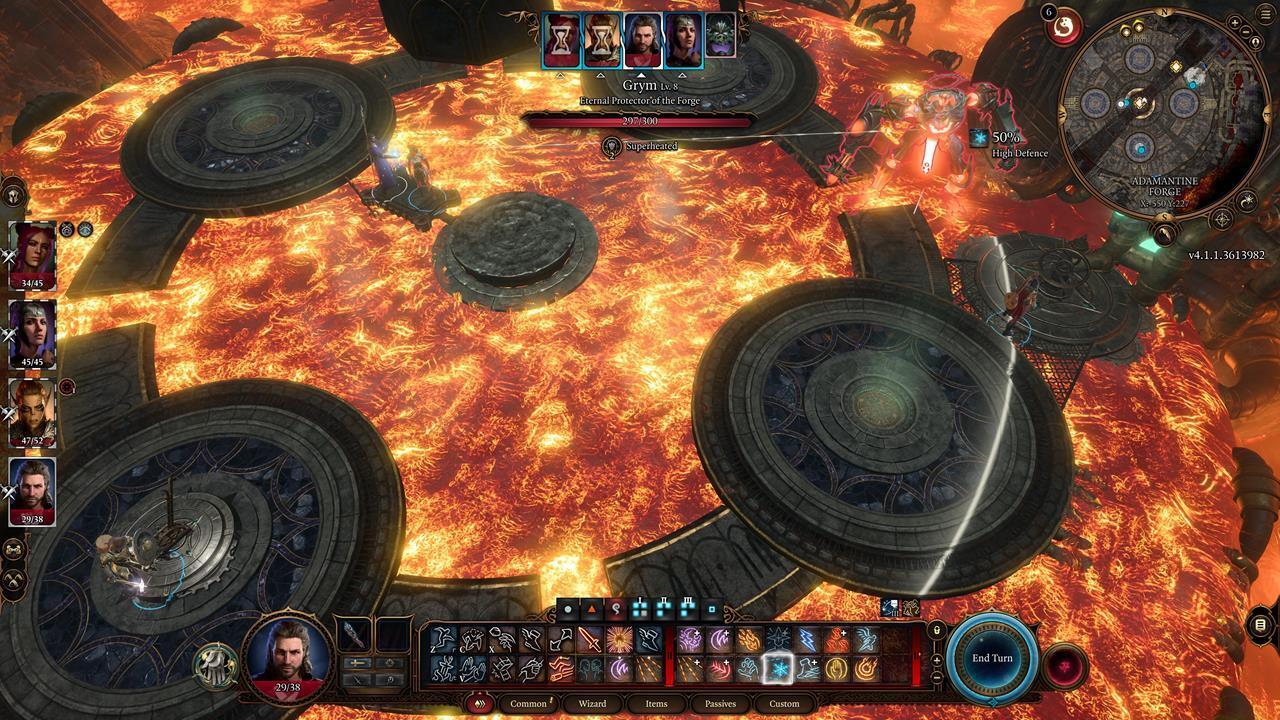
Strategic positioning lures Grym beneath the massive forge hammer for maximum damage execution.
Execution requires precise timing: activate the lava valve to cover the arena floor, then draw Grym’s attention with ranged attacks. Once positioned centrally, trigger the forge hammer for approximately 100-150 damage per activation. Between hammer strikes, focus fire with bludgeoning weapons while Grym remains lava-immersed.
Mastering the Grym encounter requires understanding several advanced tactical considerations that separate successful attempts from repeated failures.
Party Composition Recommendations:
Ideal setups include at least one high-mobility character for lever operation, a durable frontline combatant for aggression management, and specialized damage dealers.
- Essential Roles: Lever operator (Rogue/Ranger), Tank (Fighter/Barbarian), Bludgeoning specialist (Cleric/Monk), and Crowd control (Wizard/Sorcerer)
- Damage Optimization: Bludgeoning weapons deal 50% increased damage to Grym; hammers, maces, and quarterstaves prove most effective
- Spell Selection: Avoid elemental spells as Grym possesses near-complete immunity; focus on buffs, mobility enhancements, and control effects
Common Strategic Errors:
- Failing to maintain lava coverage results in Grym becoming damage-resistant
- Poor character distribution leads to party members being trapped or overwhelmed
- Insufficient bludgeoning damage prolongs the encounter unnecessarily
- Neglecting to collect both Mithral Ores before the fight limits post-victory crafting options
Time Management: The entire sequence from Underdark entry to forge completion typically requires 45-60 minutes for prepared players. First-time attempts may extend to 90+ minutes depending on exploration and previous area completion.
Post-Victory Crafting: With Grym defeated, utilize your collected Mithral Ore and equipment molds to create powerful Adamantine gear. The forge enables crafting some of Act 1’s most durable equipment, making the challenging encounter worthwhile for progression-focused players. For additional strategic guidance on character builds and equipment optimization, consult our comprehensive Class Guide for optimal party configuration.
Action Checklist
- Collect both Mithral Ore deposits before initiating the boss encounter
- Position party members at lever stations and damage positions around arena perimeter
- Activate lava flow and engage Grym with ranged attacks to draw aggression
- Lure Grym to central anvil area and activate forge hammer mechanism
- Utilize bludgeoning weapons during lava immersion phases for maximum damage
No reproduction without permission:SeeYouSoon Game Club » Baldur’s Gate 3 – How To Beat Grym In The Adamantine Forge Master the Adamantine Forge encounter with strategic positioning and environmental tactics to defeat Grym efficiently