TL;DR
- The Blood of Lathander quest begins at Rosymorn Monastery and requires collecting ceremonial weapons
- Strategic route selection between mountain pass and Underdark impacts quest accessibility
- Githyanki Creche navigation involves obtaining a Gith Shard to bypass magical barriers
- A complex statue puzzle in the secret room rewards the Dawnmaster’s Crest for safe mace retrieval
- Destroying protective crystals or using the crest presents different risk-reward scenarios
Embarking on the Blood of Lathander questline in Baldur’s Gate 3 represents one of the most rewarding treasure hunts available during Act 1. This elaborate adventure culminates in acquiring a legendary mace imbued with divine power, though the journey demands careful navigation through multiple challenging locations.
Early in your campaign, you’ll face a critical path decision: whether to traverse the mountain pass or explore the Underdark en route to Moonrise Towers. While the Underdark offers its own unique subterranean wonders, choosing the mountain pass alternative grants access to both Rosymorn Monastery and the adjacent Githyanki Creche. These interconnected zones serve as the primary settings where the Blood of Lathander narrative unfolds.
Initiating this quest occurs at Rosymorn Monastery where you’ll discover a ceremonial plaque positioned directly beneath a statue honoring Lathander. This location sits just above the entrance leading to the Githyanki Creche. The subsequent undertaking proves both demanding and complex, potentially resulting in securing an immensely powerful artifact while simultaneously risking catastrophic consequences for an entire settlement. Our comprehensive walkthrough below details every essential step to successfully complete this ambitious quest.
Once you’ve activated the quest at Lathander’s statue, retrace your steps up the staircase that brought you to this lower area. Upon reaching the level featuring multiple doorways on both sides, continue forward until arriving at the distinctive chamber dominated by an enormous stained glass window set into the flooring. This space also contains four ceremonial tables each displaying two azure gems, with one table featuring an illuminated sword. Exercise extreme caution – avoid collecting this enchanted blade as it triggers hostile encounters.
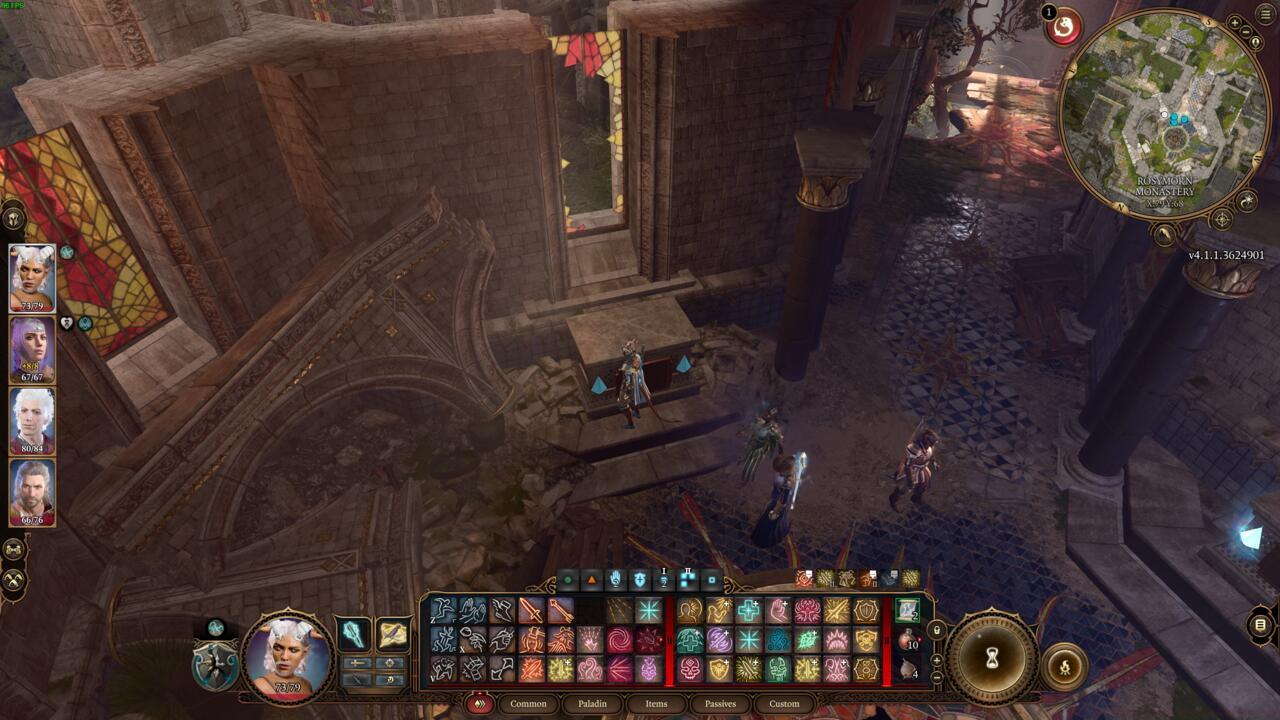
The stained glass window room serves as your initial objective location for this quest phase.
The stained glass window chamber constitutes the starting point for your initial quest objectives. Your primary task involves exiting through the fractured window section visible in the provided screenshot. Proceed carefully along the exterior ledge until spotting an opening in the ground surface.
Utilize a party member possessing Misty Step, Fly capabilities, or attempt a straightforward jump (though this inflicts health point damage). Descend to the lower tier and enter the adjacent doorway. Ascend the damaged stairway and examine the area to the right of the rubble. Activate your highlight function to locate the Rusty Mace resting on the ground and acquire it.
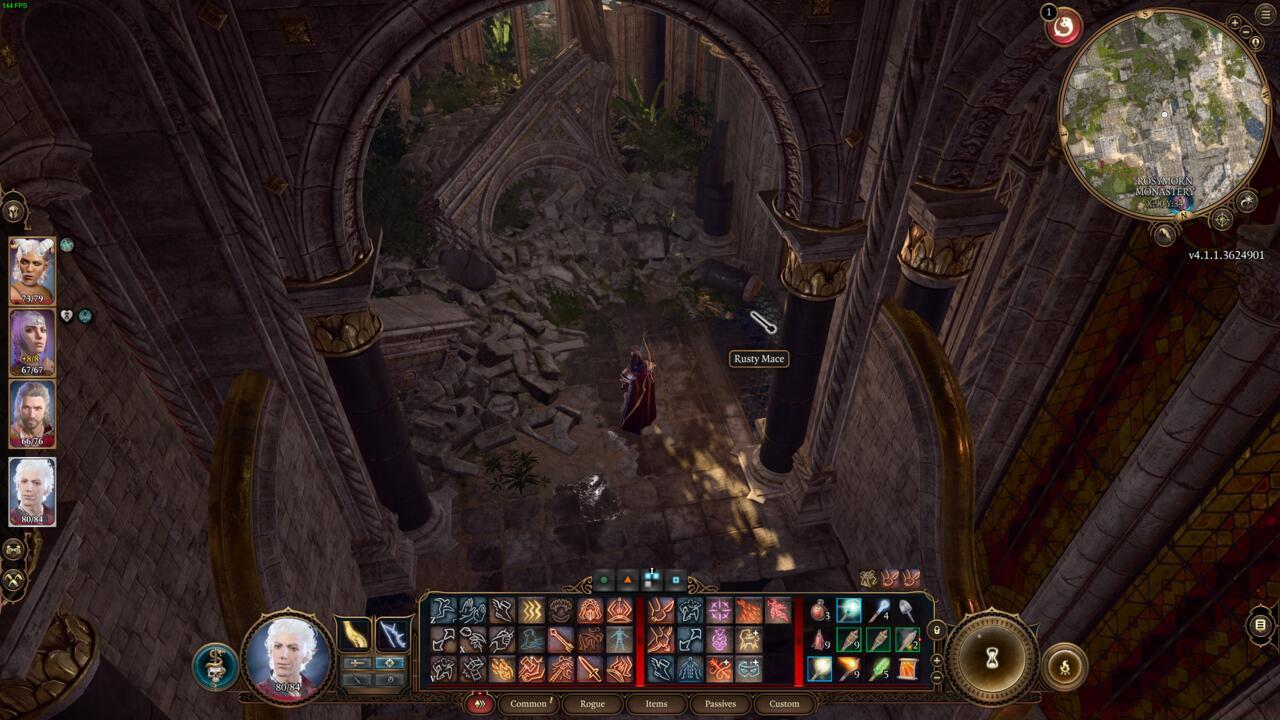
Retrieve the Rusty Mace then return to the stained glass window chamber.
Pro Tip: The Ceremonial Warhammer presents additional acquisition challenges as it’s protected by territorial eagles. Consider using animal speaking spells or stealth approaches to avoid unnecessary combat encounters.
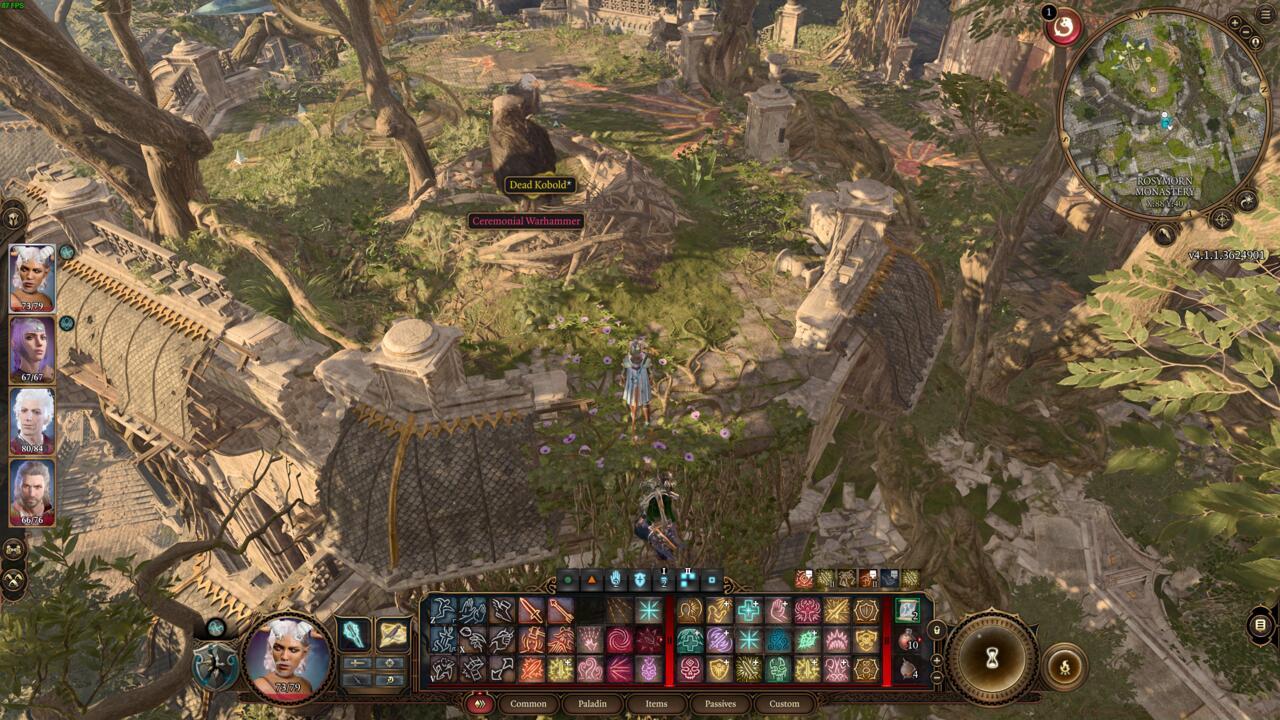
Eagles vigilantly guard the Ceremonial Warhammer location.
Gaining entry into the Githyanki Creche represents the next critical phase. This fortified compound houses numerous challenges including the essential Gith Shard required for progression.
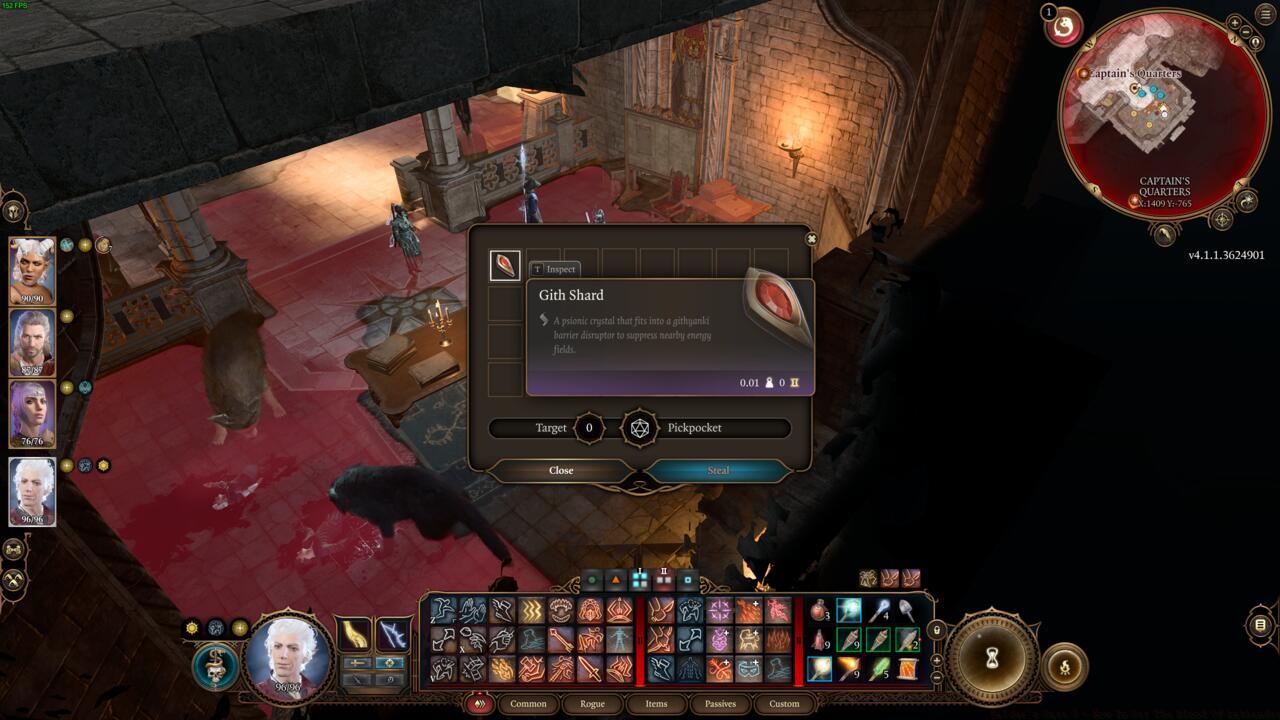
The Gith Shard serves as the key to deactivating the magical barrier blocking access to the Captain’s Quarters.
Within the Creche’s depths, you’ll discover a concealed pouch containing vital components. This hidden compartment often goes unnoticed by rushed players.
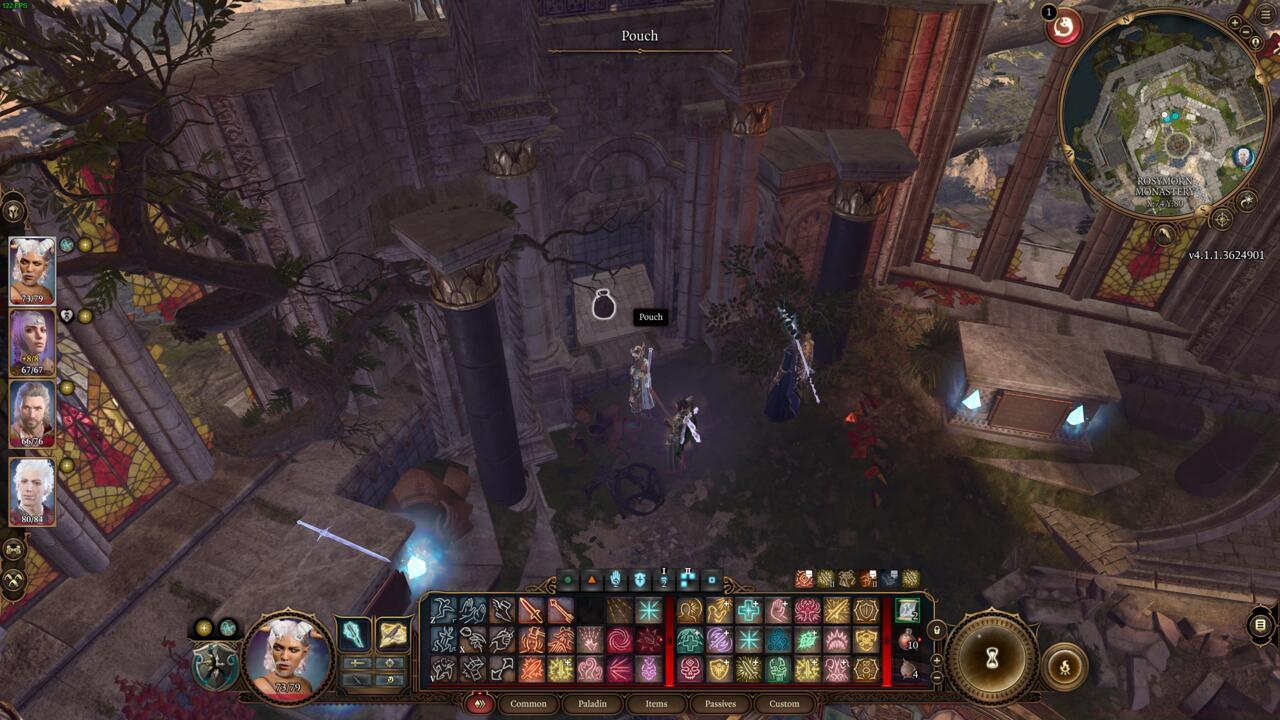
A discreet pouch rests within the secret compartment area.
Common Mistake: Many players attempt to force their way through magical barriers without first obtaining the proper key items, resulting in unnecessary party damage or quest failure.
Advanced Strategy: Complete the monastery puzzle before fully exploring the Creche to acquire the Dawnmaster’s Crest, which provides significant advantages during the final mace retrieval sequence.
The secret chamber within Rosymorn Monastery contains an intricate puzzle centered around statue alignment. Solving this challenge rewards the Dawnmaster’s Crest, an item that dramatically simplifies obtaining the legendary mace.
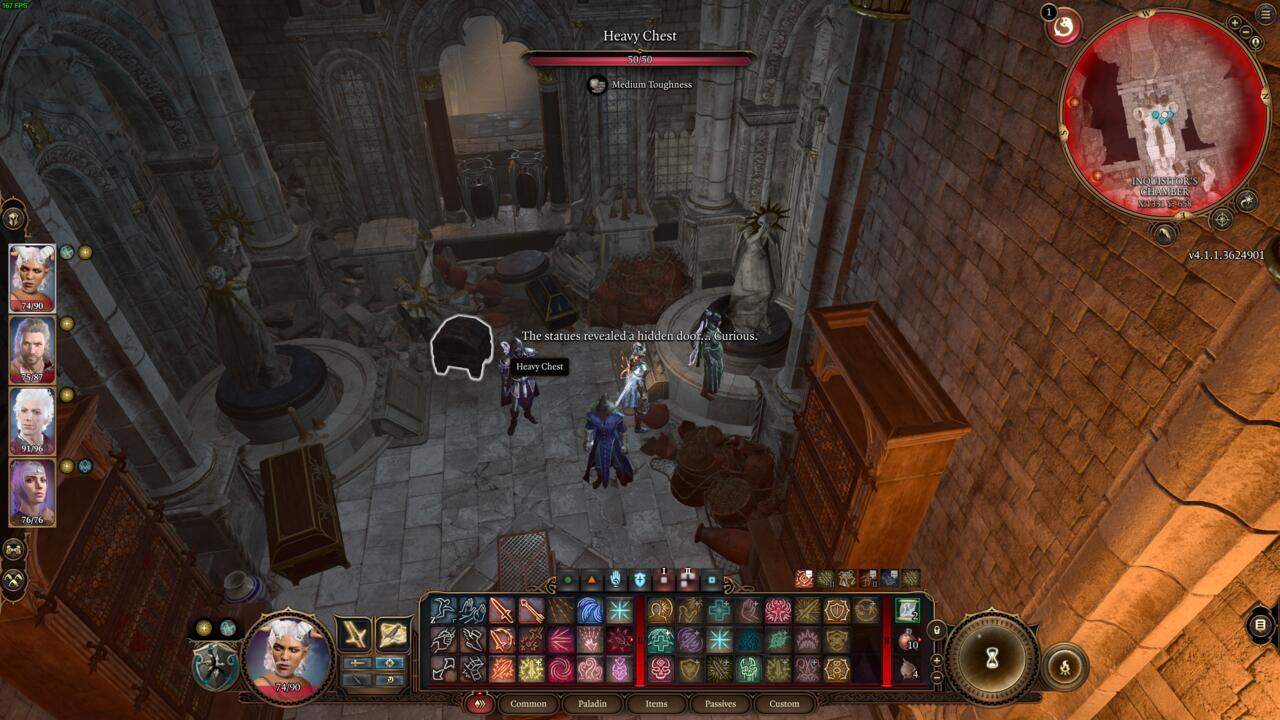
Proper statue alignment configuration is essential for revealing the concealed doorway.
The puzzle mechanism requires precise positioning of multiple statues according to specific symbolic patterns. Incorrect configurations may trigger defensive mechanisms or permanently seal access to the treasure.
Puzzle Solution Insight: Each statue corresponds to a different aspect of Lathander’s doctrine, and their alignment should reflect the deity’s core principles. The correct arrangement typically involves positioning them to represent dawn, renewal, and protection themes.
Successfully completing this puzzle grants the Dawnmaster’s Crest, which provides a safe method for retrieving the Blood of Lathander without triggering the monastery’s self-destruct sequence.
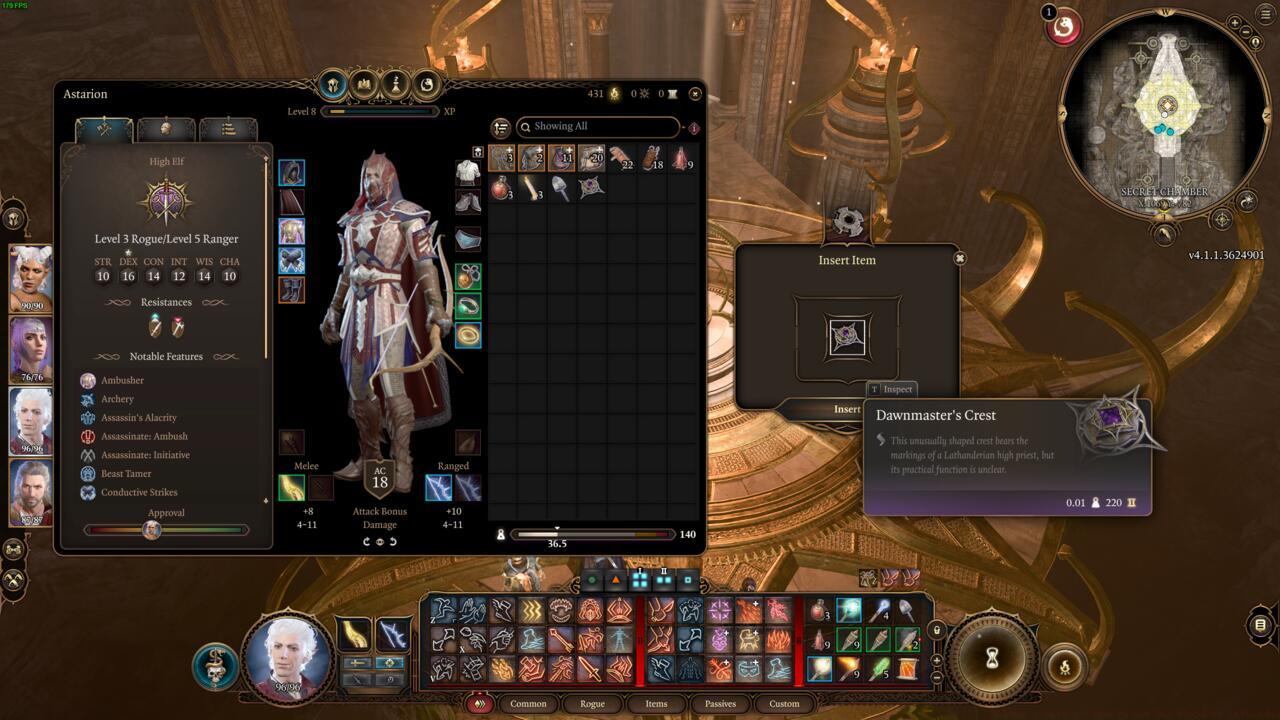
Possessing the Dawnmaster’s Crest guarantees a straightforward and hazard-free acquisition of the legendary mace.
The final phase involves accessing the mace chamber where the Blood of Lathander rests protected by an intricate crystal-based defense system. These energy-emitting crystals must be neutralized to safely approach the artifact.
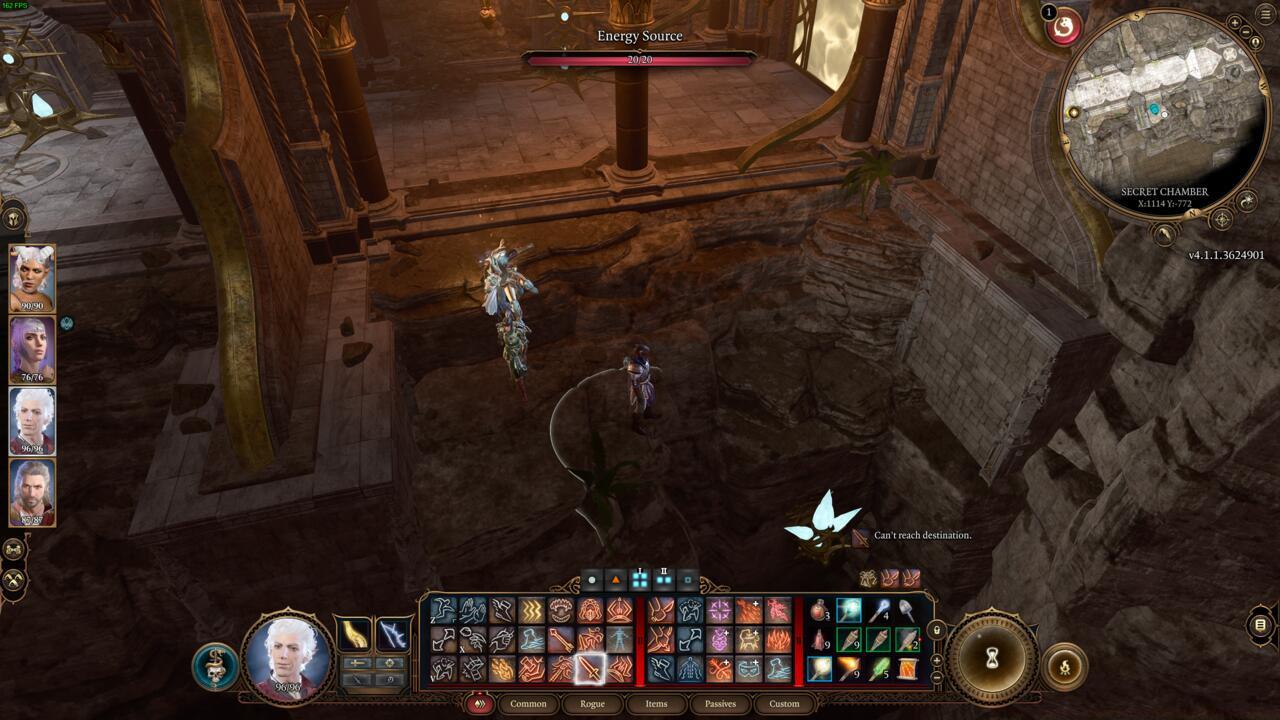
Disabling the protective crystals represents the primary method for circumventing the defensive barriers.
You face two primary approaches for securing the mace: the aggressive method involving crystal destruction, or the diplomatic approach using the Dawnmaster’s Crest.
Crystal Destruction Method: This direct approach requires systematically eliminating each energy-emitting crystal. However, this triggers a countdown sequence forcing you to evacuate rapidly before the entire structure collapses.
Crest Method: Presenting the Dawnmaster’s Crest to the ceremonial stand deactivates all defenses peacefully, allowing leisurely collection of the artifact without time pressure.
Time Investment: Allocate approximately 45-60 minutes for the complete quest from initiation to mace acquisition, though puzzle-solving may extend this for first-time players.
Consequence Analysis: The destruction path potentially dooms the nearby Githyanki community, while the crest method preserves all possibilities for future interactions.
Action Checklist
- Initiate quest at Lathander’s statue plaque in Rosymorn Monastery
- Collect Rusty Mace from exterior lower level using movement abilities
- Acquire Ceremonial Warhammer from eagle-guarded area
- Navigate Githyanki Creche to obtain Gith Shard
- Solve secret room statue puzzle to earn Dawnmaster’s Crest
- Use crest or destroy crystals to retrieve Blood of Lathander mace
No reproduction without permission:SeeYouSoon Game Club » Baldur’s Gate 3 – How To Get The Blood Of Lathander Complete guide to obtaining the Blood of Lathander mace in Baldur's Gate 3 with strategic tips and consequences