TL;DR
- Nere’s rescue requires precise explosive placement and careful civilian protection
- Strategic alliances with Elder Brtithvar provide crucial combat advantages
- The moral choice impacts Underdark faction relationships and future questlines
- Proper dialogue checks with Philomeen secure essential Runepowder resources
- Combat preparation determines success rates for both decision outcomes
Many adventurers contemplate eliminating Nere, but strategic considerations extend beyond simple vengeance in Baldur’s Gate 3. The decision carries significant consequences for your Underdark journey.
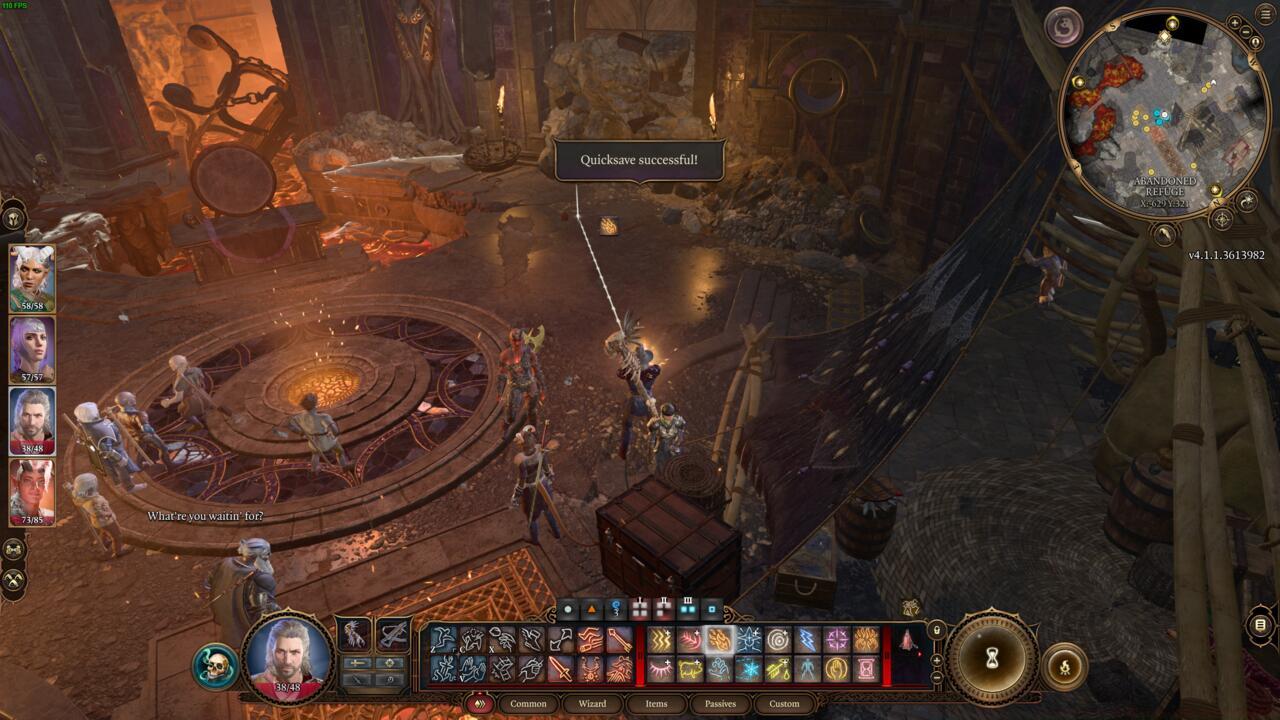
While exploring the subterranean realms, you’ll encounter multiple references to True Soul Nere from various sources. This character possesses a notoriously unpleasant disposition and faces warrants from the Myconid Colony for atrocities against their civilization, plus outstanding financial obligations to several Duergar factions. Your navigation markers inevitably guide you toward Grymforge’s location deep underground, where Nere remains imprisoned by a substantial rock collapse.
Gnome captives labor desperately to extract the trapped True Soul, working against time as toxic fumes fill his confinement chamber. Successfully clearing the obstruction without injuring any laborers allows Nere to emerge and proposition you with a collaborative arrangement. Alternatively, you might honor commitments made to the Myconid Colony or other Grymforge inhabitants by claiming his life. This comprehensive walkthrough examines both decision pathways alongside detailed rescue procedures.
Multiple approaches exist for dismantling the rocky barrier containing Nere within the poisonous atmosphere enclosure. The predominant method involves deploying Runepowder or Smokepowder Satchels to demolish the obstruction. You can acquire Runepowder from Philomeen, positioned at the northern extremity of Grymforge. Navigate toward the docks adjacent to the Grymforge teleportation point, access the doorway beside two Duergar disposing corpses into the waterway, then traverse past Ooze adversaries and ascend a sharp incline to locate Philomeen.
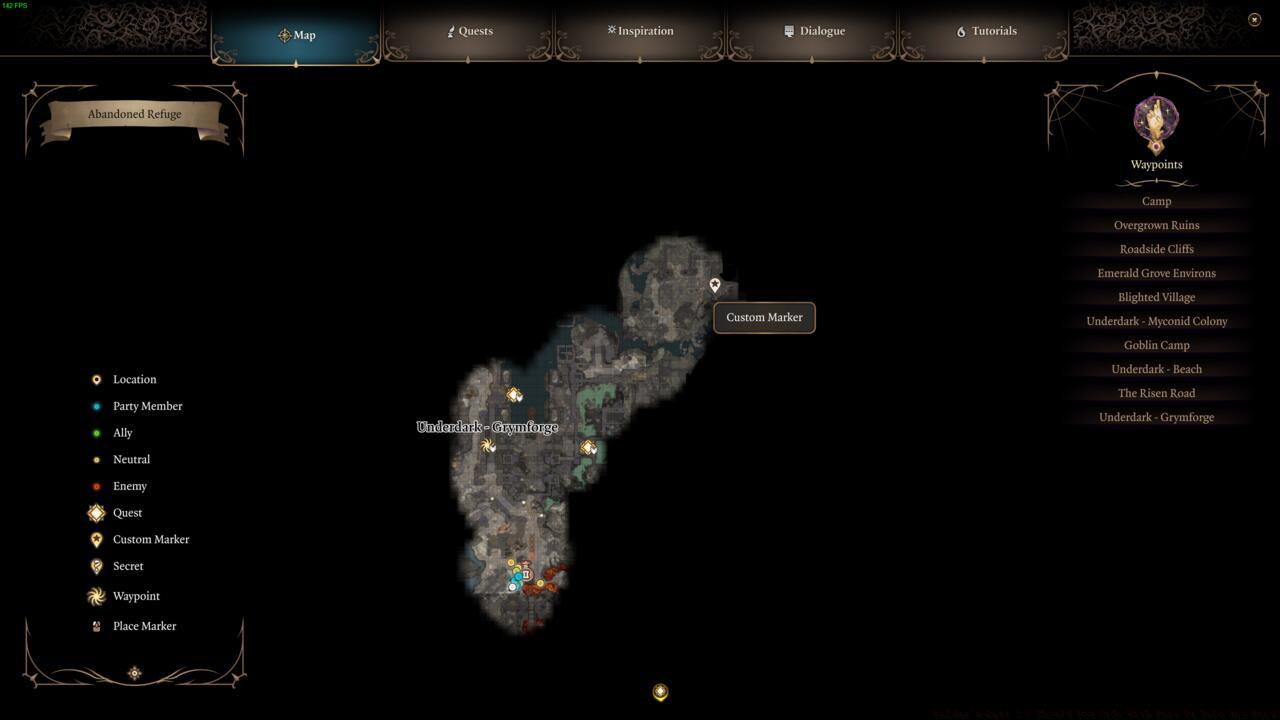
Philomeen’s location in the Grymforge
Upon reaching her chamber, complete several skill checks to convince her of your non-allegiance to True Soul ideologies. Successful persuasion prompts Philomeen to express her profound disdain for True Souls, permitting you to obtain a Runepowder vial. With this acquisition, return to the collapse site. However, we strongly advise consulting Elder Brtithvar initially, stationed just outside the rubble zone near staircase formations. Conversing with the elder discloses their financial claims against Nere and willingness to defy clan loyalties for restitution. This interaction unlocks potential rebel reinforcements should you elect to oppose Nere.
Pro Tip: Save before dialogue encounters with Philomeen as failed persuasion checks may require combat resolution or alternative explosive sourcing.
How to blow up the cave-in and free Nere
To detonate the obstruction, hurl the Runepowder vial toward the rocks, ensuring all gnome workers maintain safe distancing. Positioning an explosive device near the rock formation can encourage their retreat to secure positions. Achieving the decision juncture necessitates zero casualties during the demolition process. Injuring any gnome or Duergar triggers immediate hostility from all parties upon Nere’s liberation. Following these protocols successfully frees Nere, initiating the critical choice moment.
How to blow up the cave-in and free Nere
Following Nere’s extraction, he brutally assaults a gnome servant before addressing you. After conversational exchanges, you must determine whether to assault Nere or align with his faction.
The alignment determination fundamentally reflects your character’s ethical framework. Strategic Insight: Nere’s alliance provides immediate combat support but permanently damages Myconid relations, while his elimination grants favor with multiple Underdark factions but forfeits potential Absolute storyline advantages.
The choice to side with Nere or not comes down to your character’s moral compass.
Common Mistake: Players often trigger hostility accidentally by positioning explosives too close to NPCs. Always verify safe distances before detonation.
Combat Preparation Strategies: Before initiating the rescue sequence, ensure your party possesses area control abilities and crowd management spells. Positioning archers or spellcasters on elevated surfaces surrounding the cave-in area provides tactical advantages for either outcome. If anticipating conflict with Nere, pre-place explosive barrels strategically around the perimeter.
Dialogue Optimization: Characters with high Persuasion or Deception skills can manipulate both Nere and the Duergar for optimal outcomes. Deception checks may convince Nere you support him before betraying him combat, while Persuasion can turn Duergar against Nere without combat initiation.
Loot Maximization: Eliminating Nere yields his unique helmet and additional treasure, while allying provides different rewards. Consider your party’s equipment needs when deciding.
Timeline Management: The rescue operation typically requires 20-30 minutes completion time, with combat sequences adding 10-15 minutes depending on difficulty settings and party composition.
Mechanics Deep Dive: The poison gas mechanic in Nere’s chamber creates time pressure. While the game suggests urgency, taking long rests before rescue doesn’t result in Nere’s death, allowing thorough preparation.
Action Checklist
- Navigate to Grymforge docks and locate Philomeen’s hideout
- Successfully pass dialogue checks to acquire Runepowder
- Consult Elder Brtithvar for alliance opportunities
- Position party strategically and clear civilians before detonation
- Execute final decision based on faction alignment strategy
No reproduction without permission:SeeYouSoon Game Club » Baldur’s Gate 3 – Should You Side With Nere Or Take His Head? Master the strategic choice of saving or slaying Nere in Baldur's Gate 3's Grymforge dilemma