TL;DR
- Eagle Airstrike serves as your most versatile early-game tool for crowd control and objective destruction
- Grenade Launcher provides cost-effective armor penetration against Chargers and Bile Spewers
- Recoilless Rifle delivers massive single-target damage but requires strategic reload management
- Mortar Sentry offers automated area denial perfect for defensive missions and extraction scenarios
- Orbital Laser and Railgun represent endgame powerhouses for eliminating the toughest enemy types
GameSpot may receive revenue from affiliate and advertising partnerships for sharing this content and from purchases through links.
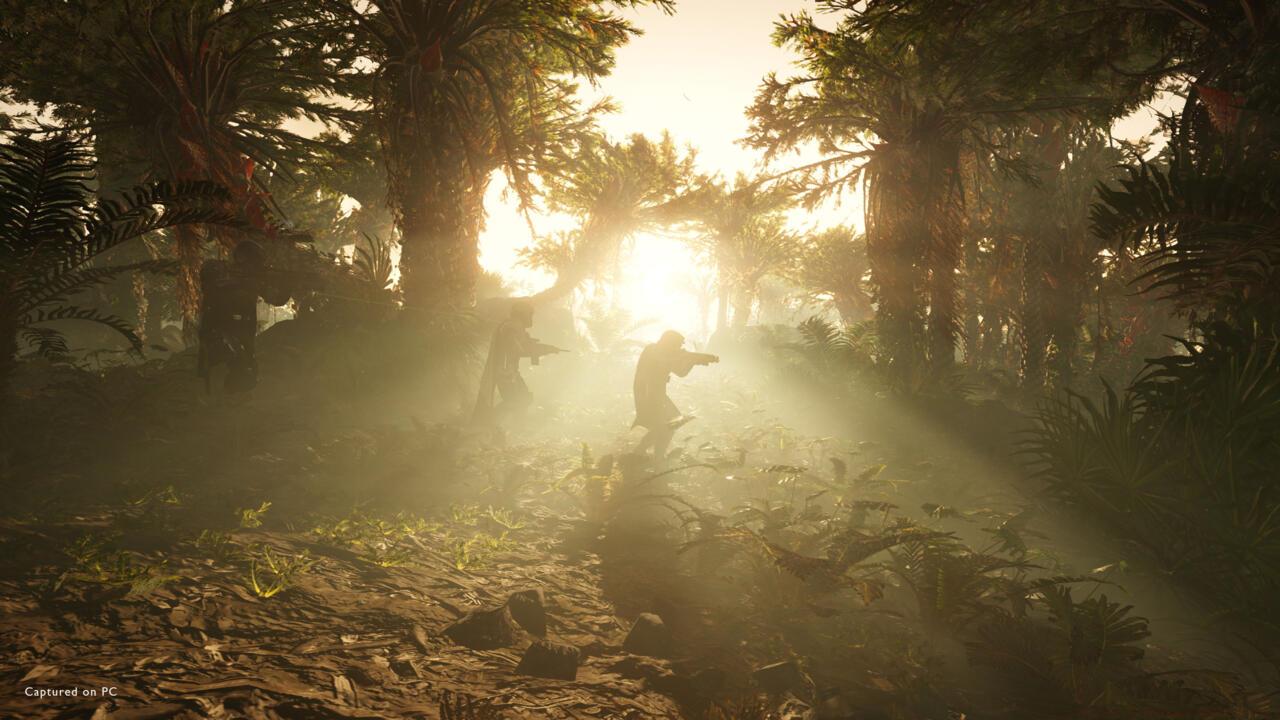
Achieving true Helldiver supremacy requires strategic mastery of your orbital arsenal. This comprehensive guide breaks down the most impactful Stratagems available, detailing their tactical applications, optimal usage scenarios, and how to integrate them into winning loadout combinations. We’ll cover everything from early-game essentials to advanced endgame tools that will transform your battlefield effectiveness.
Understanding Stratagem categories is crucial for effective deployment. Support Weapons provide direct firepower you carry, Eagle Stratagems offer precision aerial strikes, Orbital options deliver massive area damage, and Sentries create automated defensive positions. Each category serves distinct tactical purposes that complement different playstyles and mission objectives.
.jpg)
The Eagle Airstrike stands as your most adaptable early-game tactical option, functioning like a multi-tool for diverse combat situations. Its primary strength lies in exceptional versatility – it efficiently seals bug breach points (capable of eliminating entire infestation clusters), delivers substantial damage to armored targets, and wipes out swarms of lighter enemies to create tactical breathing space. Advanced users should note the optimal deployment angle: approach from perpendicular to enemy lines rather than parallel for maximum coverage.
.jpg)
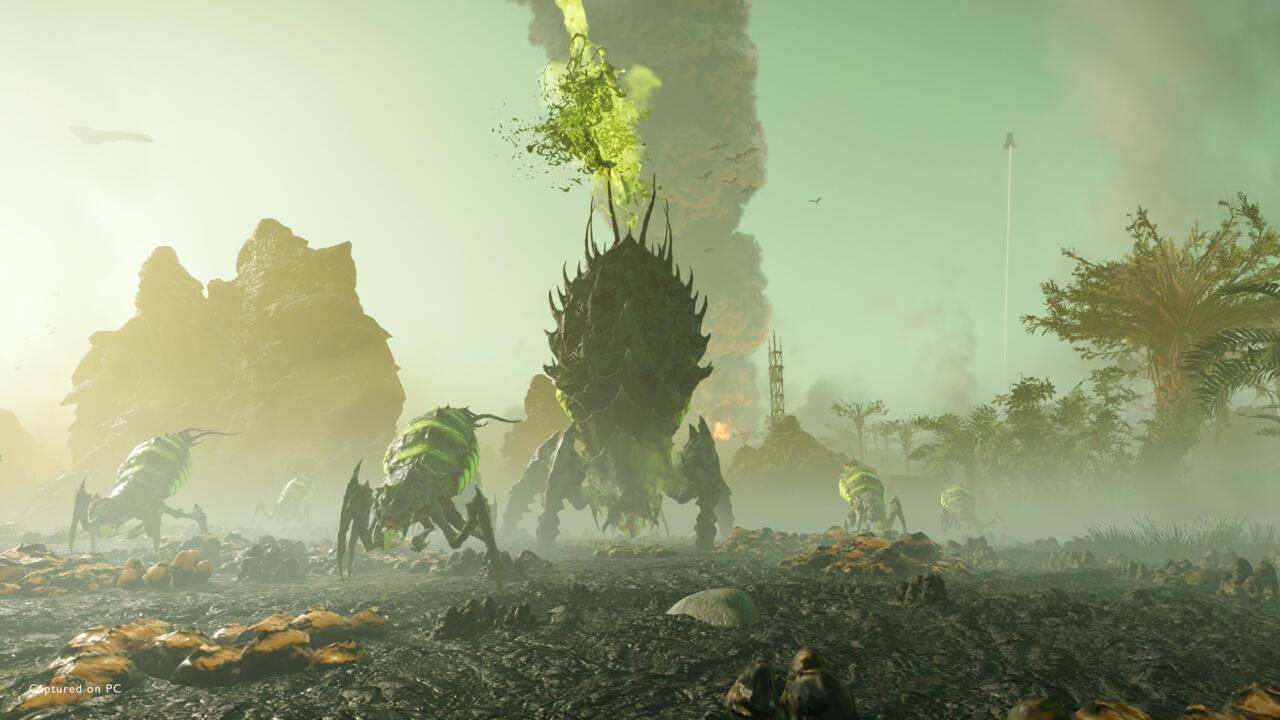
Armored adversaries present one of your earliest significant challenges, particularly when confronting insectoid threats. Your initial arsenal lacks dedicated armor-penetrating weaponry, forcing tactical flanking maneuvers to access vulnerable points or reliance on explosive alternatives.
The Grenade Launcher delivers an economical solution for neutralizing armored dangers like Chargers, rapidly disposing of larger foes such as Bile Spewers, eliminating groups of weaker enemies, and efficiently sealing multiple bug breaches to dismantle nests. Acquire this early and employ it regularly. Pro tip: aim for the leg joints of Chargers to temporarily disable them rather than wasting multiple rounds on their heavily armored fronts.
.jpg)
The Recoilless Rifle ranks among the game’s most devastating single-shot armaments, accessible relatively early, making it your primary solution for formidable enemies like Chargers or even colossal Bile Titans through mid-game progression. However, you must assume a crouching position for manual reloading unless coordinating with a teammate for assisted reloads. Exercise extreme caution deploying it during high-intensity engagements without squad support prepared to facilitate reloading. Despite this limitation, it provides exceptional value during your initial campaign advancement.
.jpg)
Mortar Sentries deliver automated indirect fire support, creating persistent area denial zones that continuously harass enemy positions. Their high-arcing projectiles bypass terrain obstacles, making them ideal for defensive operations, extraction scenarios, and controlling choke points. Positioning strategy is critical – place them on elevated terrain with clear firing lines but protected from immediate enemy contact. They excel at disrupting enemy formations before they reach your position, though beware of their indiscriminate firing that can damage friendly units if positioned carelessly.
The Orbital Laser represents the pinnacle of destructive capability, deploying a sustained energy beam that systematically obliterates everything within its path. This Stratagem excels at eliminating clustered heavy targets, clearing extraction zones, and dealing with emergency situations where overwhelming firepower is required. Its extended duration makes it perfect for area denial during defensive objectives, though its lengthy cooldown demands strategic timing rather than frequent deployment.
Railgun technology delivers precision armor penetration unmatched by conventional explosives. Its hyper-velocity projectiles pierce through multiple targets and bypass most armor types, making it indispensable against the game’s most resilient enemies. Master its charge mechanics: partial charges for standard enemies, full charges for heavy armor, and overload shots for critical emergencies despite the risk of catastrophic failure.
The Shield Generator Pack provides crucial survivability enhancement, projecting a protective barrier that deflects incoming projectiles and enemy charges. This defensive Stratagem transforms your tactical options, allowing aggressive positioning and sustained combat effectiveness in high-threat environments. Coordinate with teammates using area-denial weapons since the shield allows you to maintain forward positions that would otherwise be untenable.
Building synergistic Stratagem combinations dramatically enhances your squad’s combat effectiveness. Consider these proven loadout templates:
Crowd Control Specialist: Eagle Airstrike, Mortar Sentry, Grenade Launcher, and Orbital Laser. This setup excels at handling swarms while maintaining heavy target elimination capability, perfect for diverse combat scenarios where adaptability is paramount.
Armor Destruction Team: Recoilless Rifle, Eagle 500KG Bomb, Railgun, and Shield Generator. Focused on dismantling heavily armored opponents, this configuration shines in missions dominated by Chargers and Bile Titans.
Common strategic errors include over-investing in single Stratagem types, neglecting team reload coordination for weapons like the Recoilless Rifle, and poor Sentry placement leading to premature destruction. Always consider mission parameters: defense operations benefit from automated turrets, while extraction missions prioritize mobility and burst damage. For more comprehensive tactical frameworks, explore our advanced guides.
Advanced optimization involves timing your Stratagem deployments to create overlapping areas of effect while managing cooldowns strategically. Remember that the most effective Helldivers master both individual Stratagem usage and their synergistic combinations within squad dynamics. Your weapon selections should complement your chosen Stratagem focus rather than duplicate capabilities.
Action Checklist
- Master Eagle Airstrike deployment angles for maximum coverage efficiency
- {‘step’: ‘2’, ‘target’: ‘Grenade Launcher acquisition and Charger weak point practice’, ‘difficulty’: ‘Beginner’, ‘time_estimate’: ‘1 mission’}
- Practice Recoilless Rifle reload coordination with a teammate
- Experiment with Mortar Sentry positioning on varied terrain types
- Develop strategic Stratagem rotation patterns to maintain constant battlefield pressure
No reproduction without permission:SeeYouSoon Game Club » The Best Stratagems In Helldivers 2 Master Helldivers 2 with these essential Stratagems: expert tactics, loadout optimization, and mission success strategies